
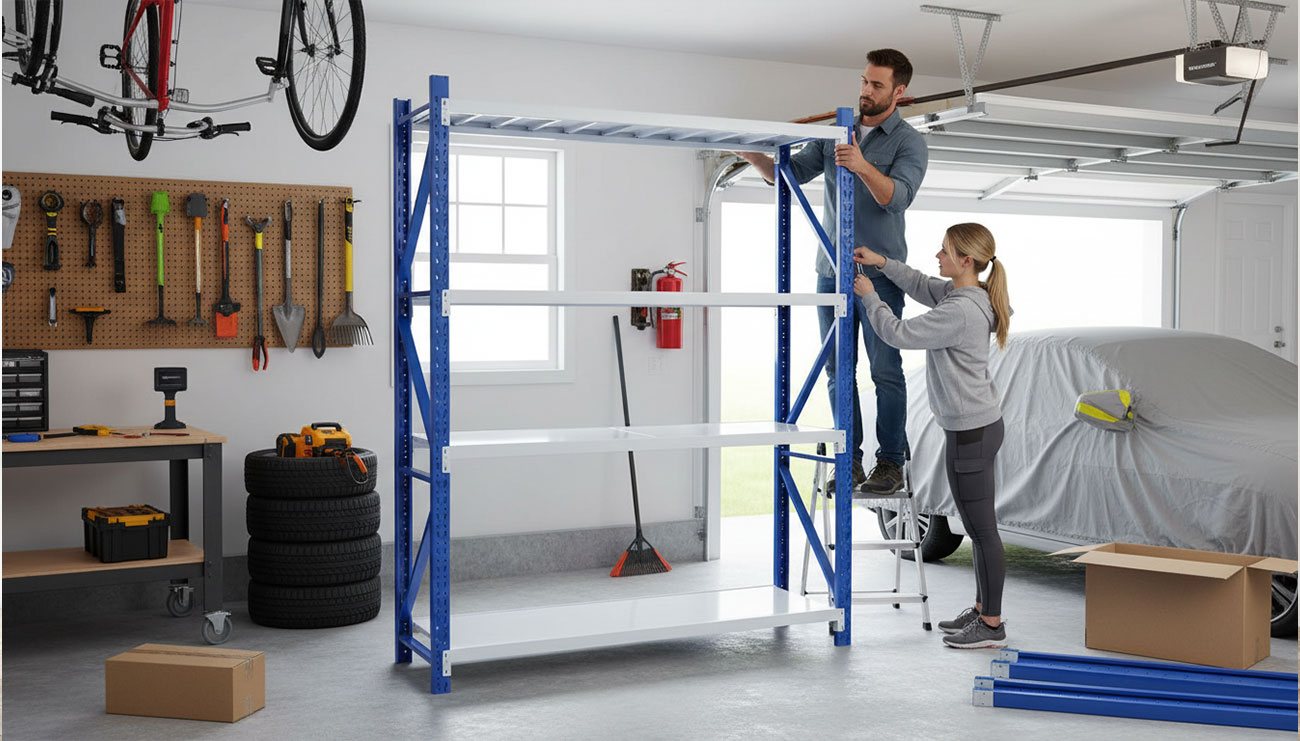
blog longspan assembly 1

The Easy (and Fun!) Way to Build Your Long Span Shelving
Whether you’re looking to organise your garage or upgrade your warehouse, the Paramount Browns Long Span Shelving Unit is here to save the day! We’ve put together a quick, fun guide to help you build your new storage solution—from the compact LS1000 to the towering LS2700.
Let’s get that clutter under control! 

Step 1: Check Your Goodies

Before we dive in, let’s make sure you have everything you need to get the job done:

  • 2x Uprights (the blue ones!).
  • 8x Crossbeams (the white ones!).
  • Shelf Inserts: You’ll find 8 of these in the box, though the LS1000 model comes with 4.
  • 16x Lock Pins: These little guys keep everything secure.

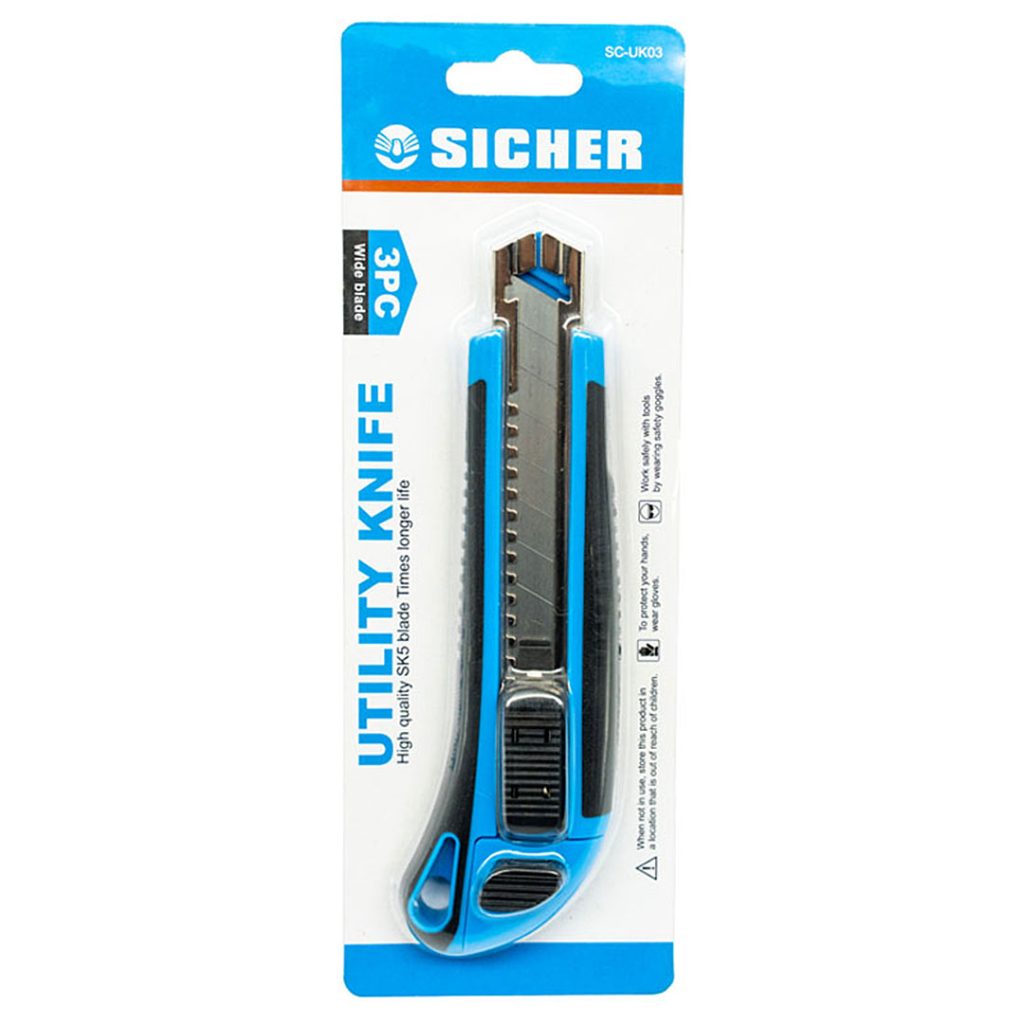
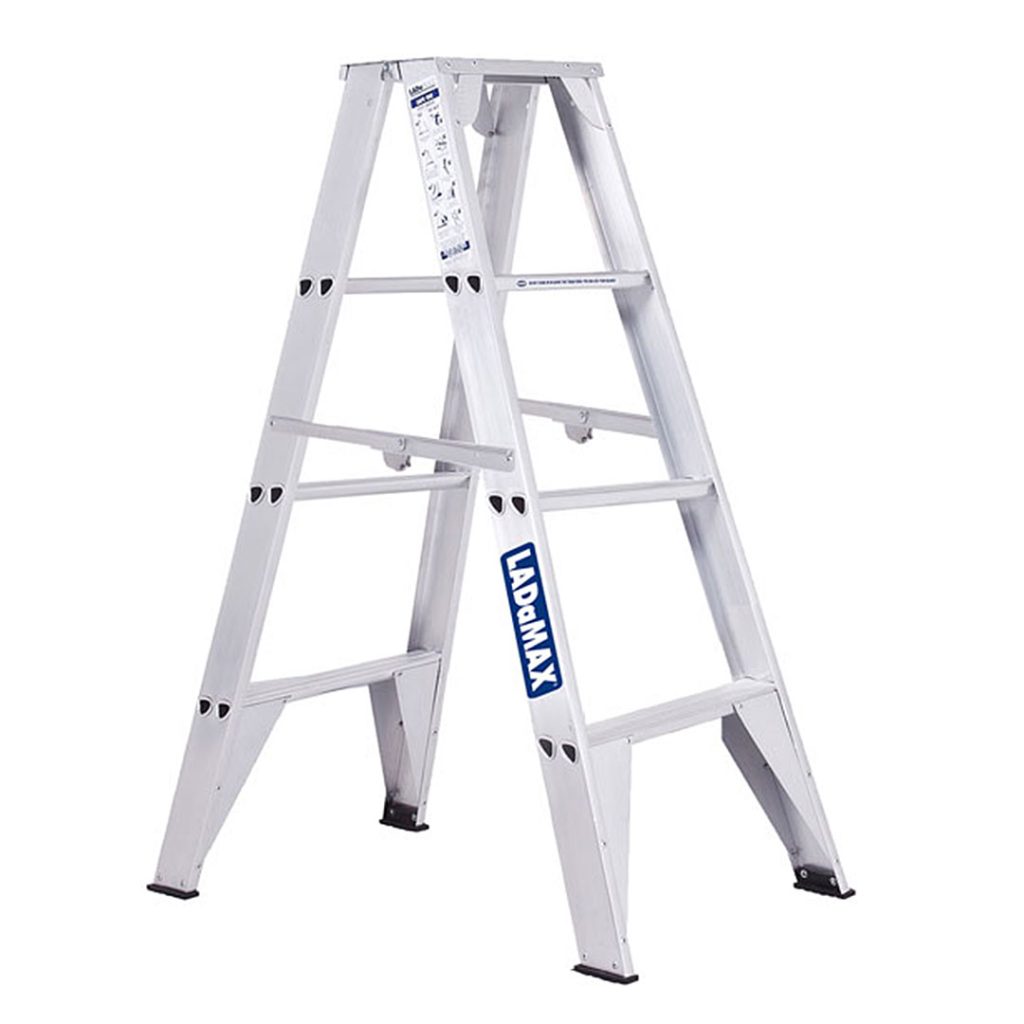
Pro-Tip: Grab a pair of safety gloves and boots before you start. You’ll also need a utility knife (or heavy-duty scissors) to open the packaging, and a step ladder if you’re tackling the taller LS2400 or LS2700 models.

Lucky for you, we offer these essential items in-store and online. Click the photos below and shop the range.

Tools - Utility Knife
Utility Knife
Tools - Safety Gloves
Safety Gloves
ds042 left 1
Step Ladder

Step 2: The Great Unboxing

Clear out a wide-open space so you have plenty of room to move.

  • Lay the blue uprights flat on the ground. This keeps them from accidentally falling over while you work.
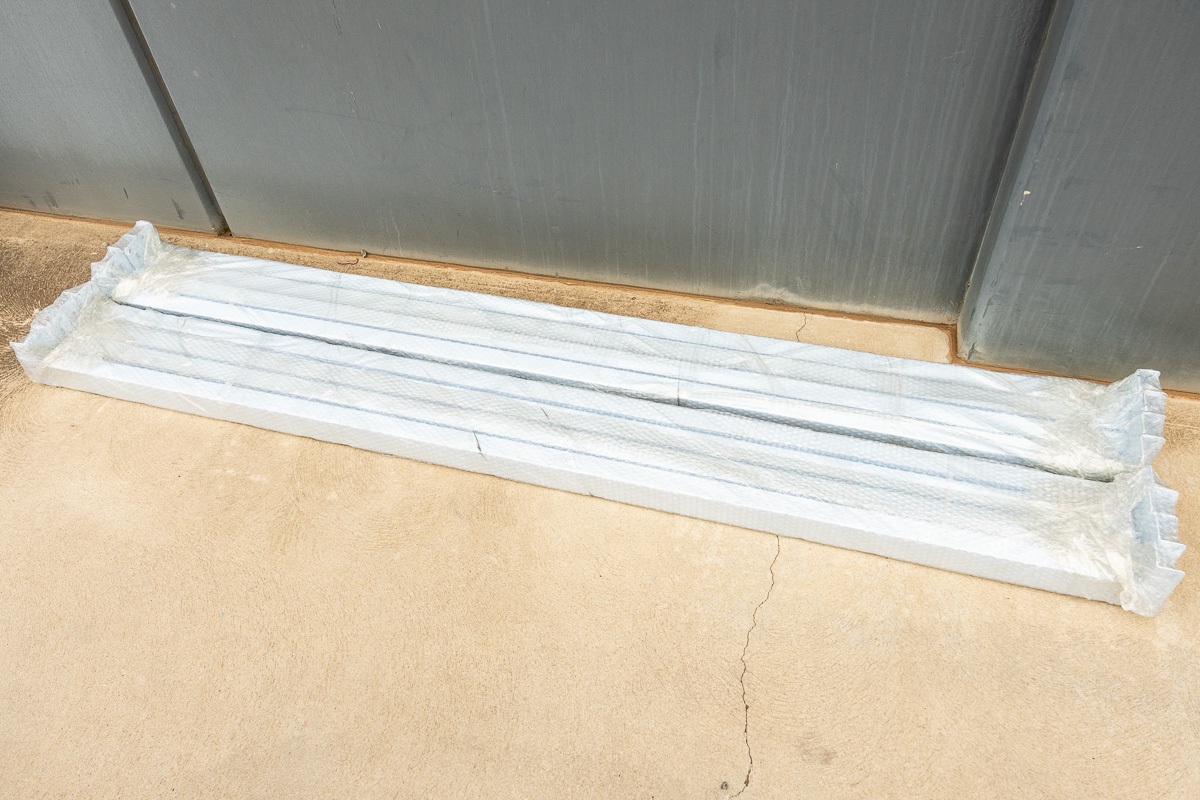
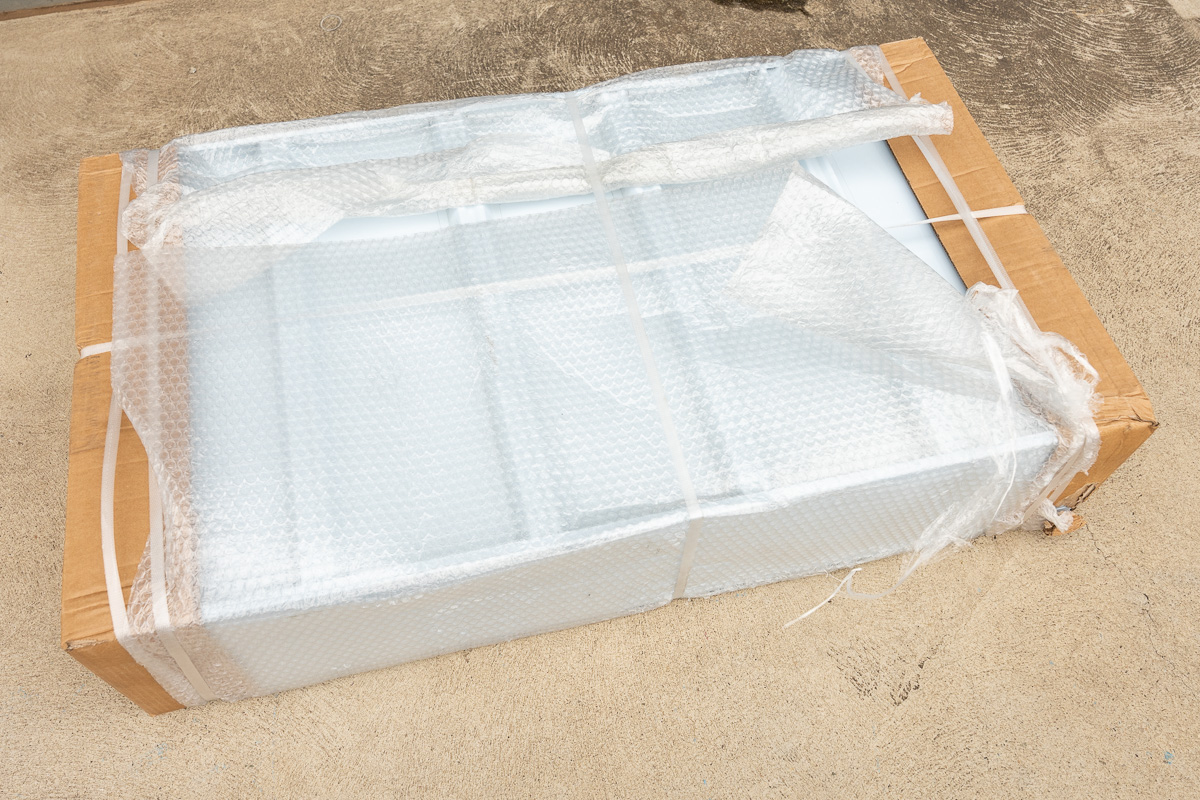
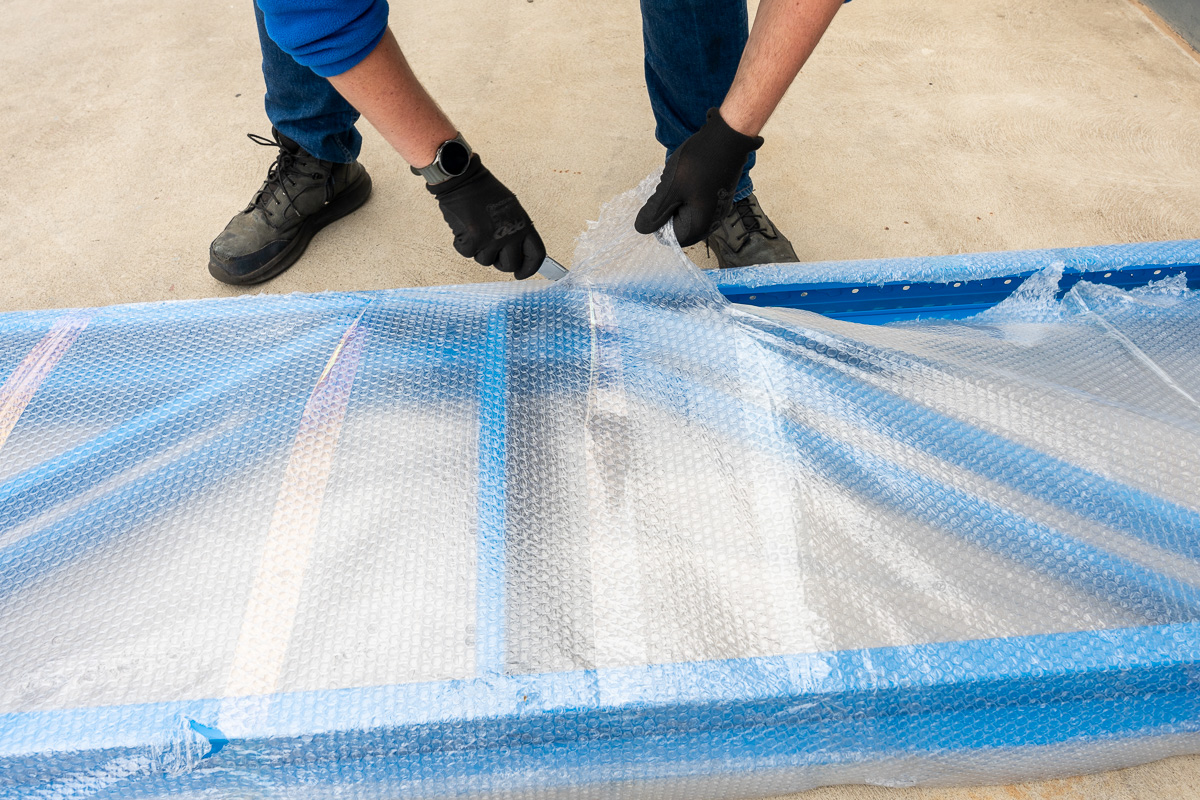
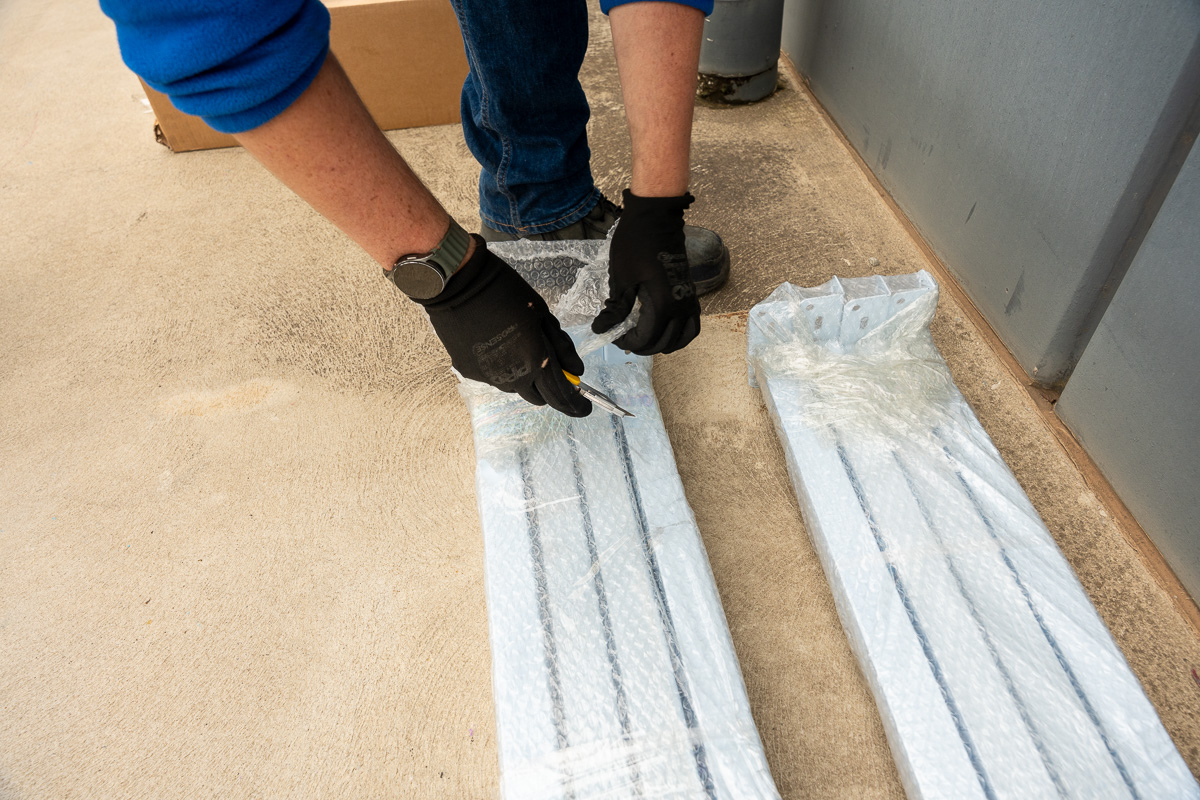
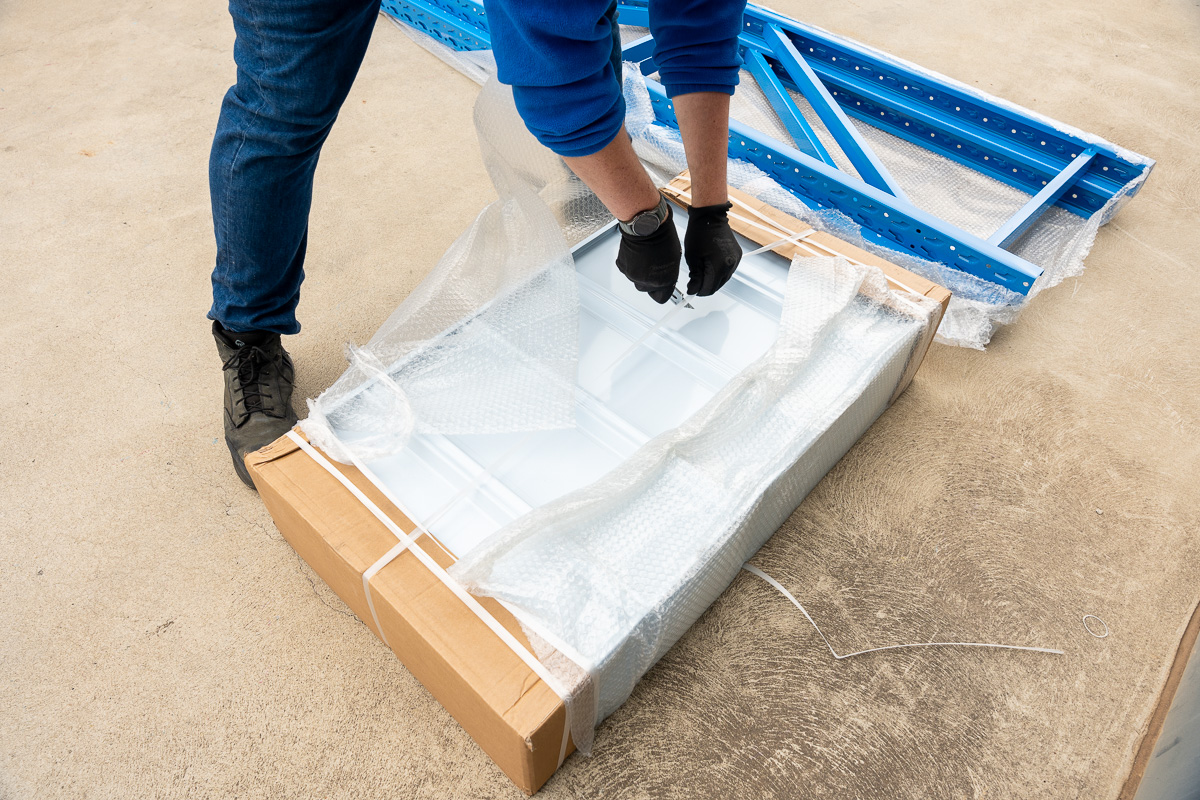
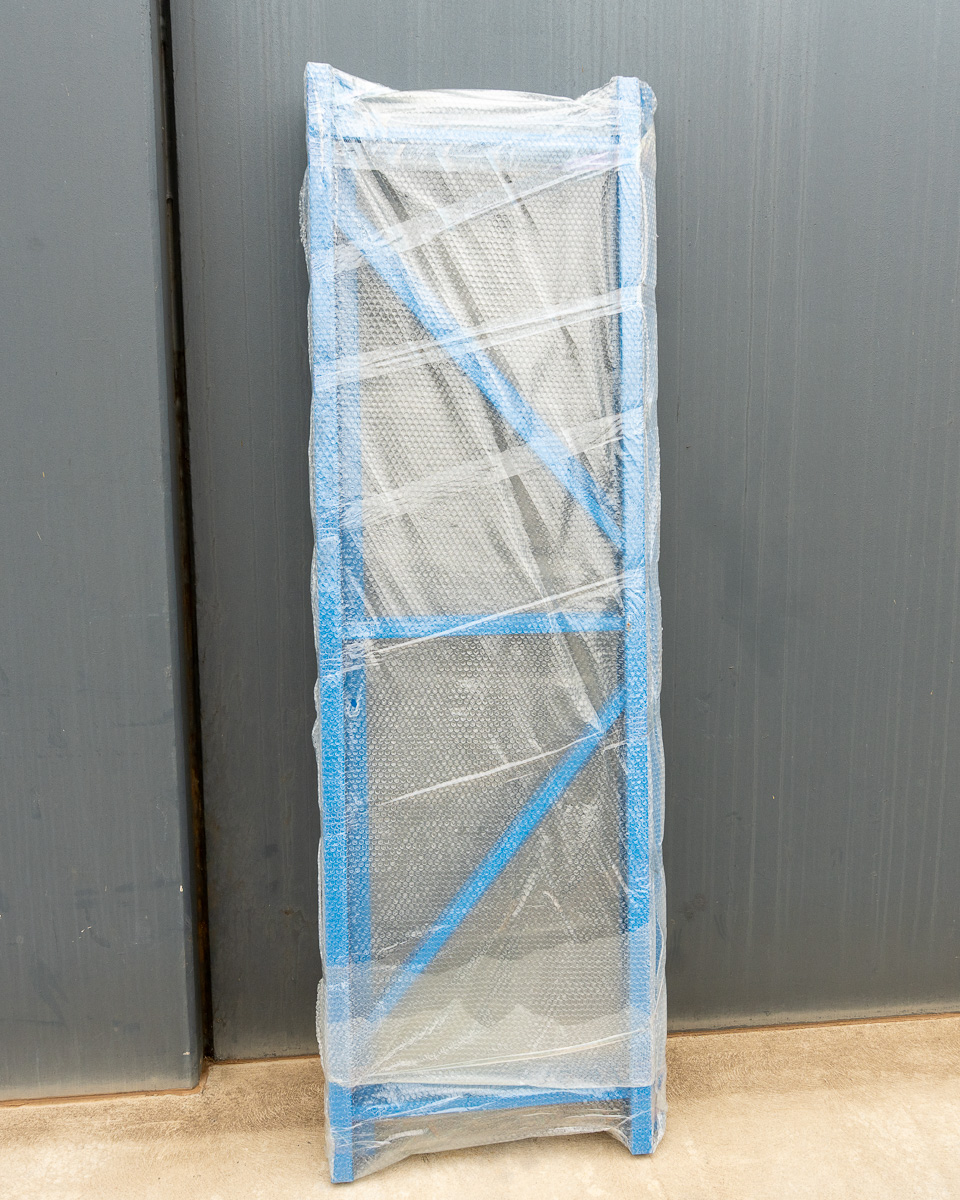
  • Peel back the bubble wrap and packing material from both the uprights and the white crossbeams.
  • Open the box of shelf inserts so they are ready to go when you reach the finish line.

Step 3: Build Your Frame (The Buddy System!)

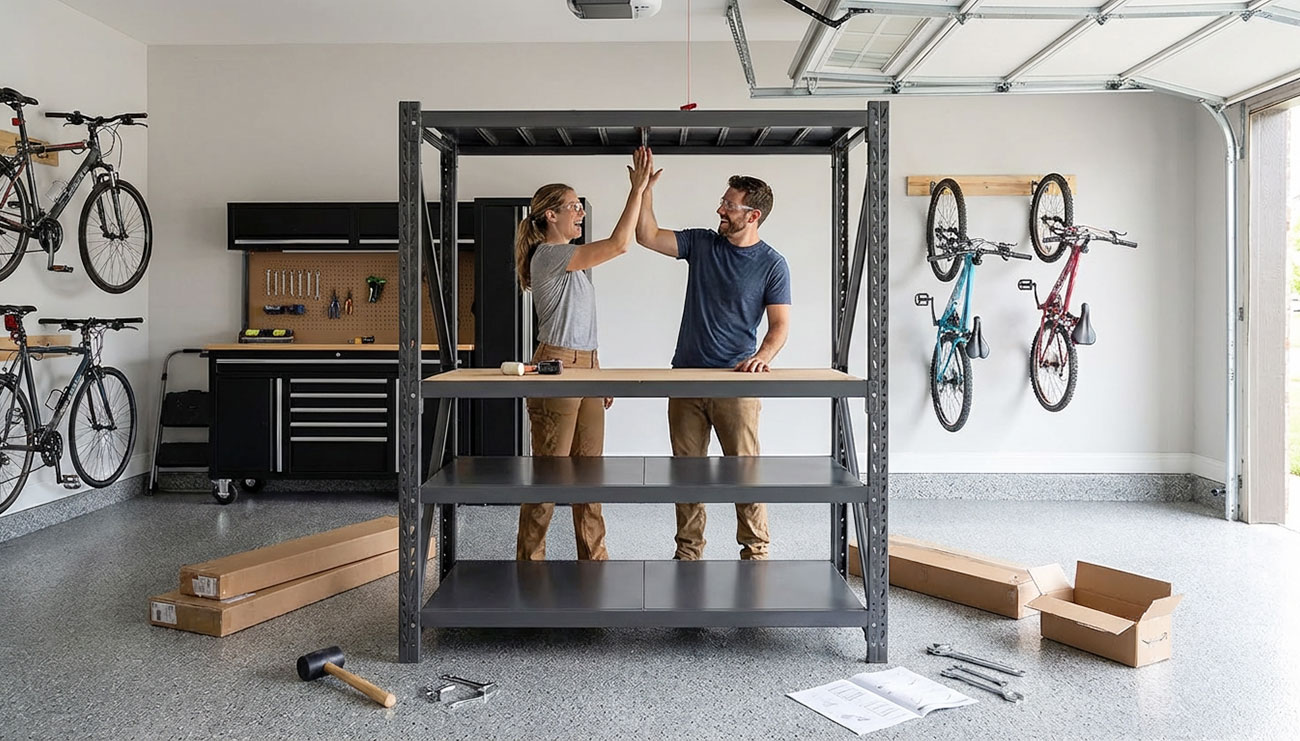
Assembly is way more fun—and much safer—with two people. Grab a friend and follow these steps:

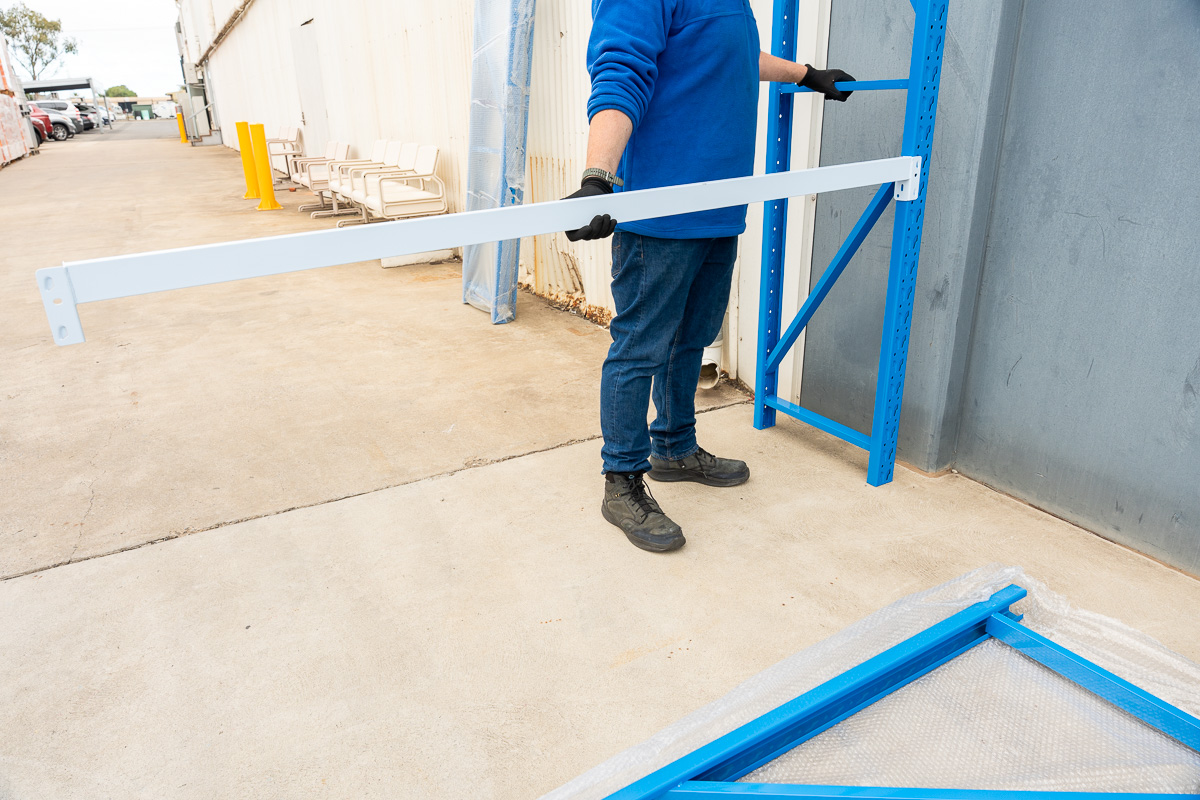
  • The Wall Trick: Lean one blue upright against a wall for stability.
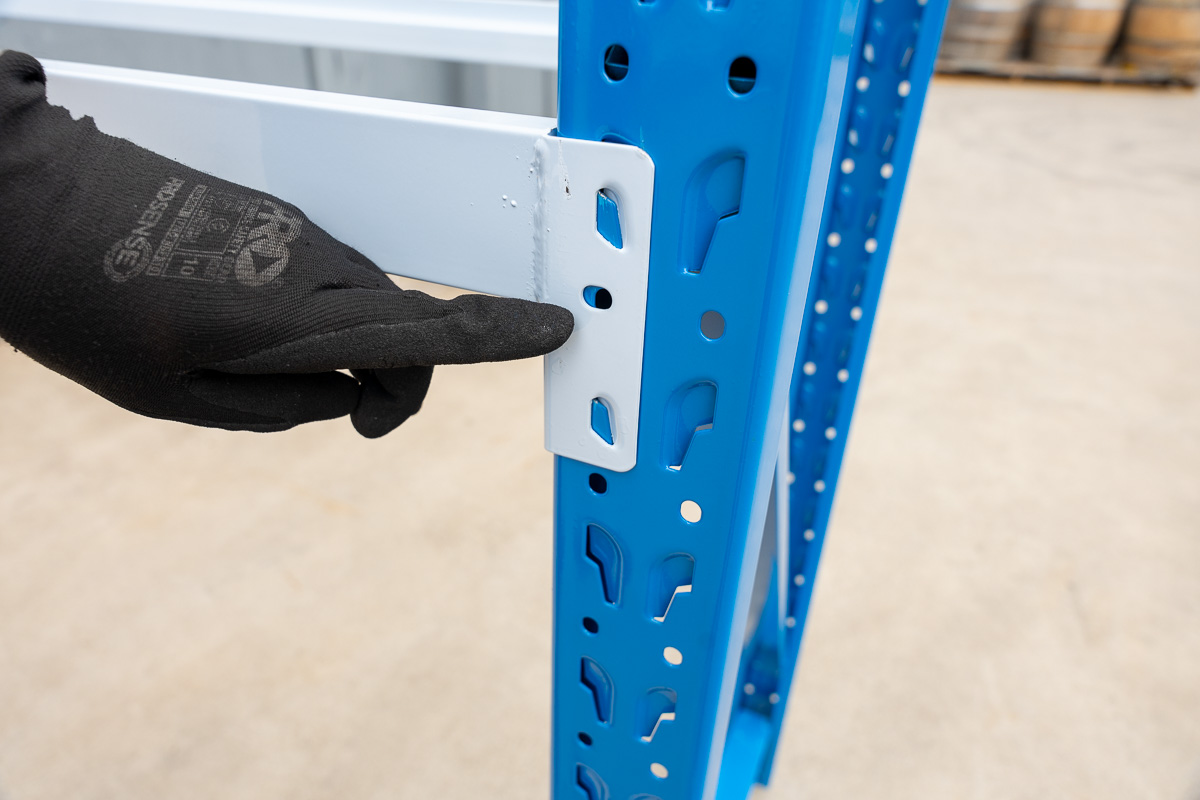
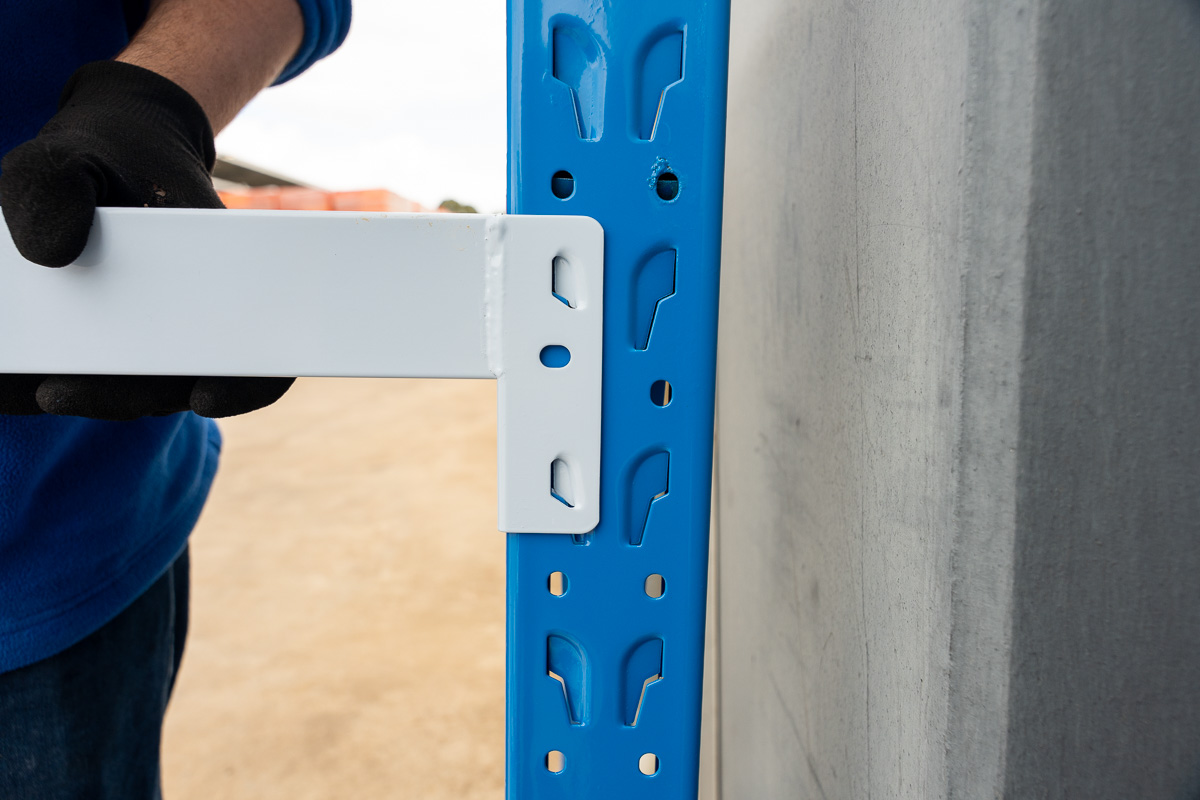
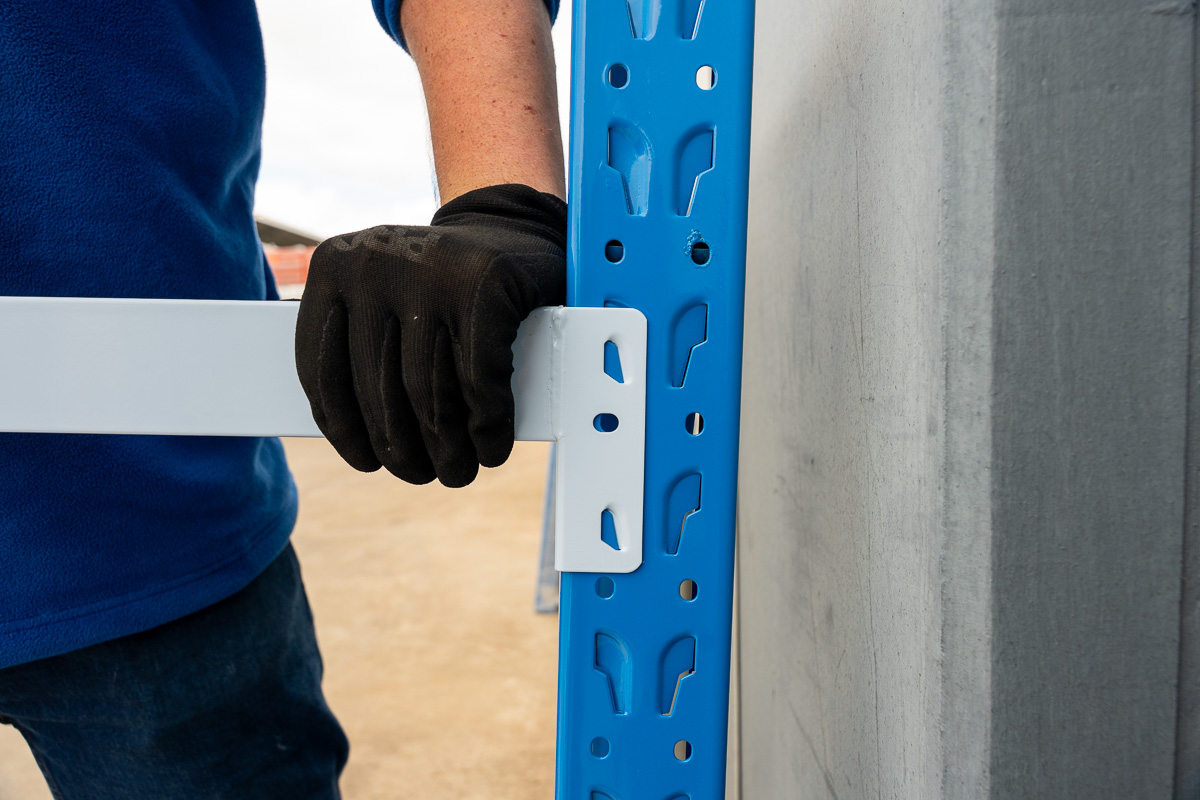
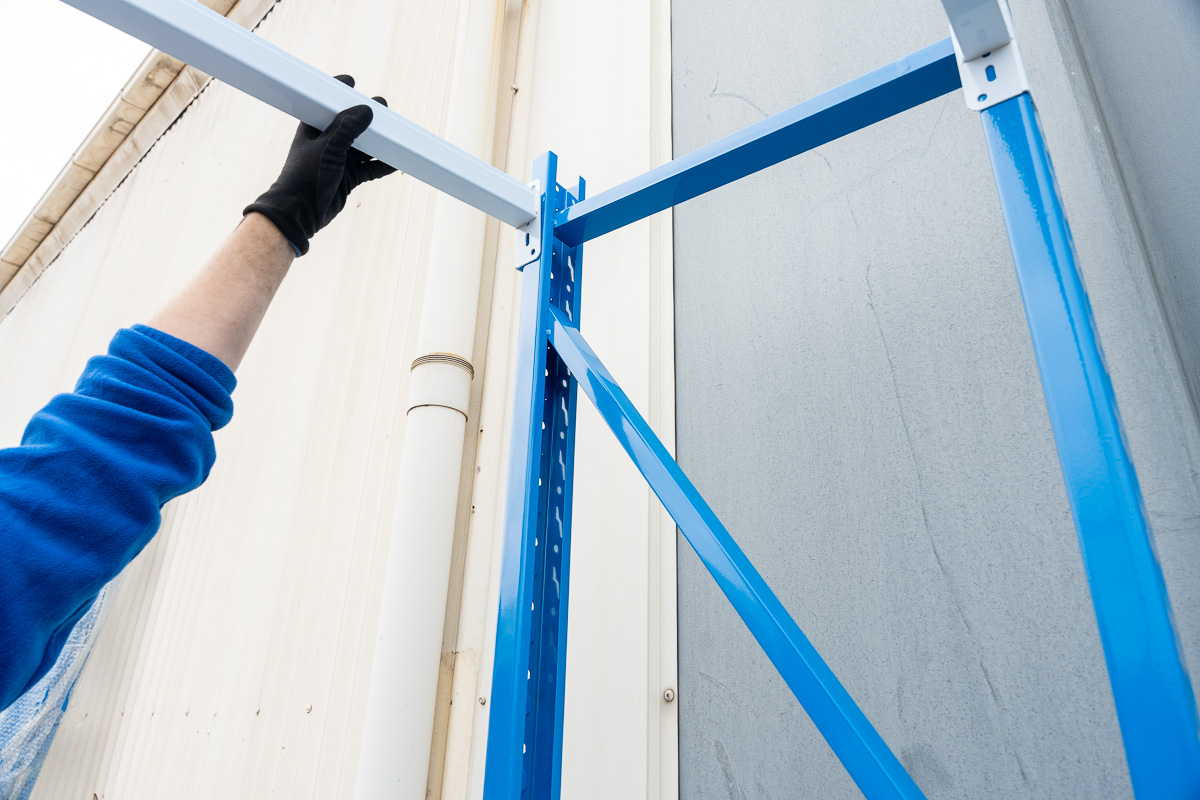
  • Check Your Alignment: Make sure the slots are facing the right direction so the beams slide in easily.

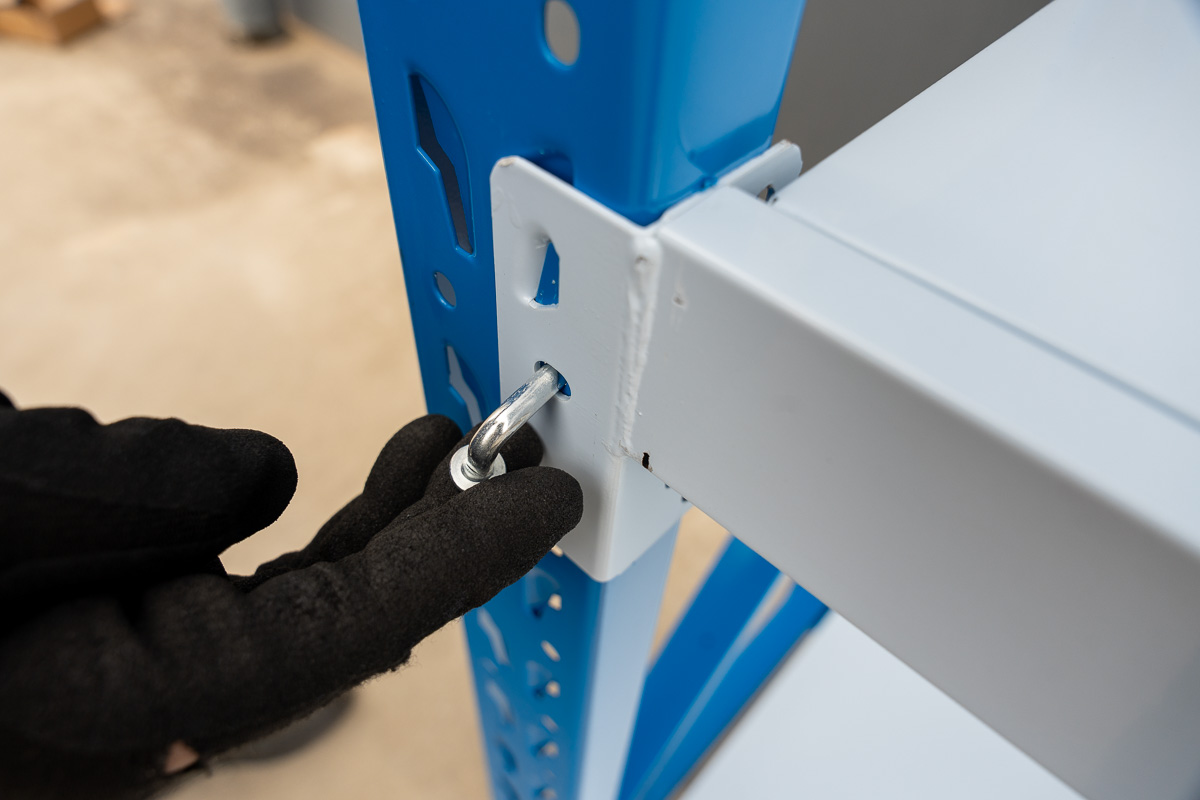
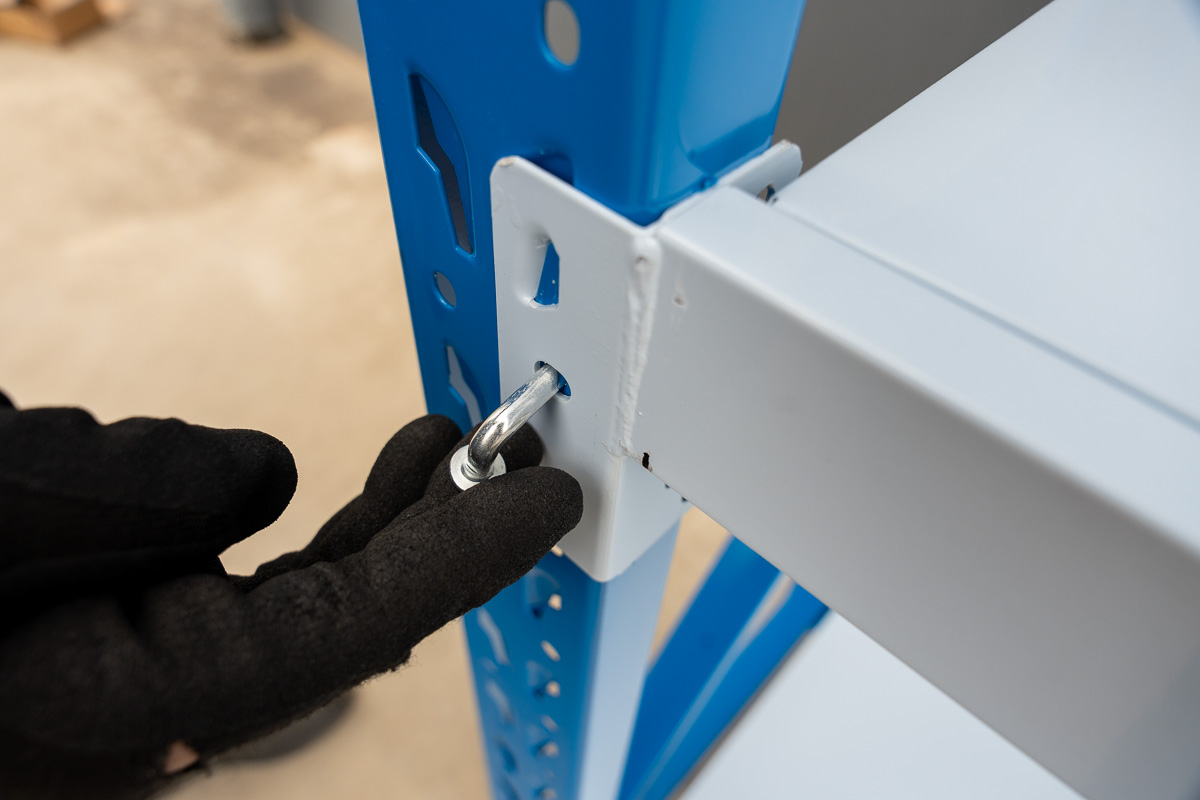
Pro-Tip: Check that the “lock pinhole” on the upright lines up with the hole on the white crossbeam.

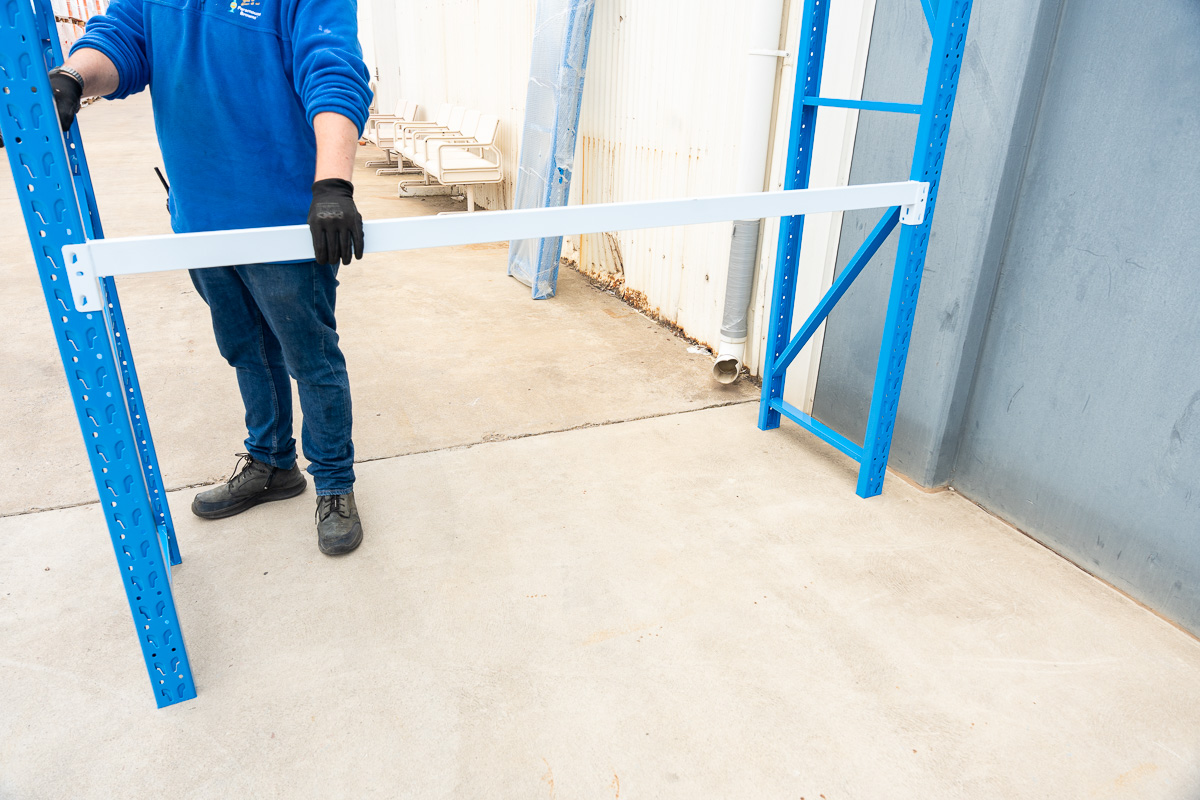
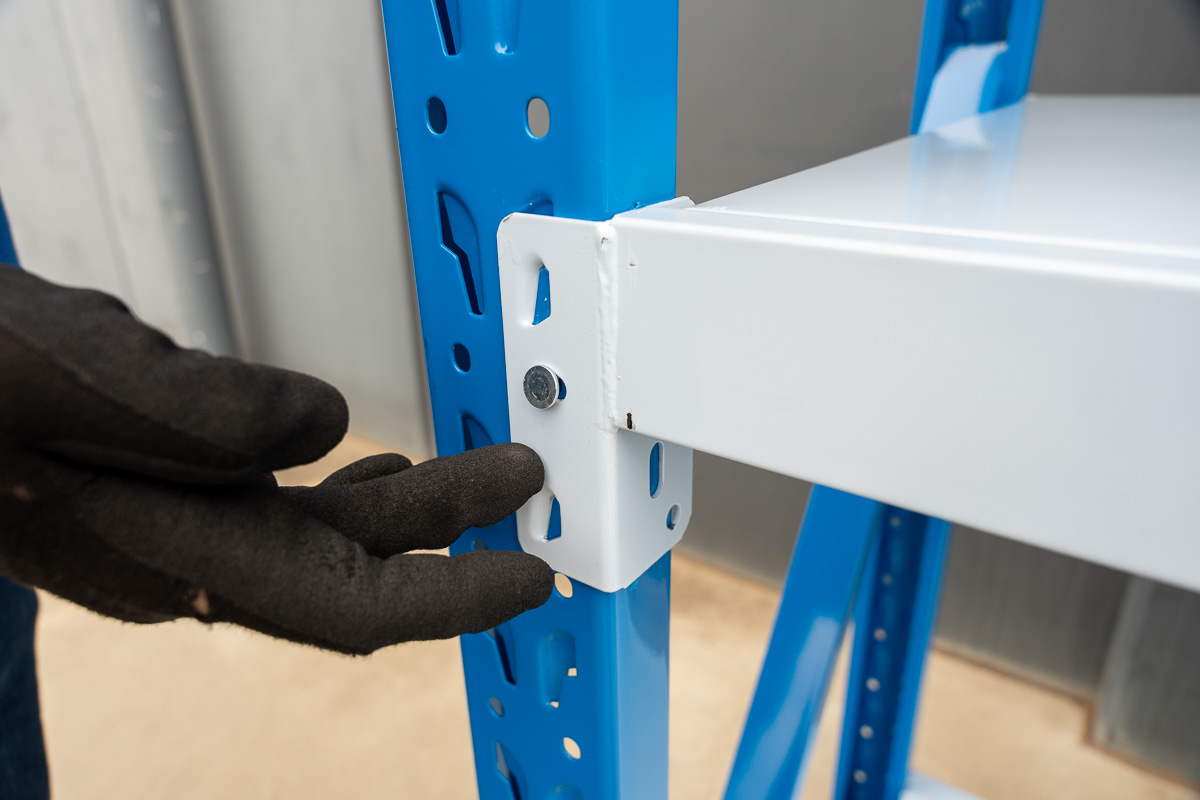
  • The First Click: Pick a slot near the middle and push a white crossbeam down until it clicks into place.
  • Connect the Second Upright: While one person holds the joined parts, have the other person secure the second blue upright to the other end of that crossbeam.
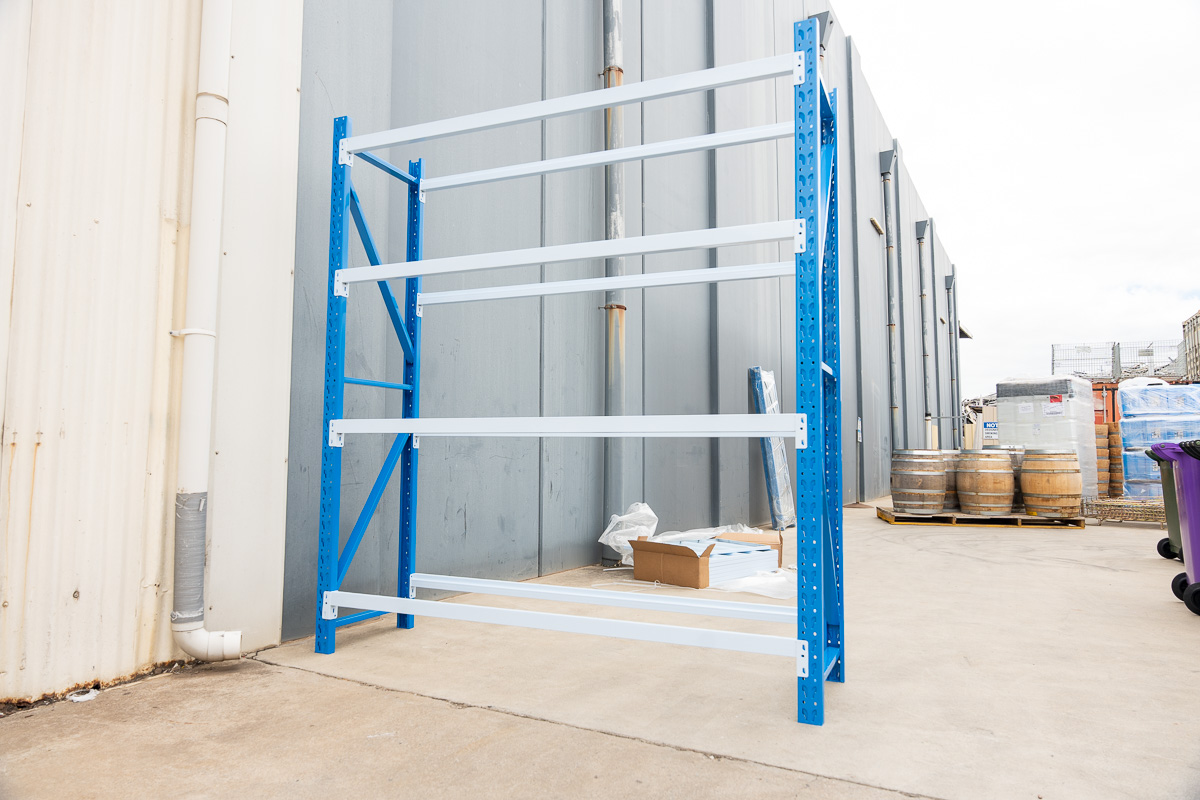
  • Finish the Level: Slot the matching crossbeam on the opposite side.

Now you can install the remaining beams wherever you like! Just think about what you’re storing so you can plan your shelf spacing perfectly.

Step 4: The Finishing Touches

You’re almost there!

  • Move it into place: It’s a good idea to put the shelf exactly where you want it before you add the inserts.
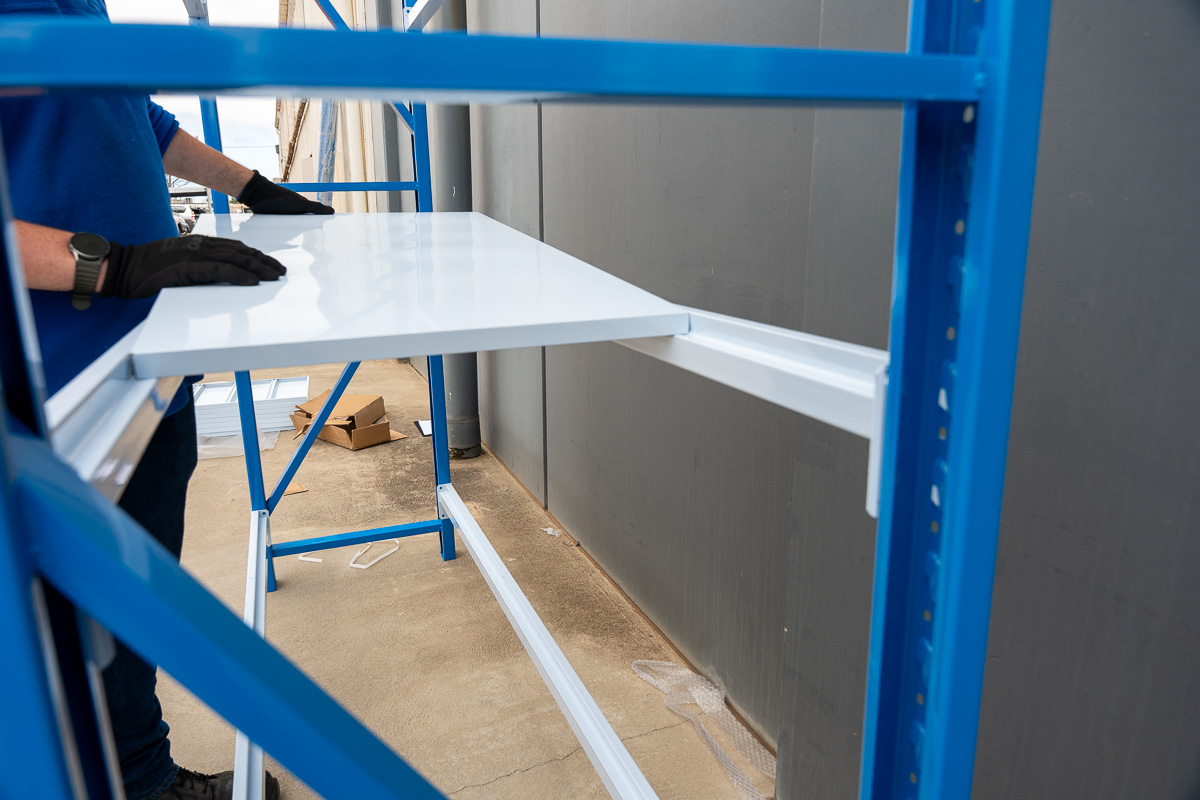
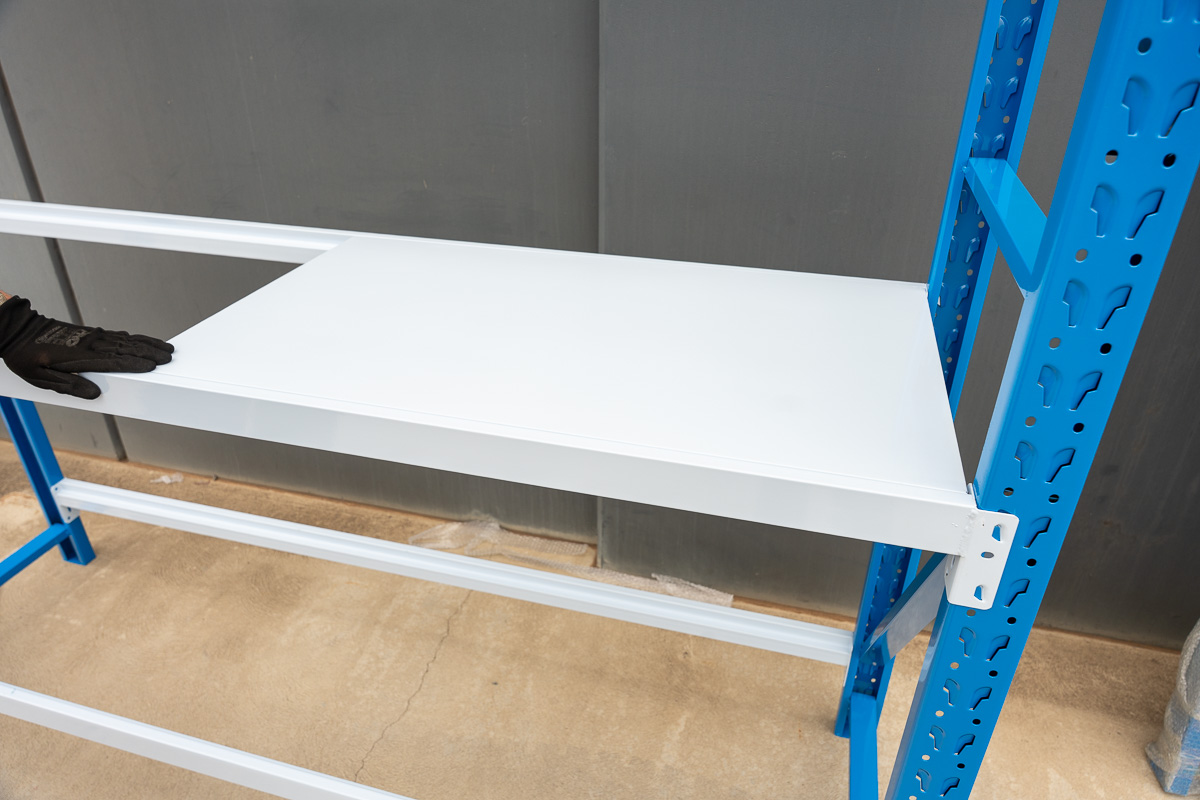
  • Drop the inserts in: These should sit flush on the crossbeams.
  • Lock it down: Grab that bag of 16 lock pins and slot them into the pinholes by hand. This makes sure those beams aren’t going anywhere!

⚠️ Safety Check: Don’t Let it Topple!

Before you start loading up those shelves with all your heavy gear, we’ve got one super important final step. Since these units can hold a serious amount of weight, we want to make sure they stay exactly where you put them!

To keep your workspace safe and sound, we highly recommend securing your shelving unit using one of these two “pro moves”:

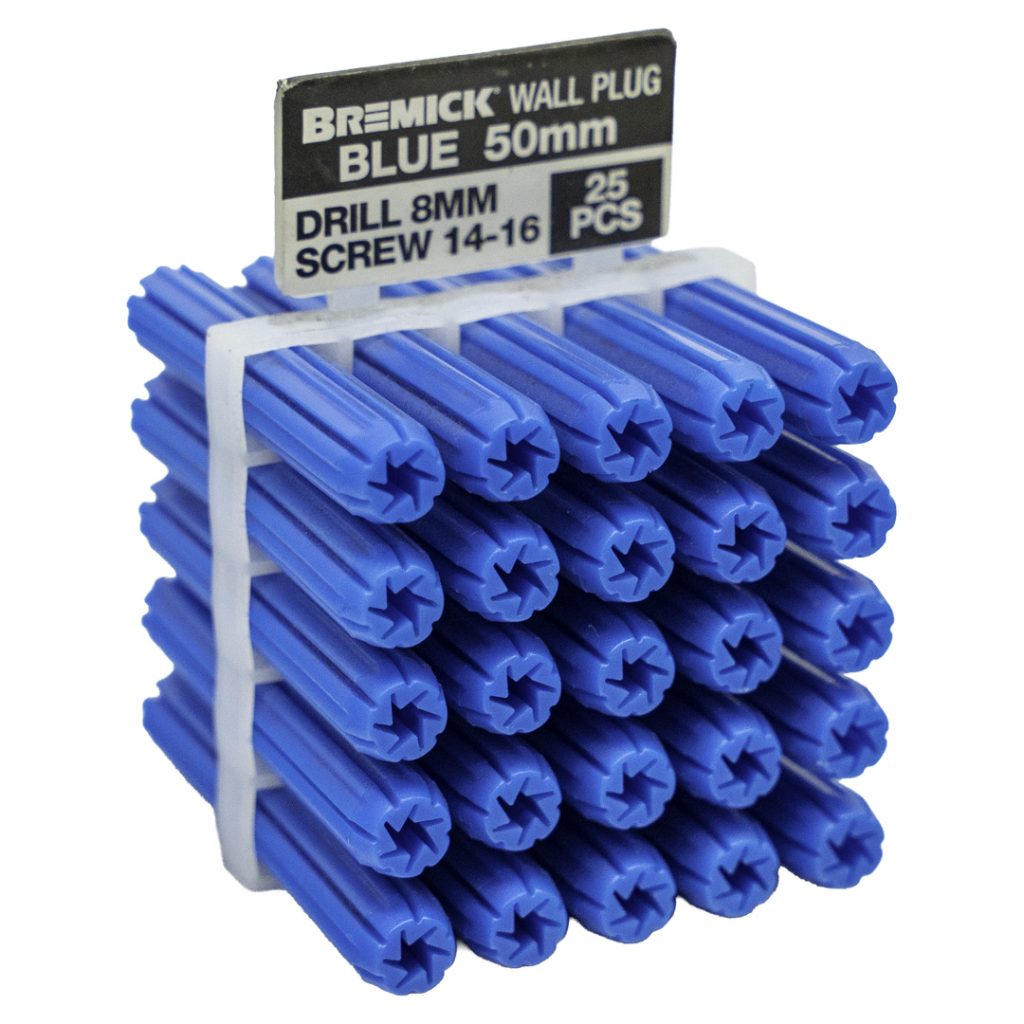
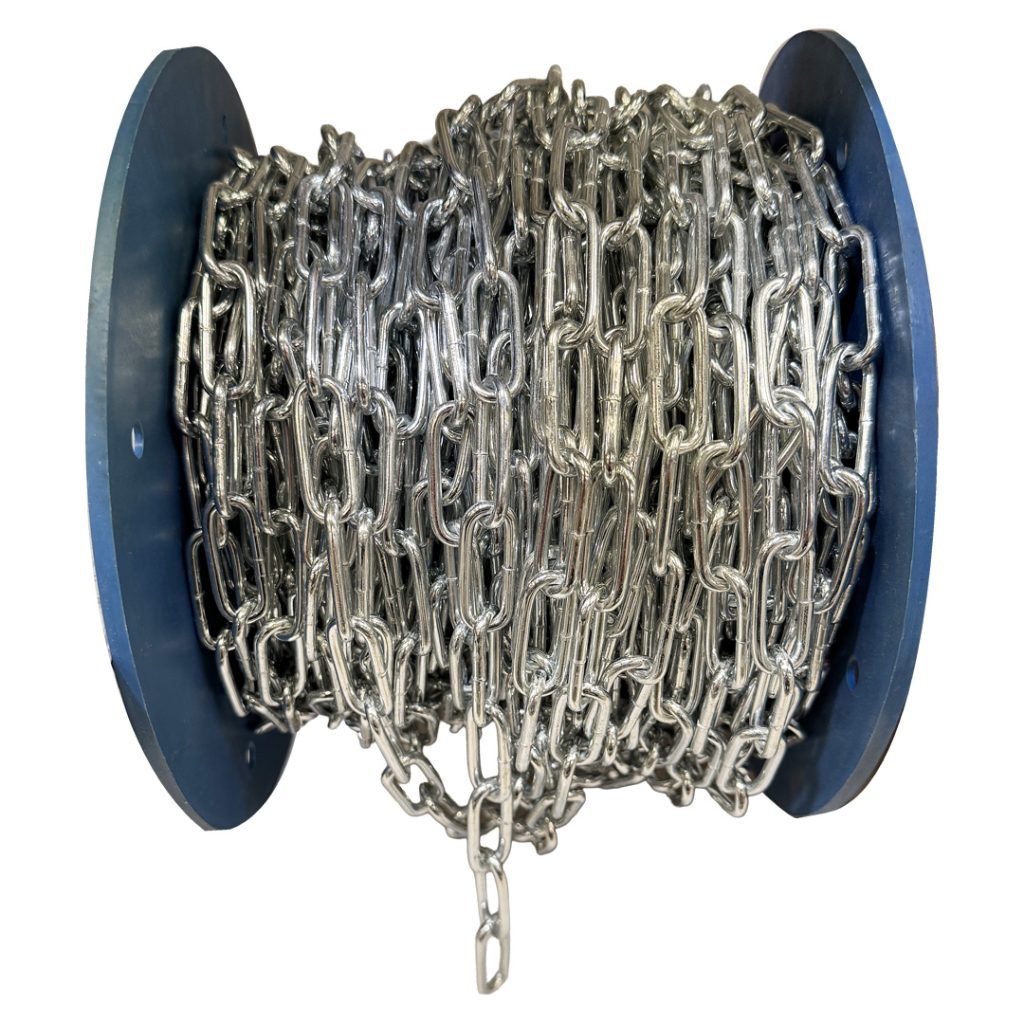
  • Anchor it to the wall: Use a safety chain or wall anchors to tether the blue uprights to a solid wall.
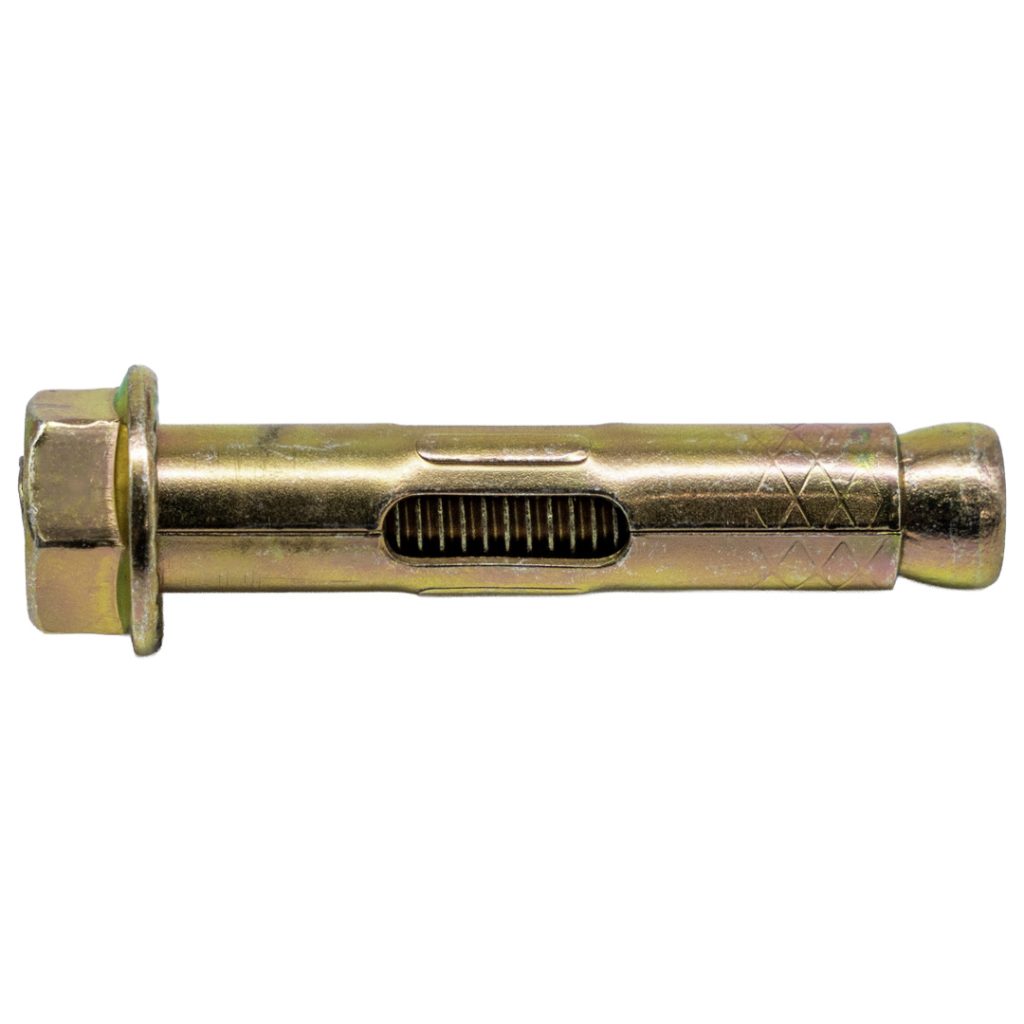
  • Bolt it to the floor: For the ultimate “rock-solid” setup, you can bolt the unit directly into the ground using sleeve anchors.

Need the right gear? We’ve got you covered! You can pick up safety chains, wall and sleeve anchors right here at Paramount Browns. It’s a quick extra step that makes a world of difference for safety.

Sleeve Anchor
Sleeve Anchor
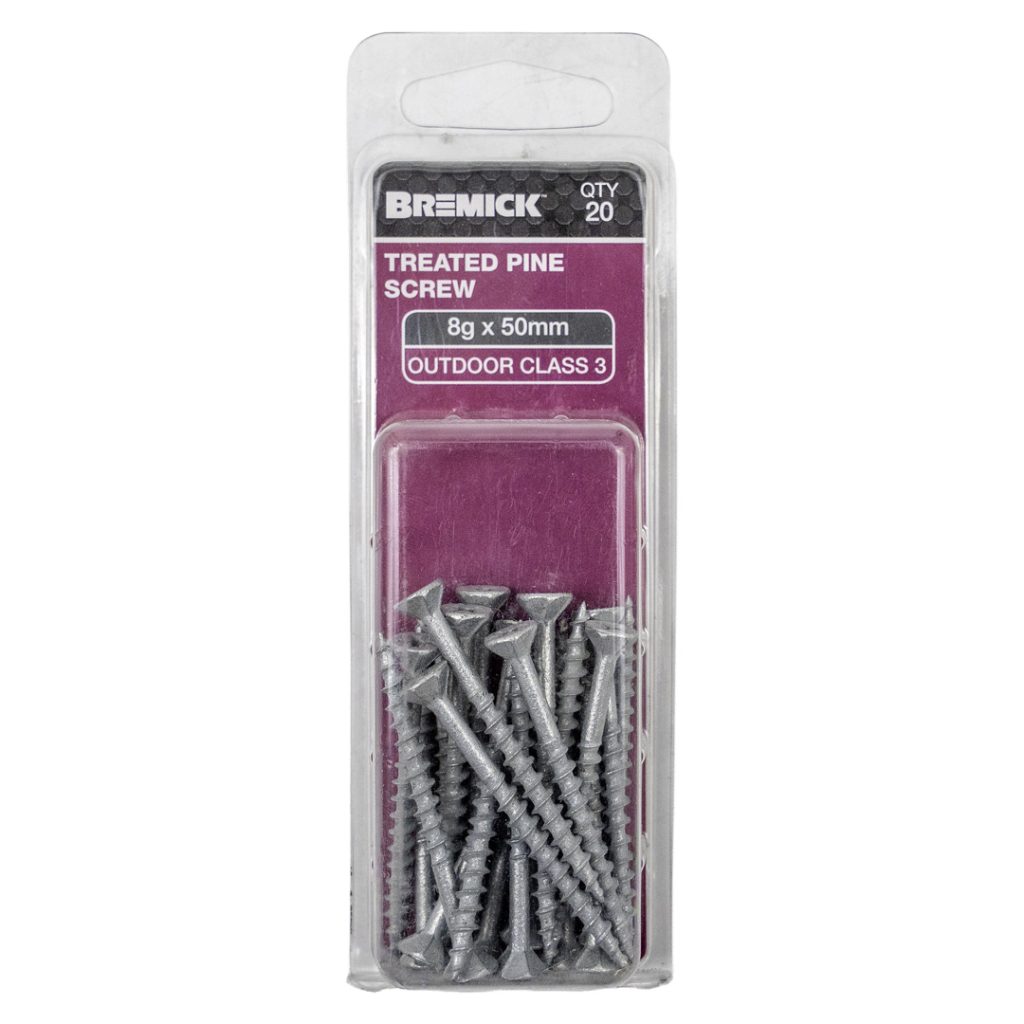
Treated Pine Screws
Treated Pine Screws
Wall Plug PVC
Wall Plug
Long Link Chain
Long Link Chain

Congratulations! You just conquered your assembly project.

Your space is about to look a whole lot better. Are you ready to build your next shelf project?

See the full Long Span Shelving Unit range today.