Level Up Your Workspace: The Ultimate MSU Series Assembly Guide
It’s time to clear the clutter and reclaim your space! Your new Paramount Browns MSU Series shelving is the heavy-duty hero your workspace has been waiting for. You’re just a few steps away from a rock-solid setup that doubles as a functional workbench.
Roll up your sleeves and grab a teammate—we’ve mapped out the steps to get you from “boxed up” to “built” in no time.
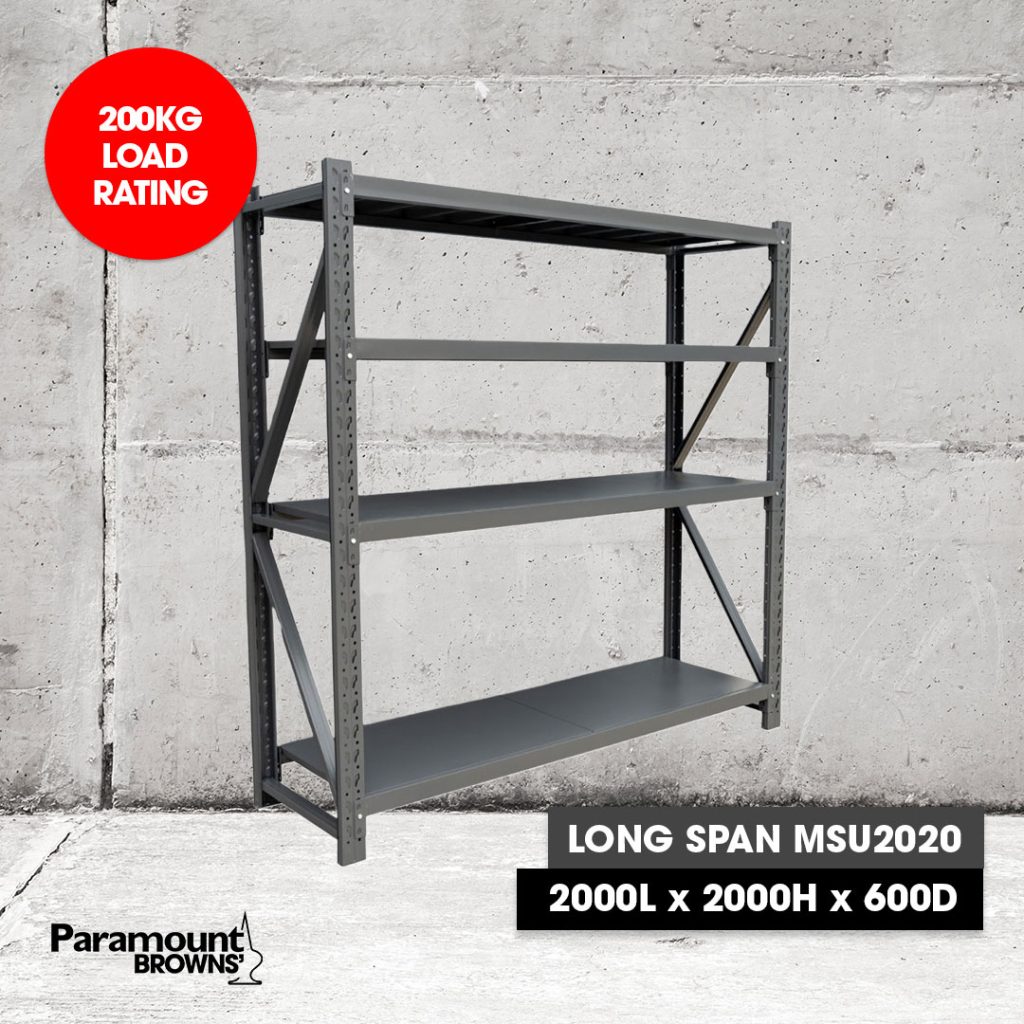
Long Span MSU2020
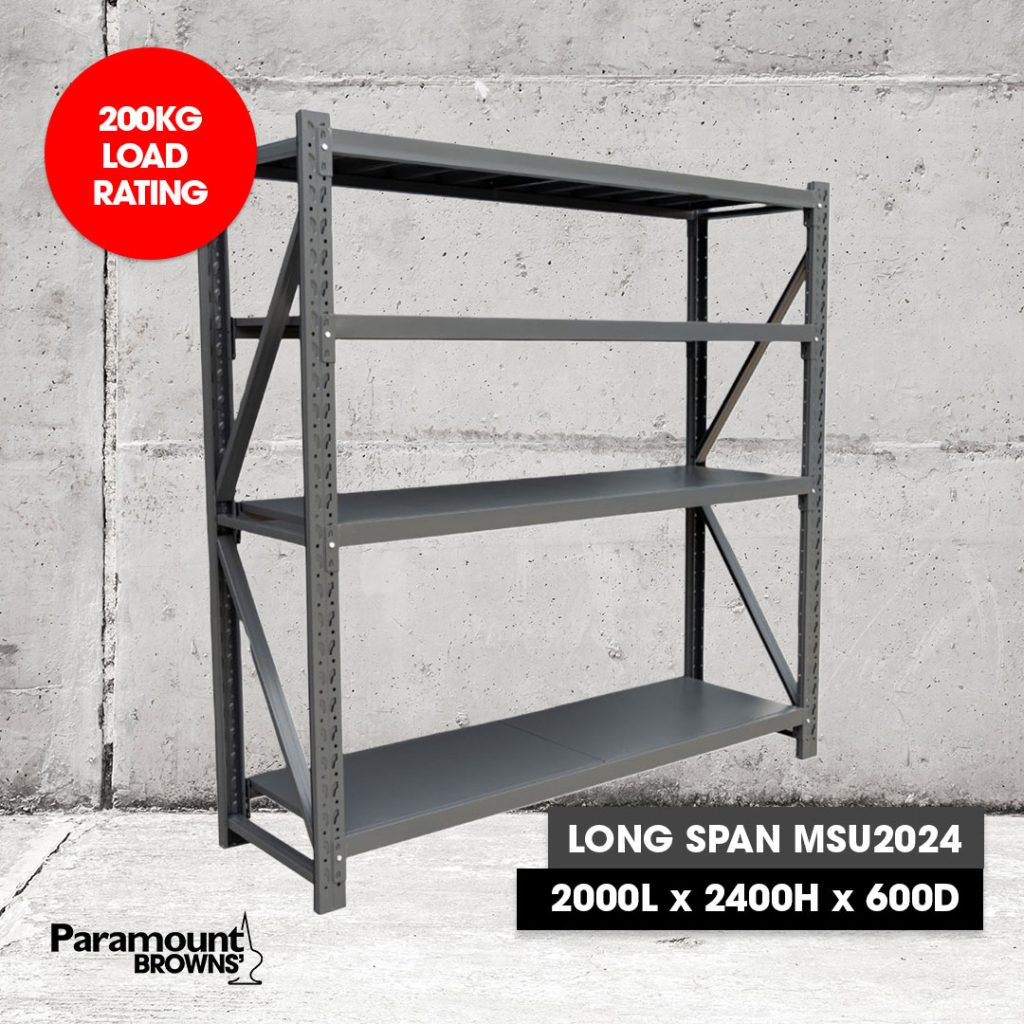
Long Span MSU2024
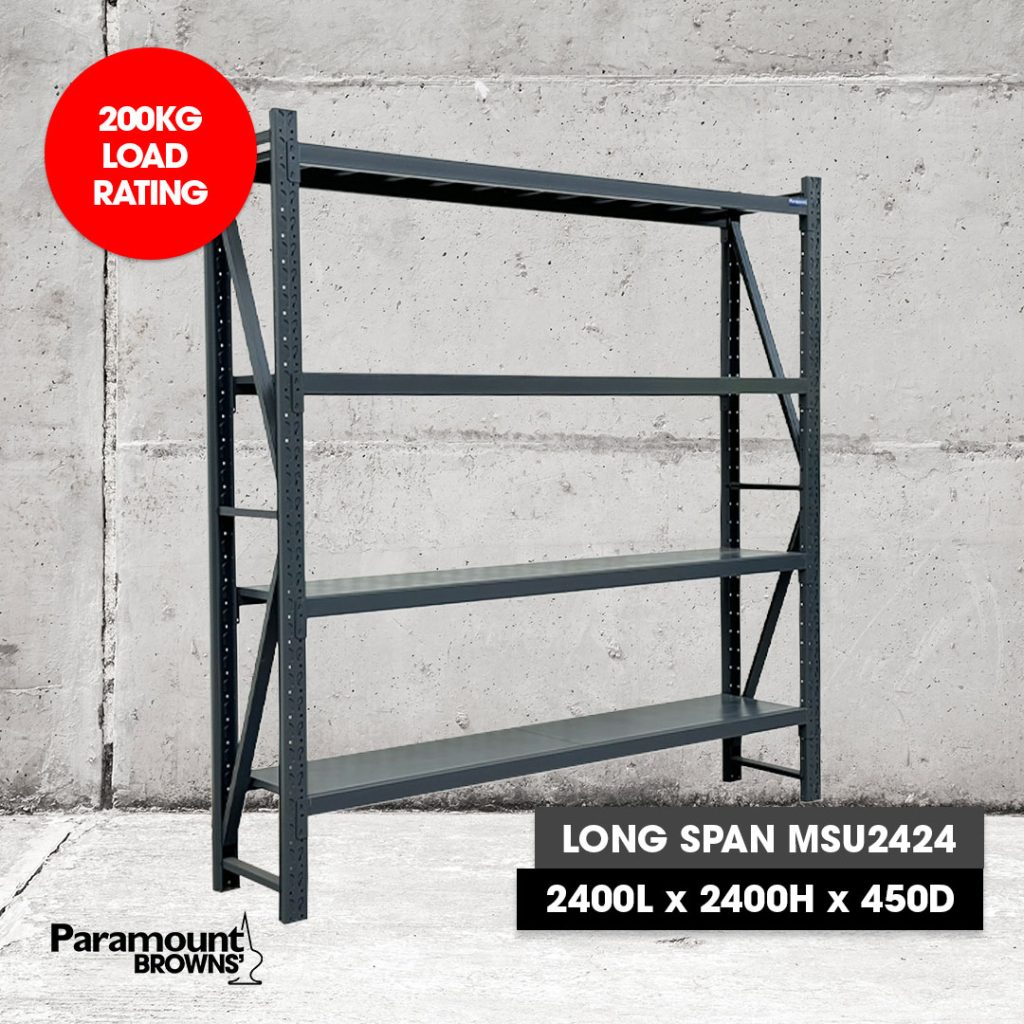
Long Span MSU2424
Step 1: Survey Your Setup
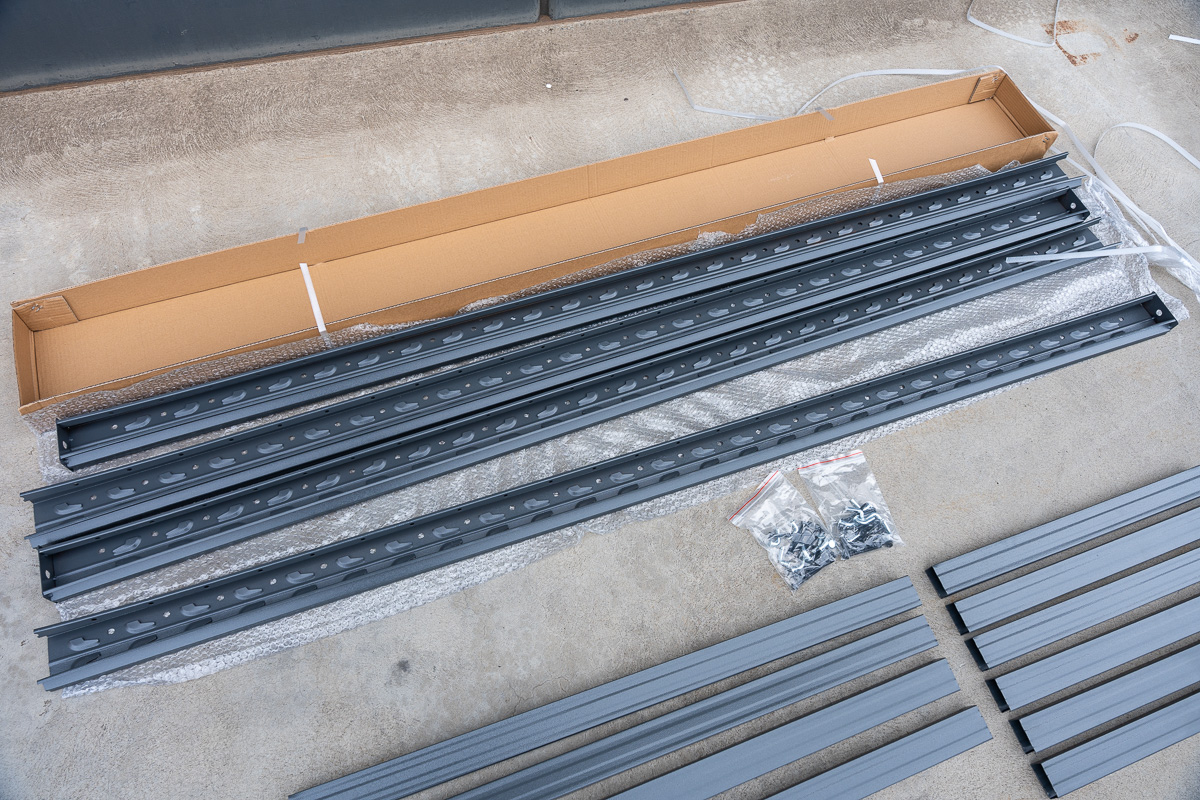
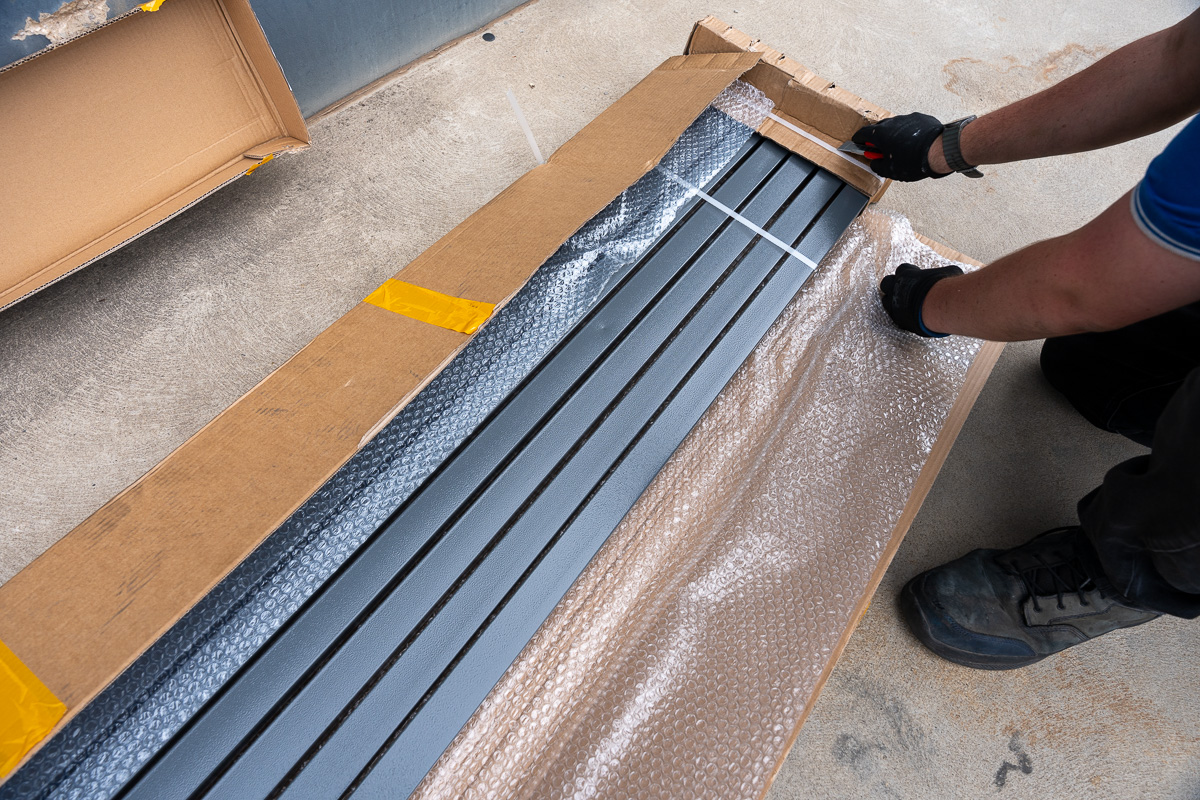
First, let’s make sure you have everything you need to get the job done. Open those boxes and you should see:
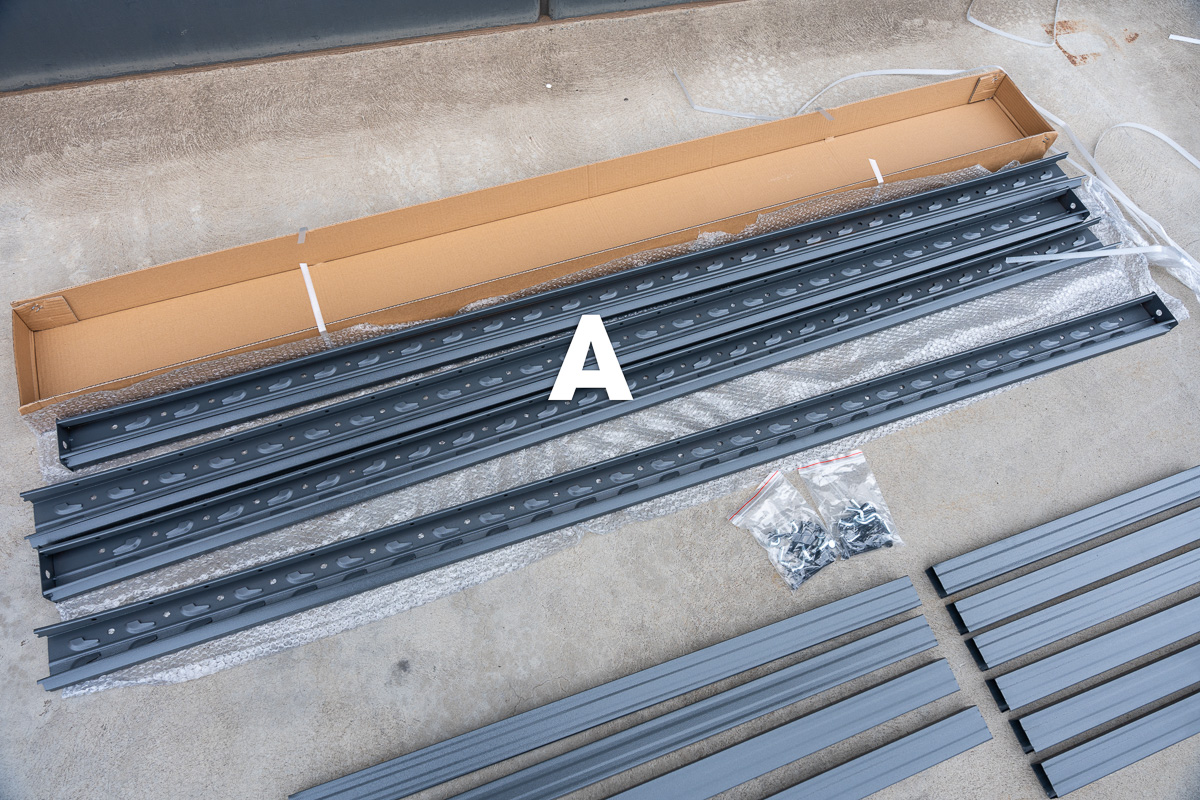
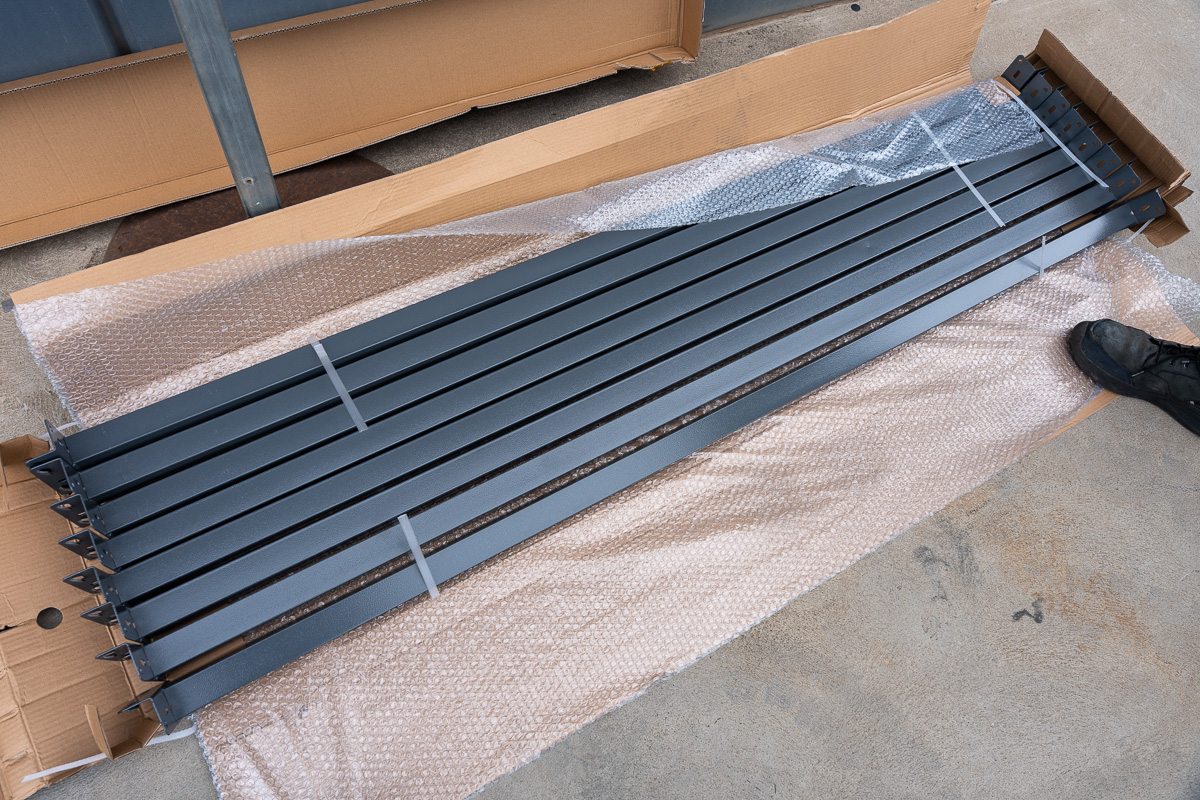
4x Upright Beams (The tall ones!) (A)
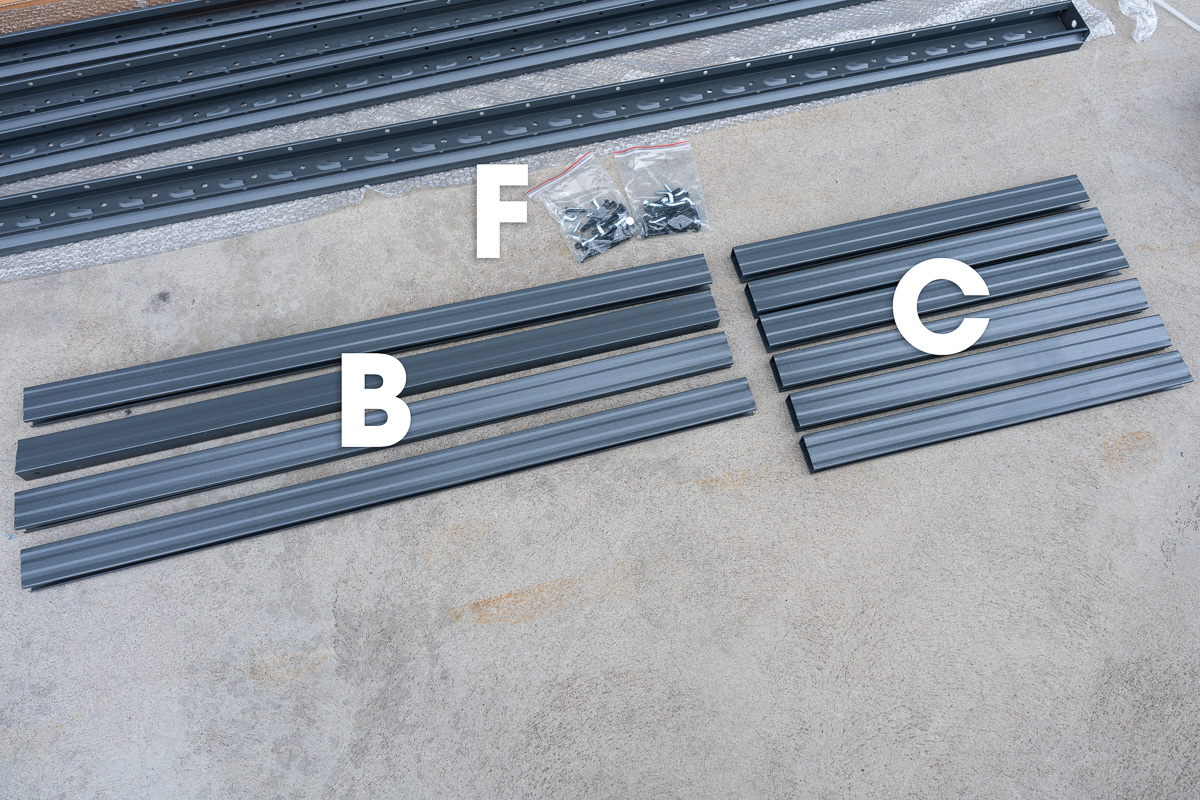
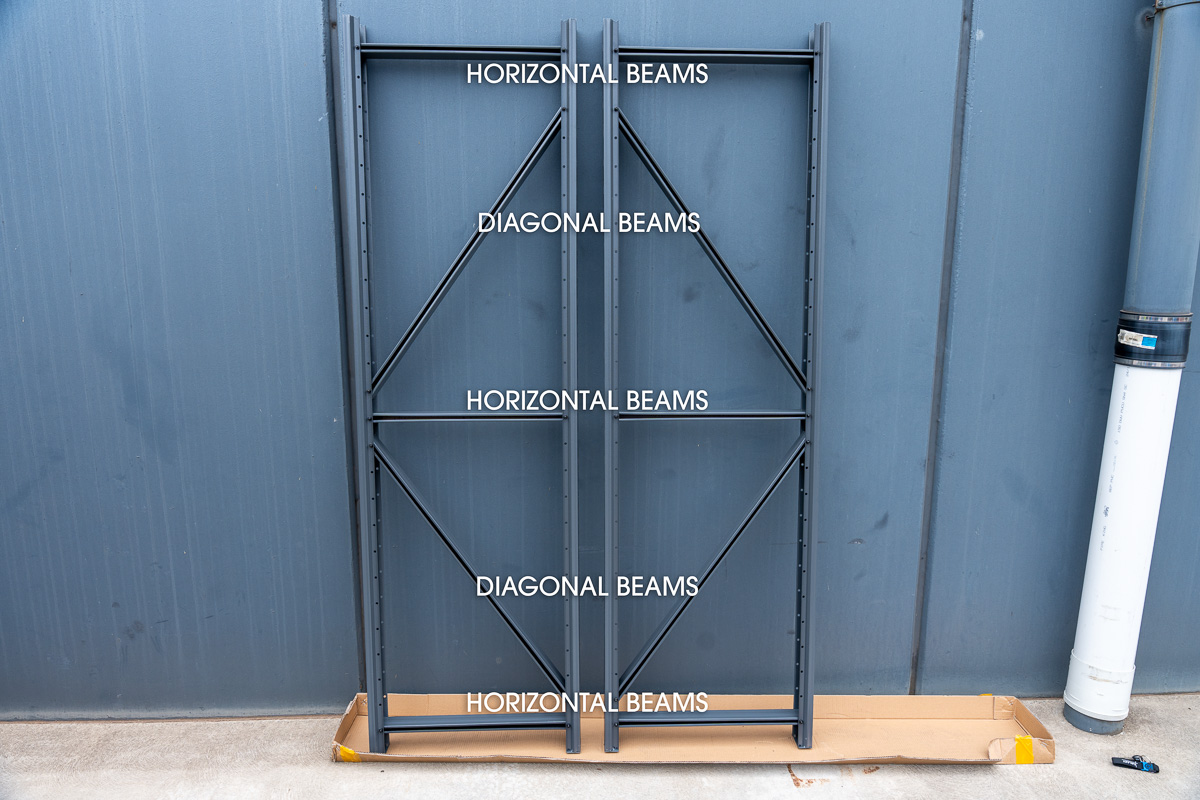
4x Diagonal Beams (For that extra stability) (B)
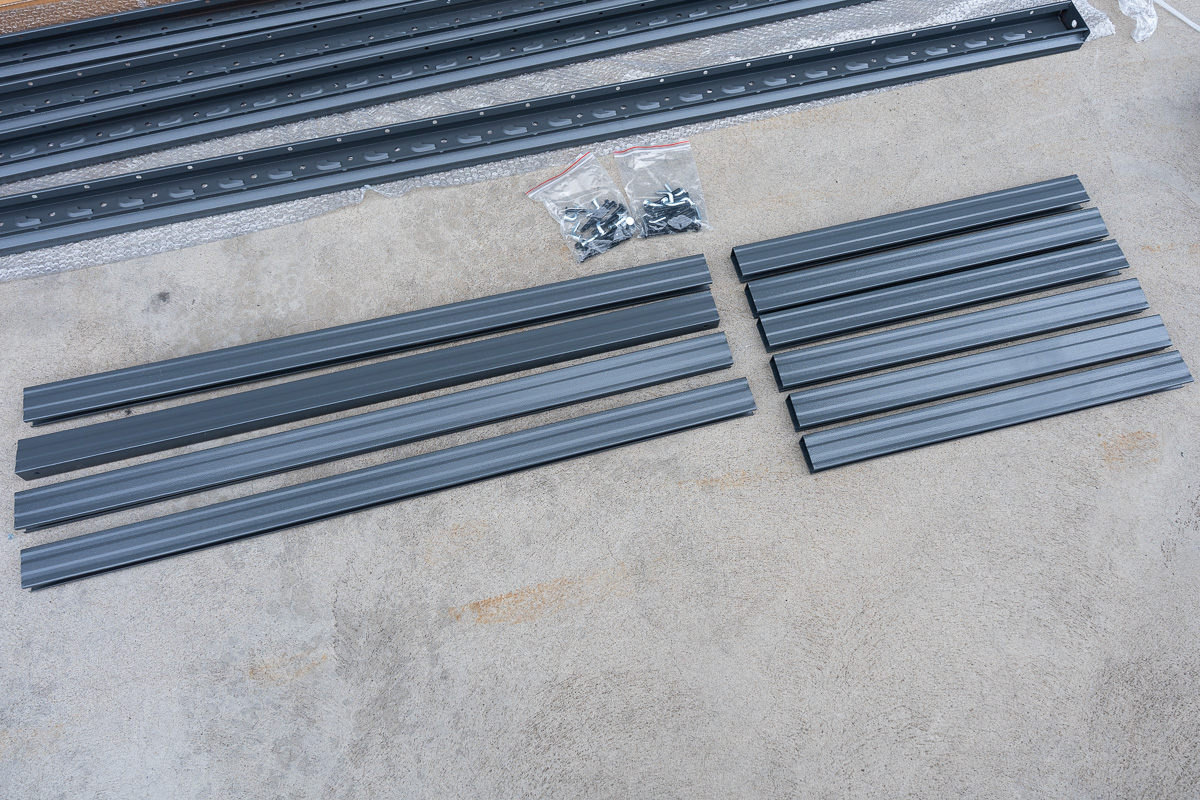
6x Horizontal Beams (To keep things level) (C)
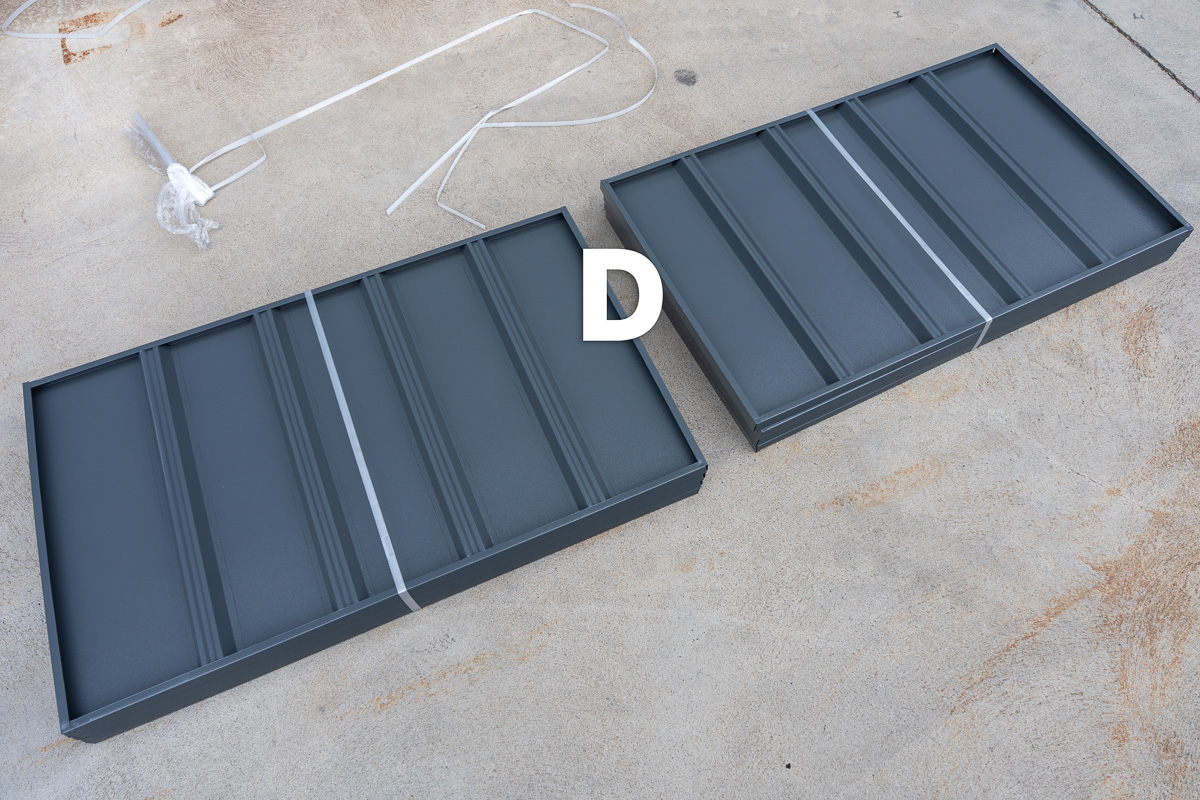
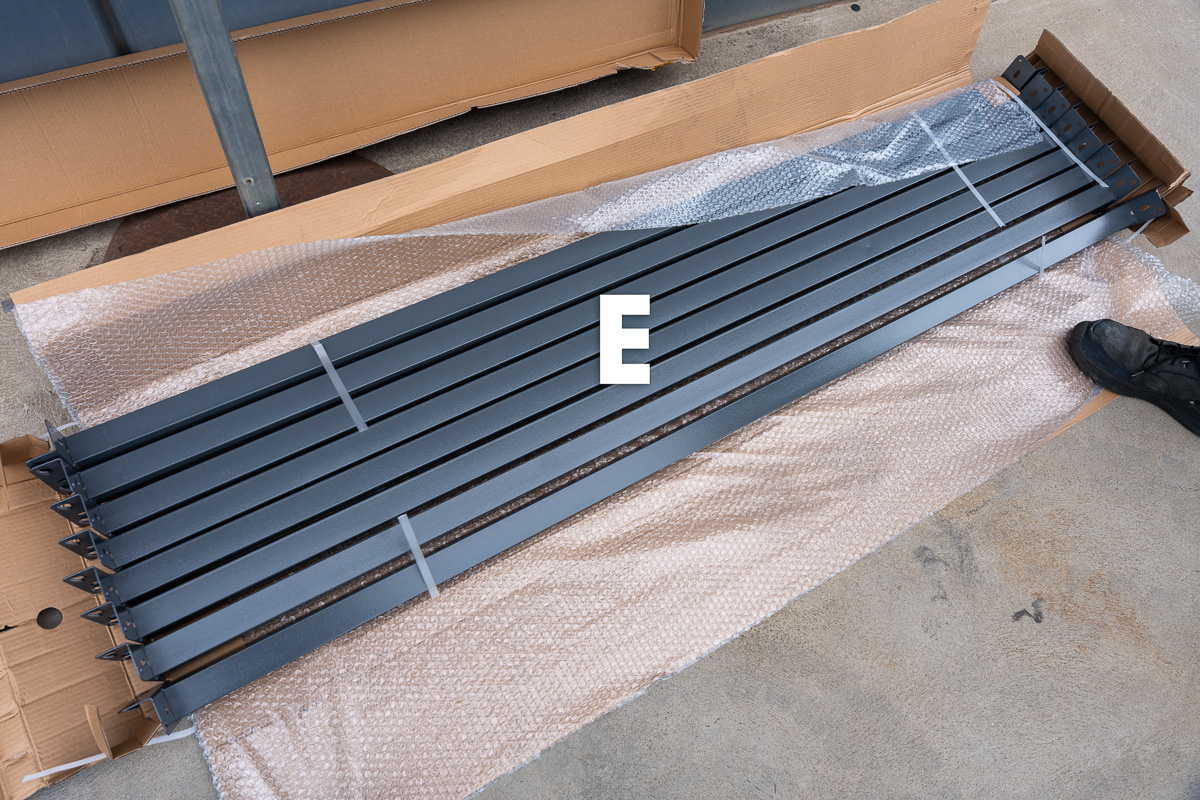
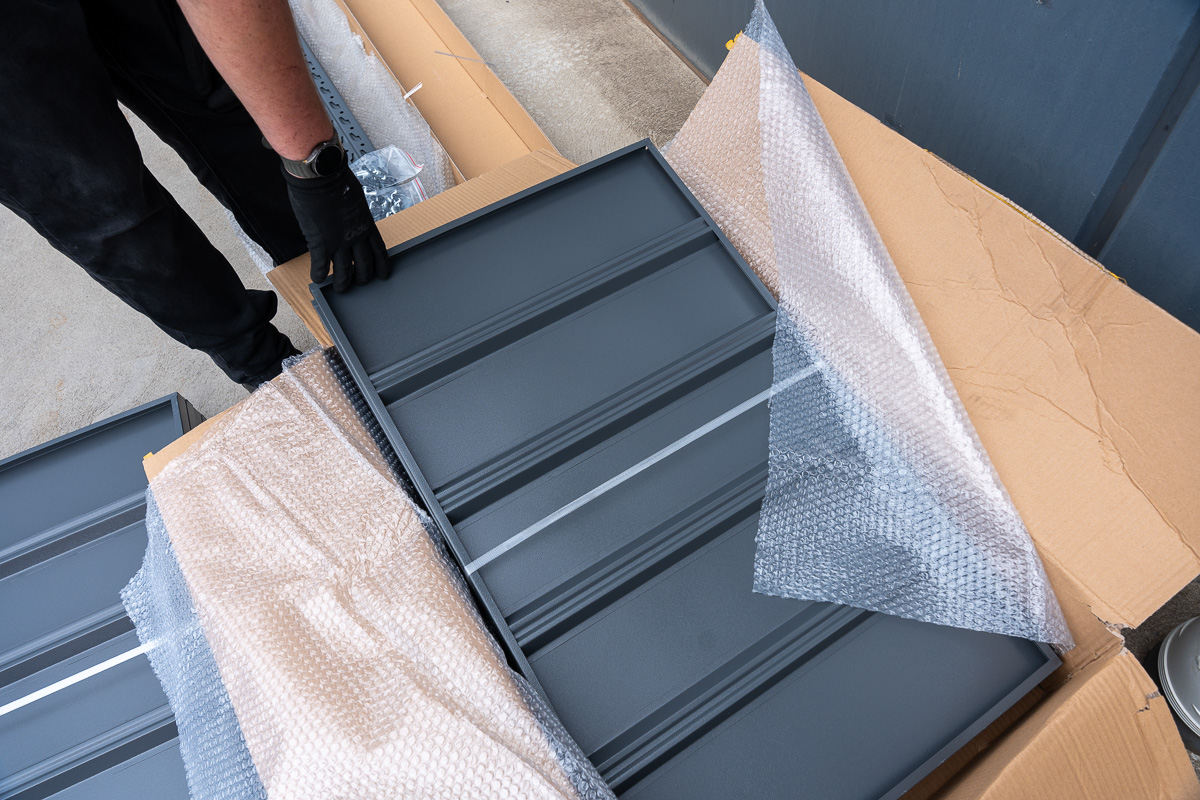
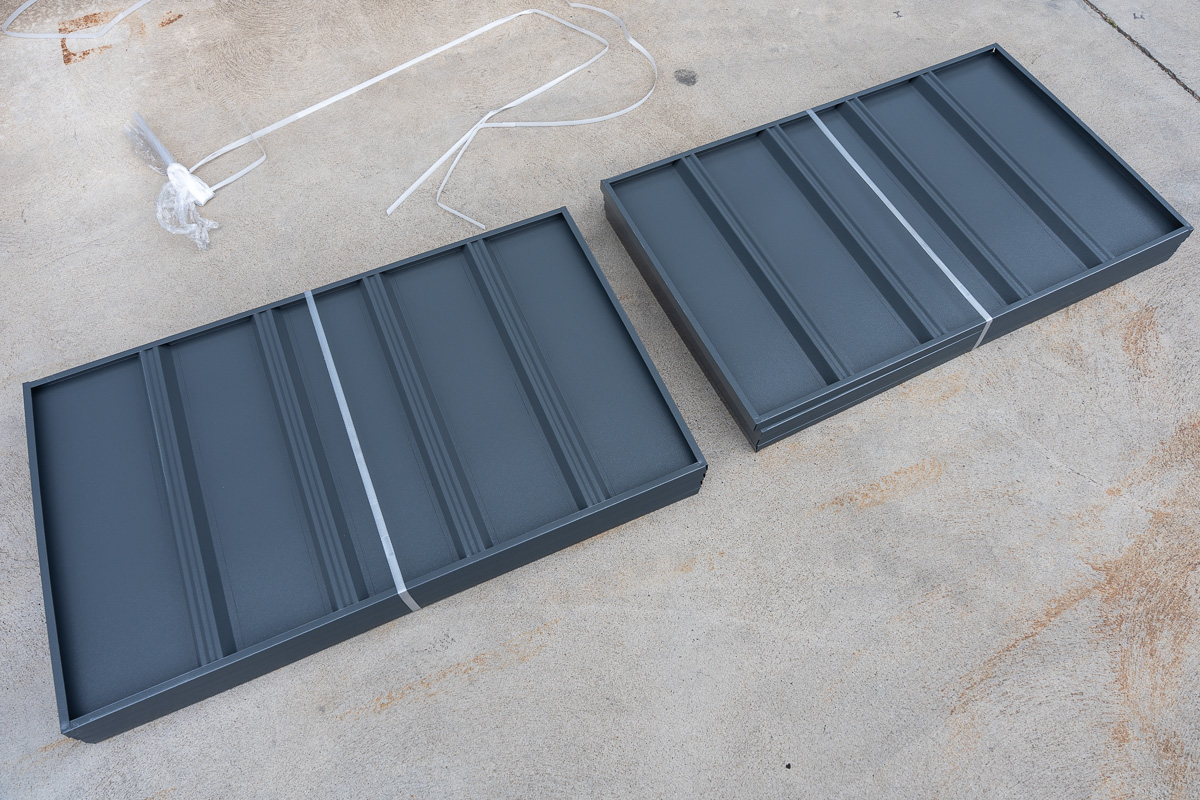
8x Shelf Units (D) and 8x Crossbeams (E)
2x Hardware Bag: This is where the magic happens—long screws, hex nuts, and lock pins (F).
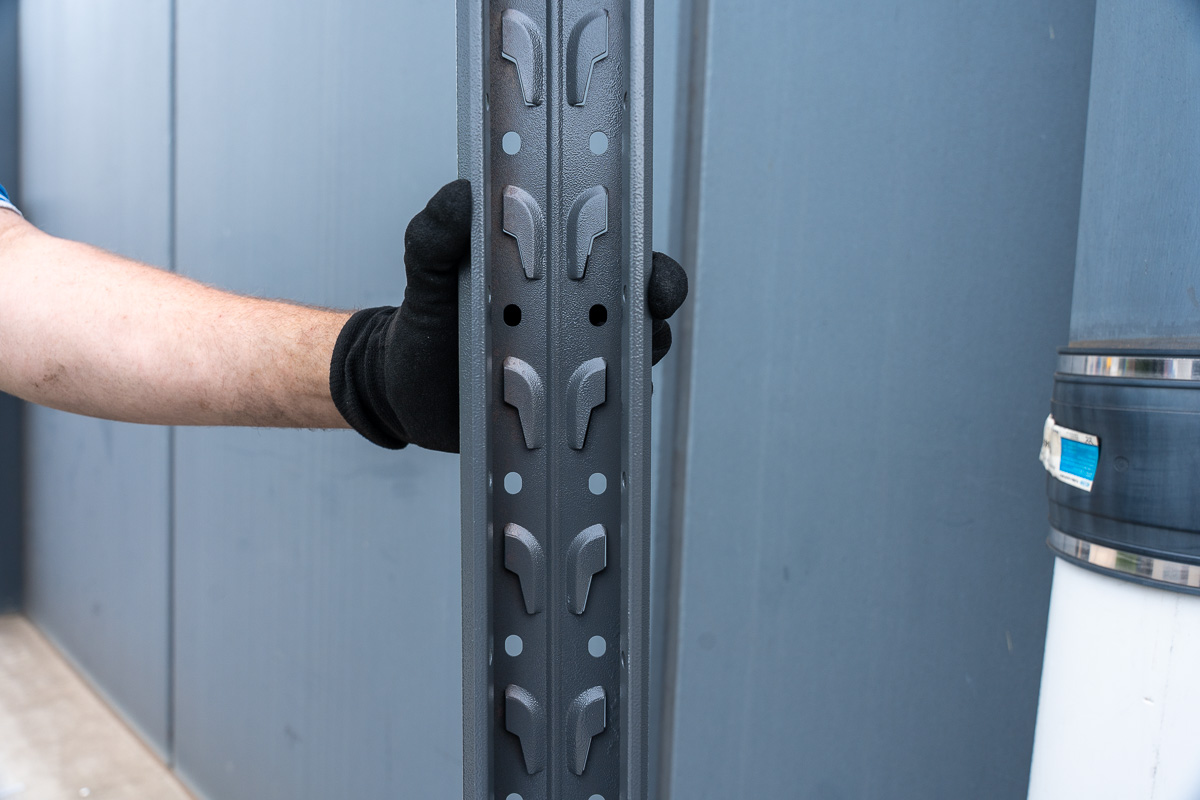
4x Upright Beams
4x Diagonal, 6x Horizontal, and 2x Bag of Screws
8x Shelf Units
8x Crossbeams
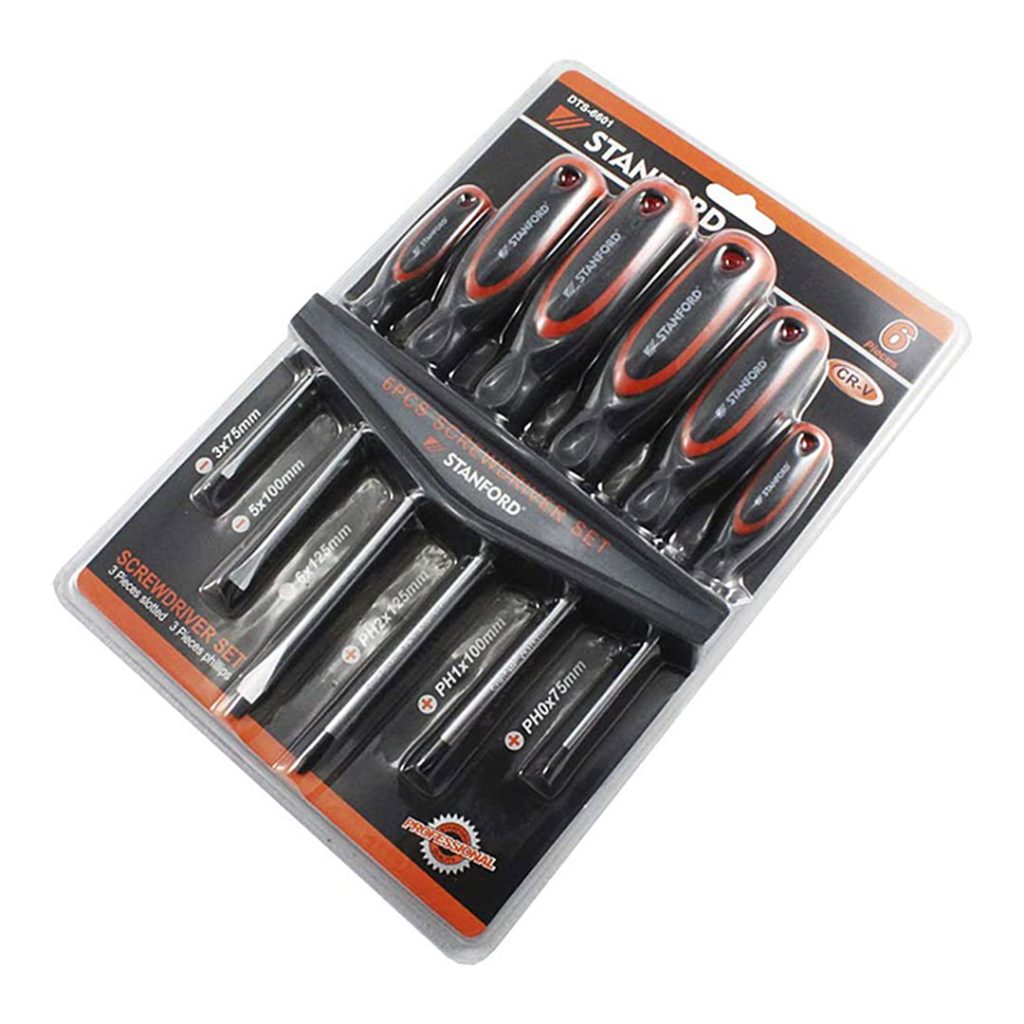
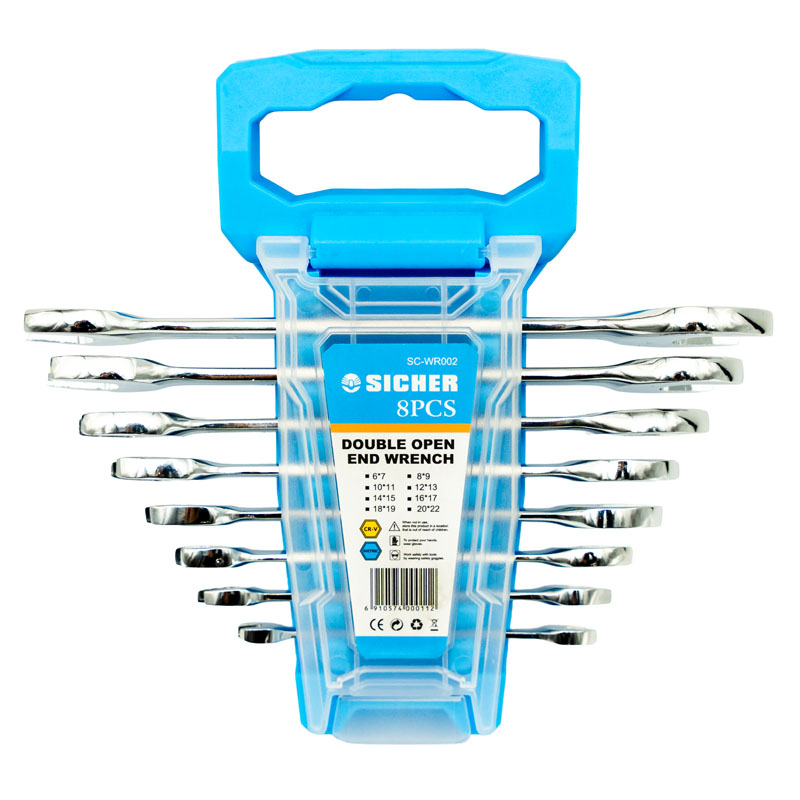
Tool Check:You’ll need a utility knife (to get through the packaging), safety gloves and boots, a Phillips-head screwdriver, and a 10mm spanner wrench.
Utility Knife
Safety Gloves
Screwdrivers
Spanner Set
Step 2: Clear the Deck and Prep
Clear out a wide-open space so you have plenty of room to move around.
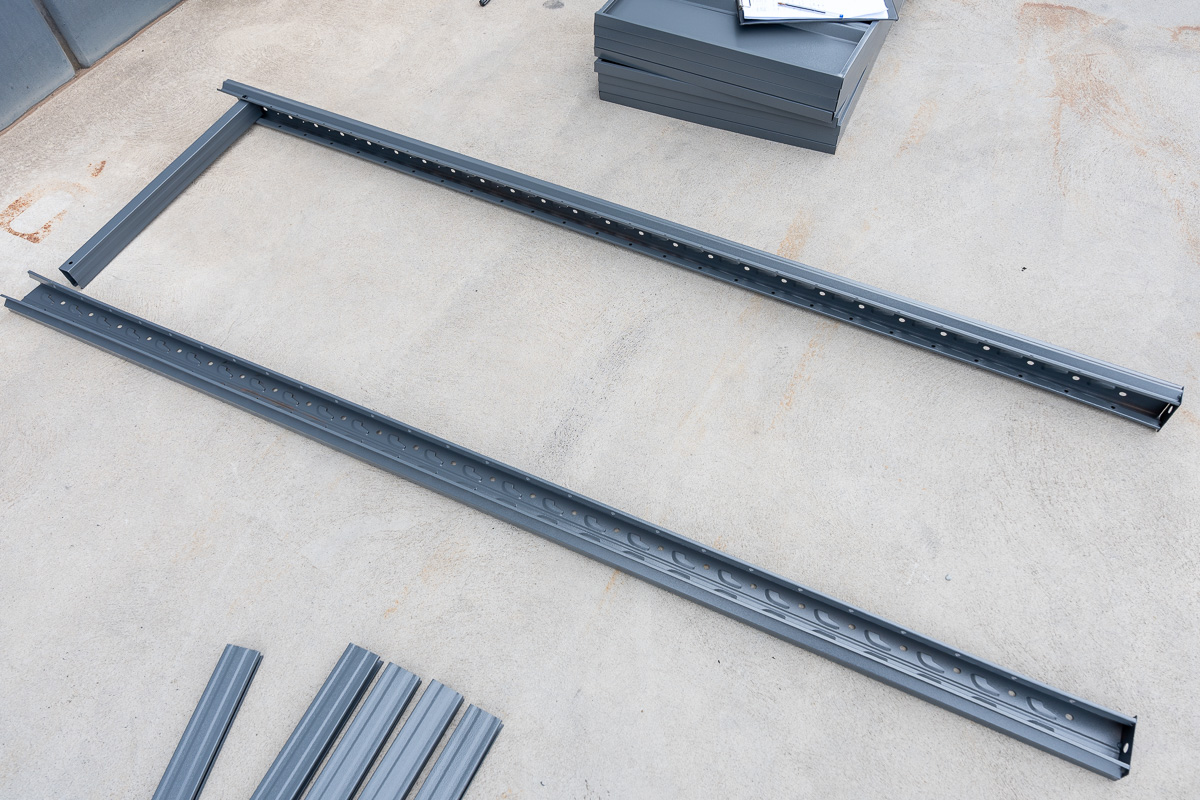
Lay all your beams flat on the ground. This makes them easy to identify and keeps them from falling over while you work.
Peel back the bubble wrap and packing material.
Open the box of shelf inserts so they are ready to go when you reach the finish line.
Step 3: Build the Upright Frames
This part is all about the side supports. You’ll be building two identical side frames.
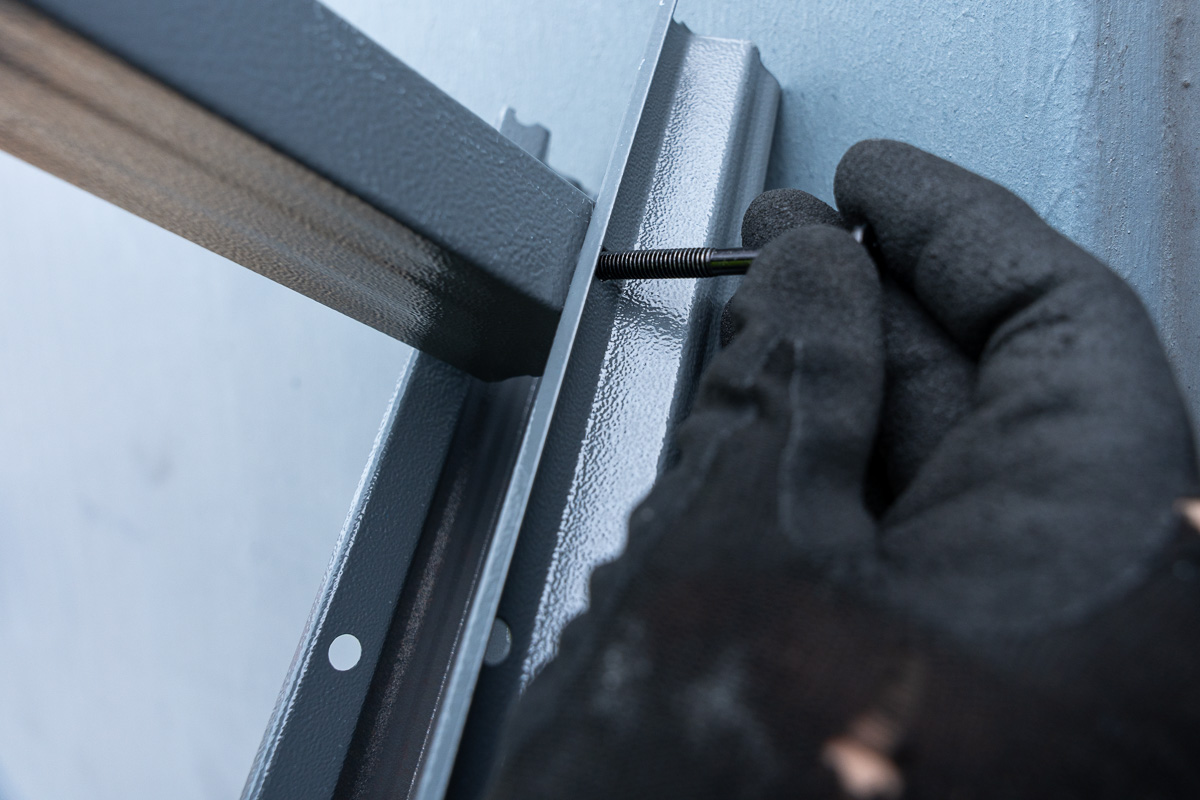
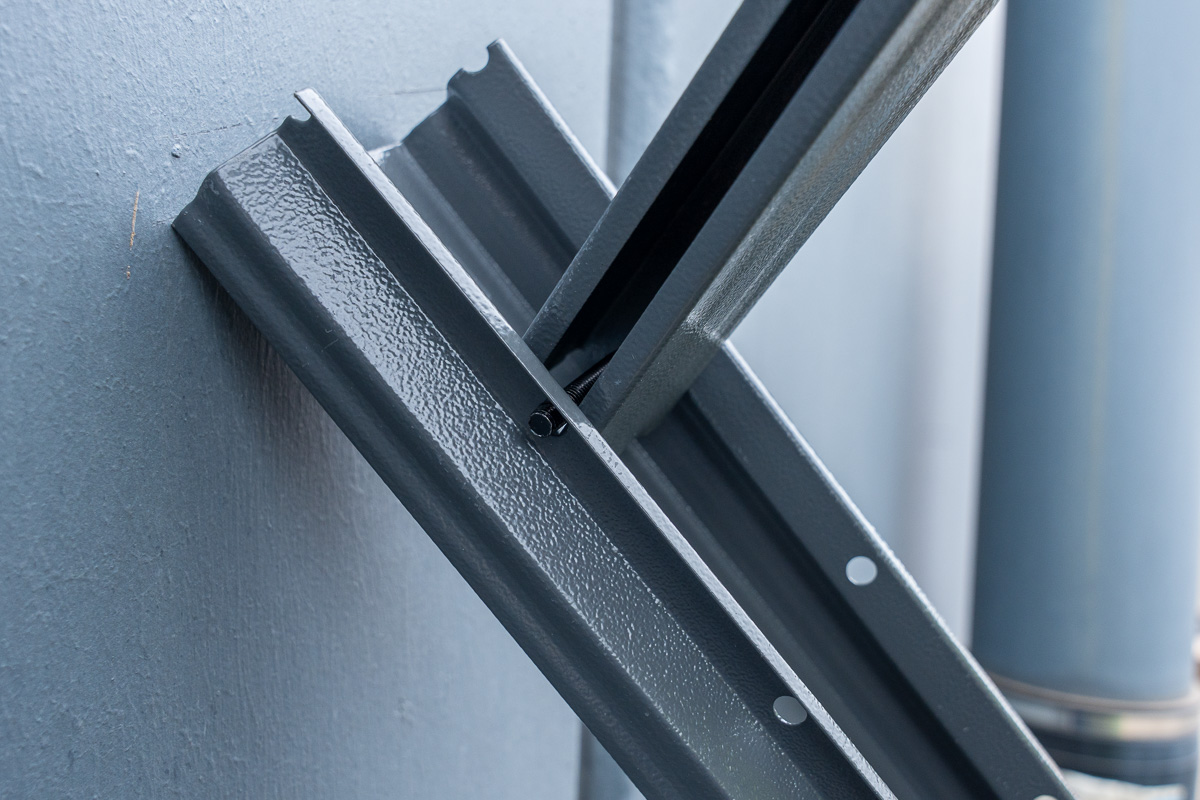
The First Upright: Lean an upright beam against a wall. Align a horizontal beam with the screw holes and secure it with a long screw and hex nut. Tighten it by hand for now.
Upright Frames Assembled.
Upright beam in standing position.
Lining up the upright and horizontal beams.
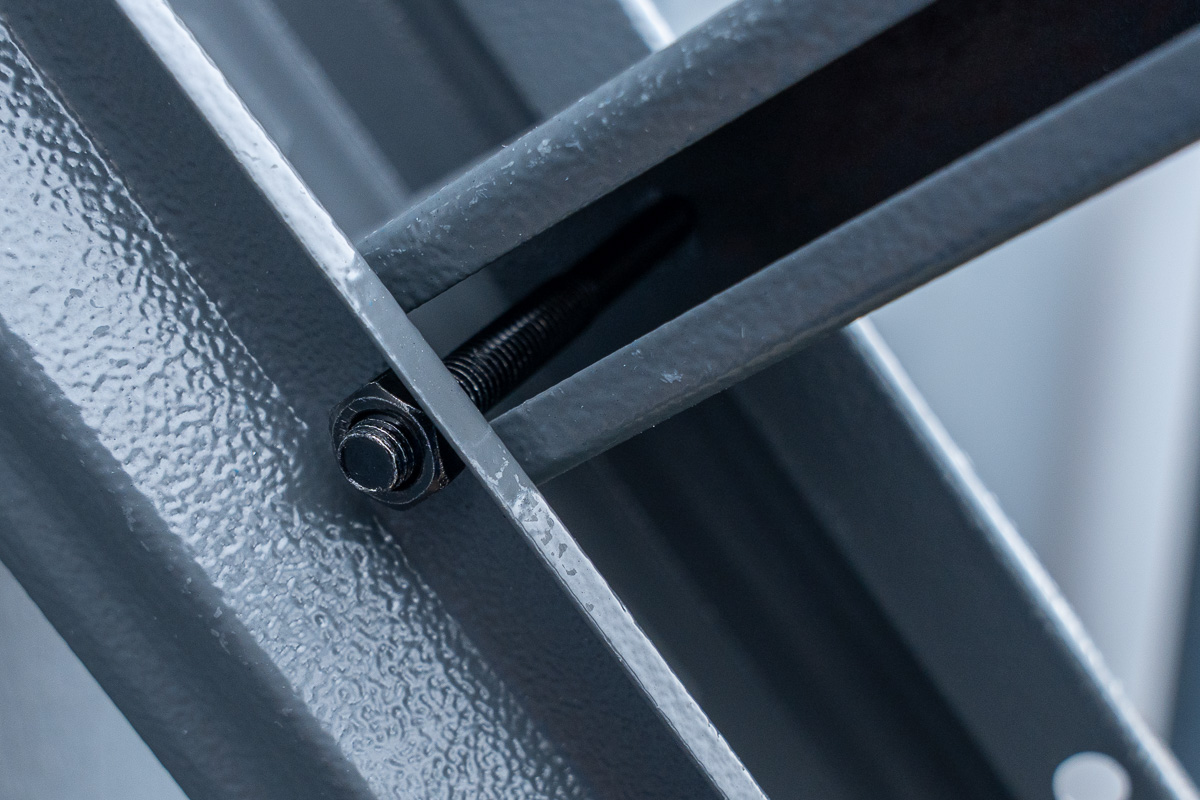
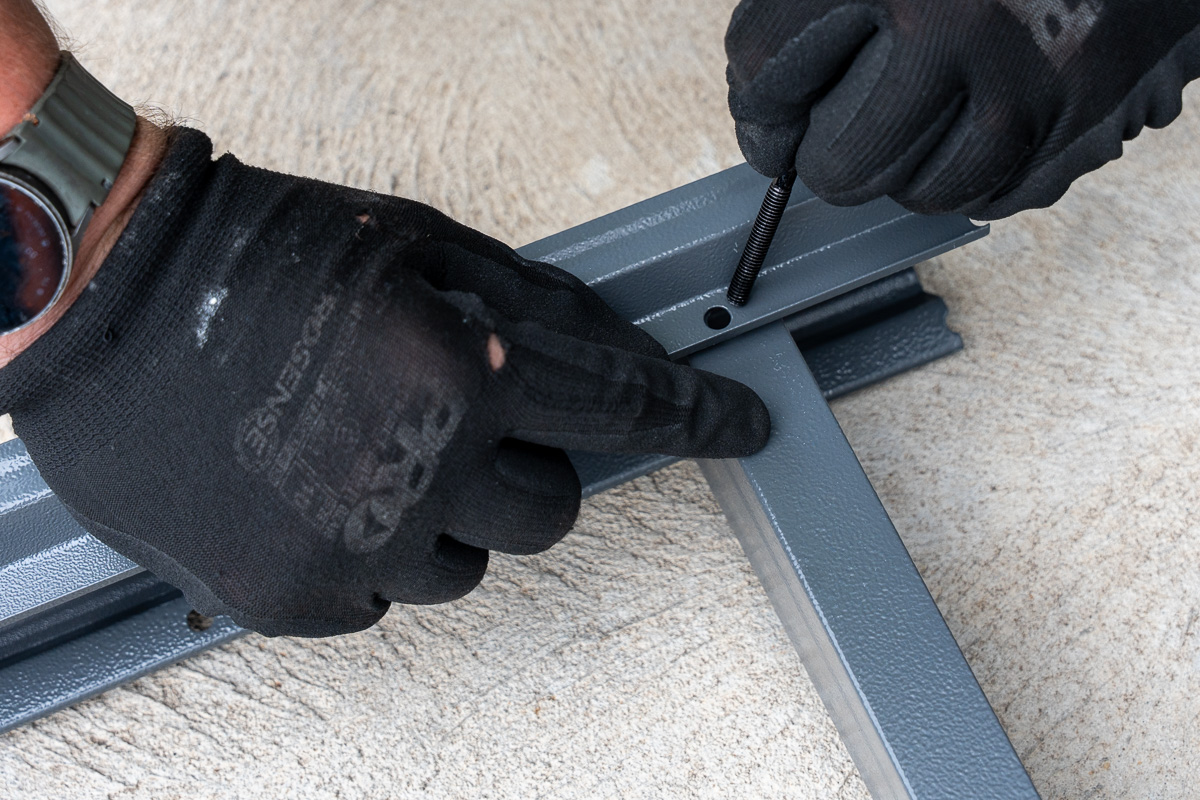
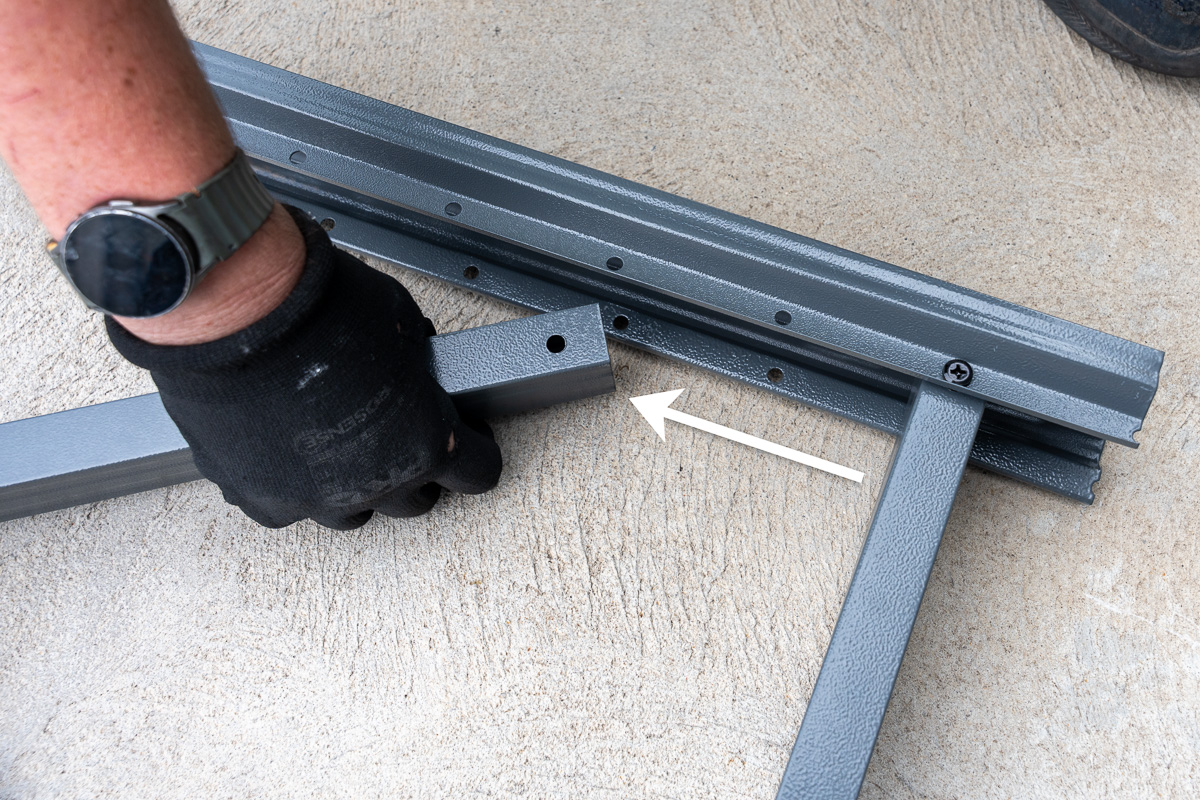
Connect the beams with a long screw.
Secure the beams with a nut.
Hand-tight the nut onto the screw.
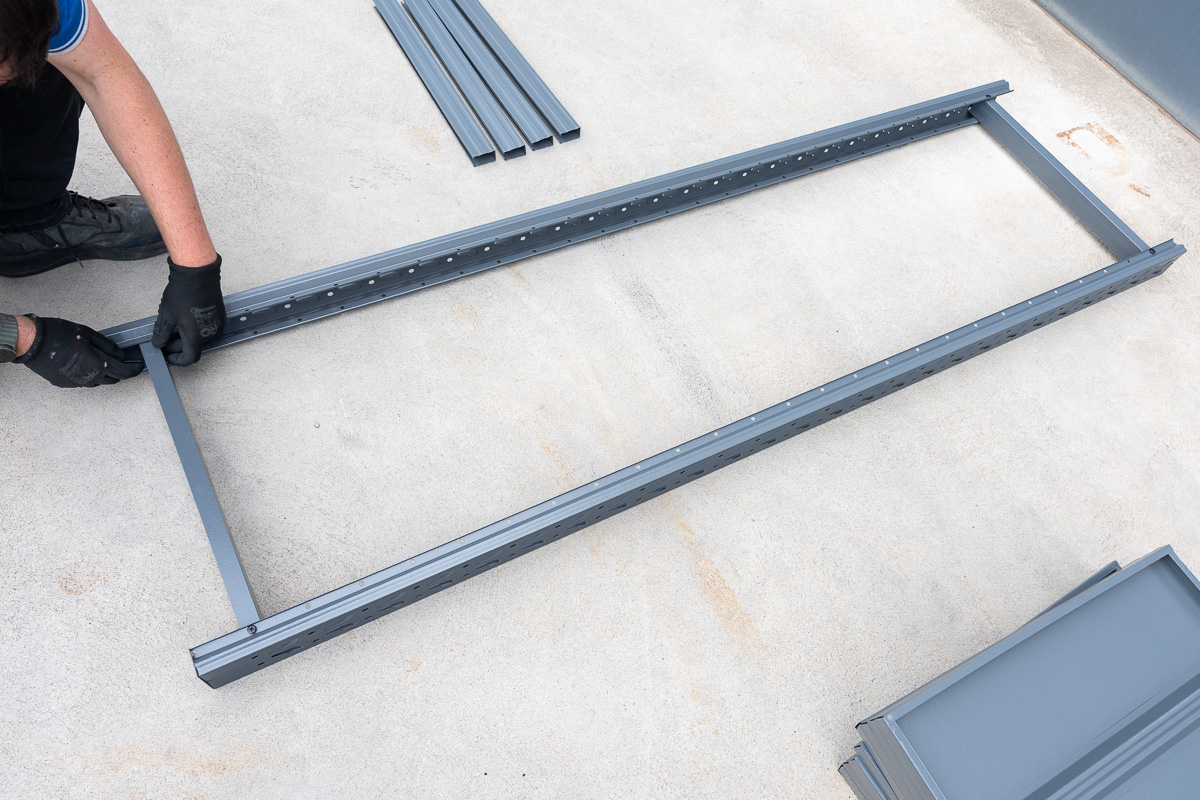
Connect the Pair: Lay your second upright beam flat and join it to the other end of that horizontal beam.
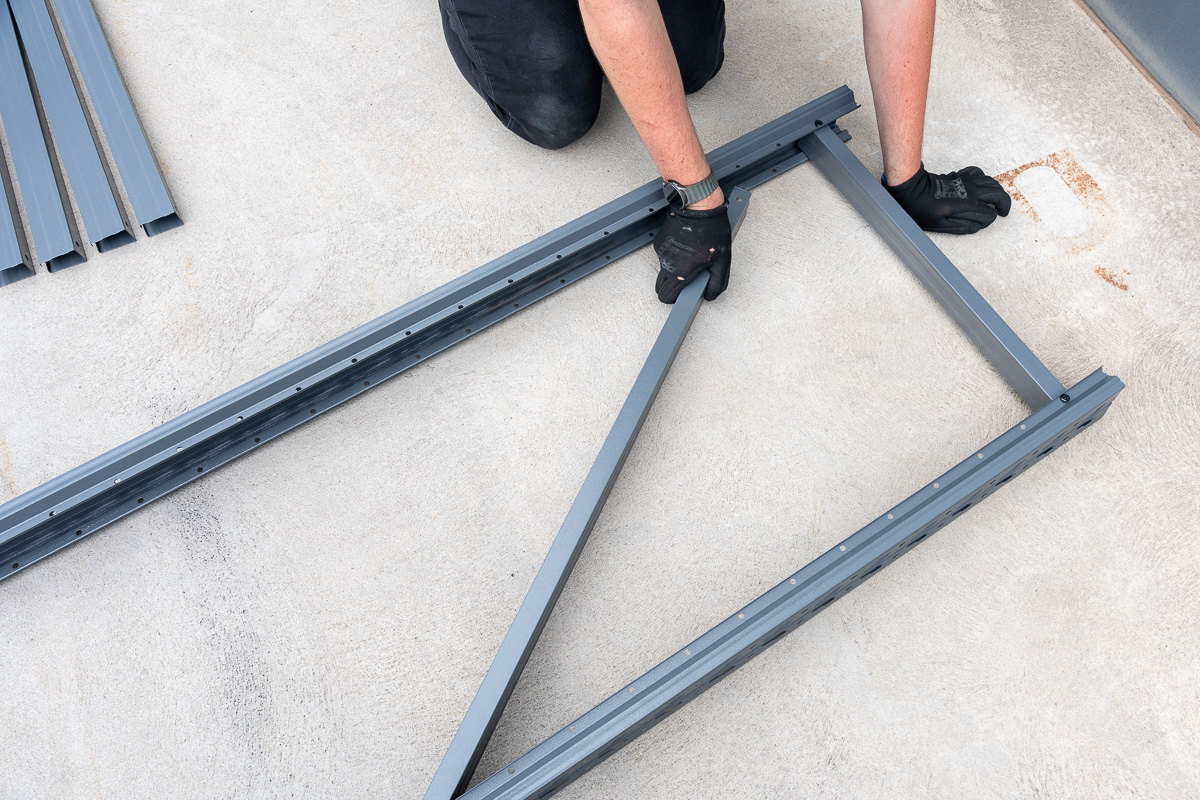
Add Support: Attach the diagonal beams to give the frame its strength.
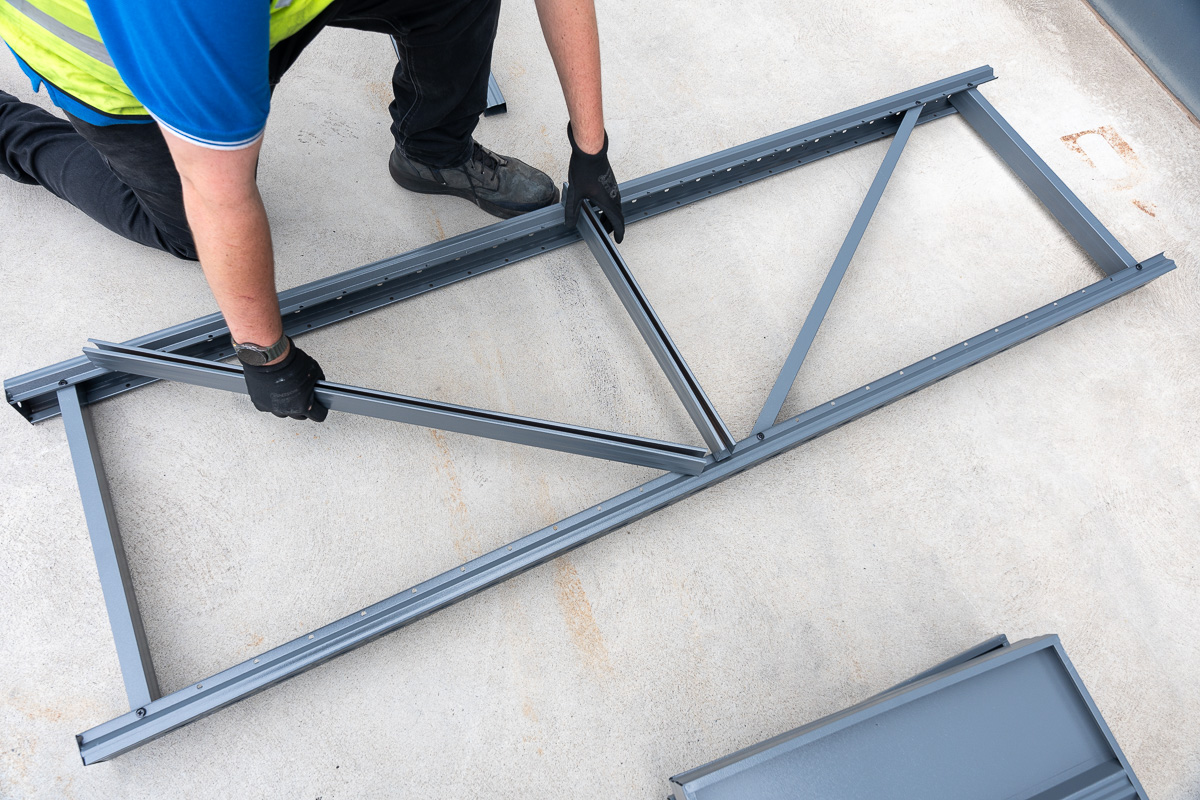
The Middle Ground: Add the final horizontal beam in the middle.
The Big Tighten: Once the frame looks straight and aligned, use your screwdriver and spanner to tighten all those nuts and bolts.
Connecting the other upright beam.
Securing the beams with a long screw.
Adding the second horizontal beam.
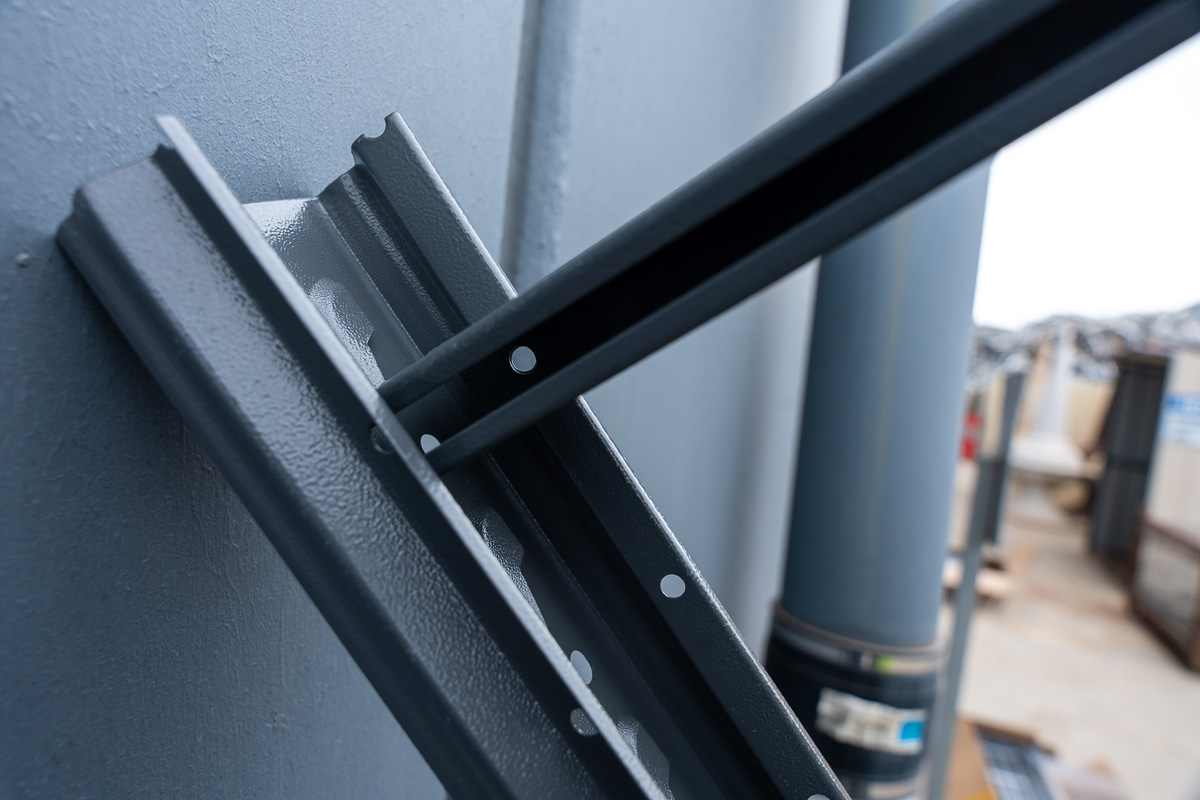
Position the first diagonal beam.
Lining up the diagonal beam to be secured with a long screw and nut.
Positioning the second diagonal and third horizontal beams.
Pro-Tip: Repeat this for the second frame, and you’re halfway there!
Step 4: Uniting the Frames (The Buddy System!)
This is where it starts to look like a shelving unit. Assembly is much easier—and safer—with two people.
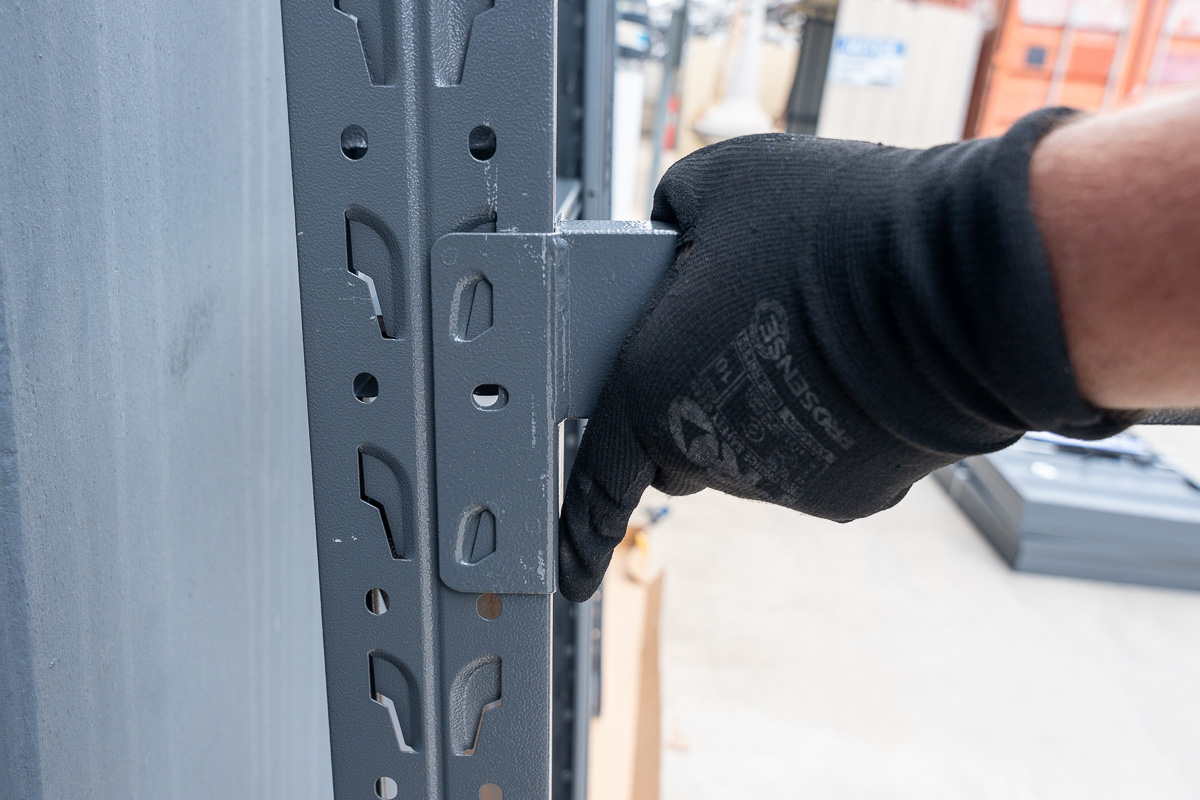
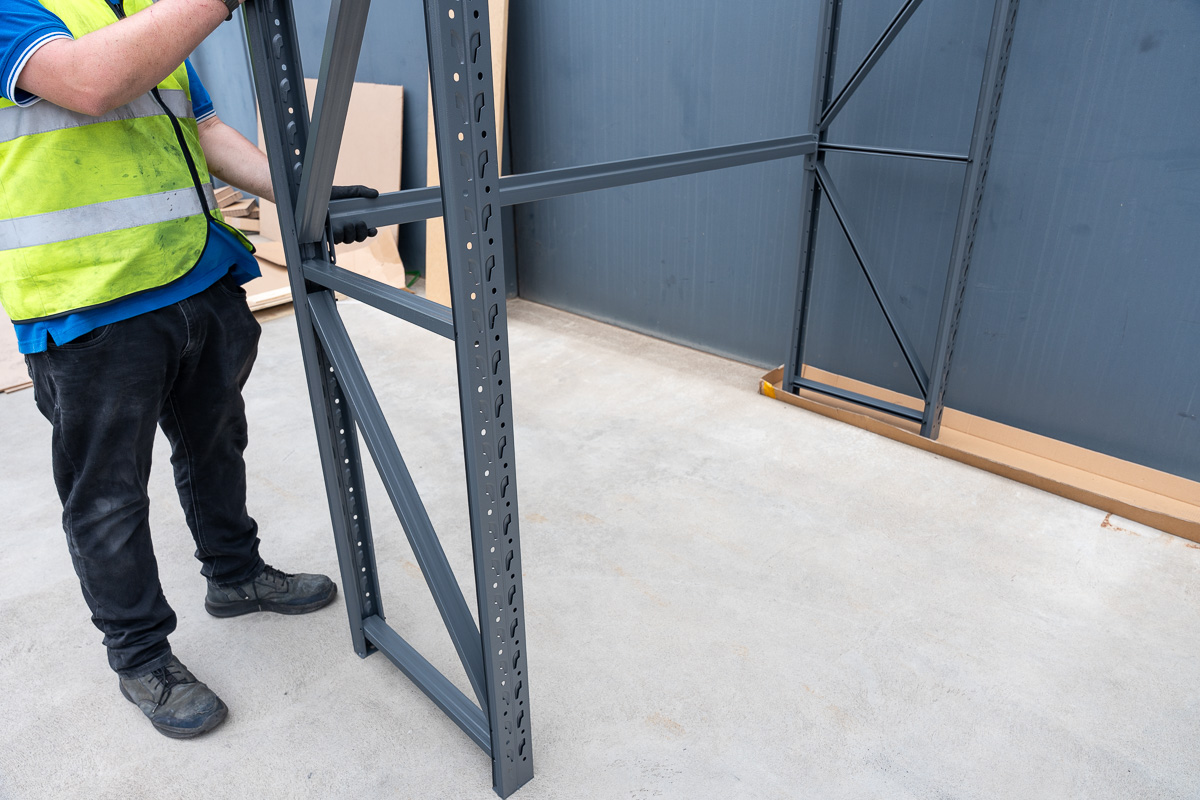
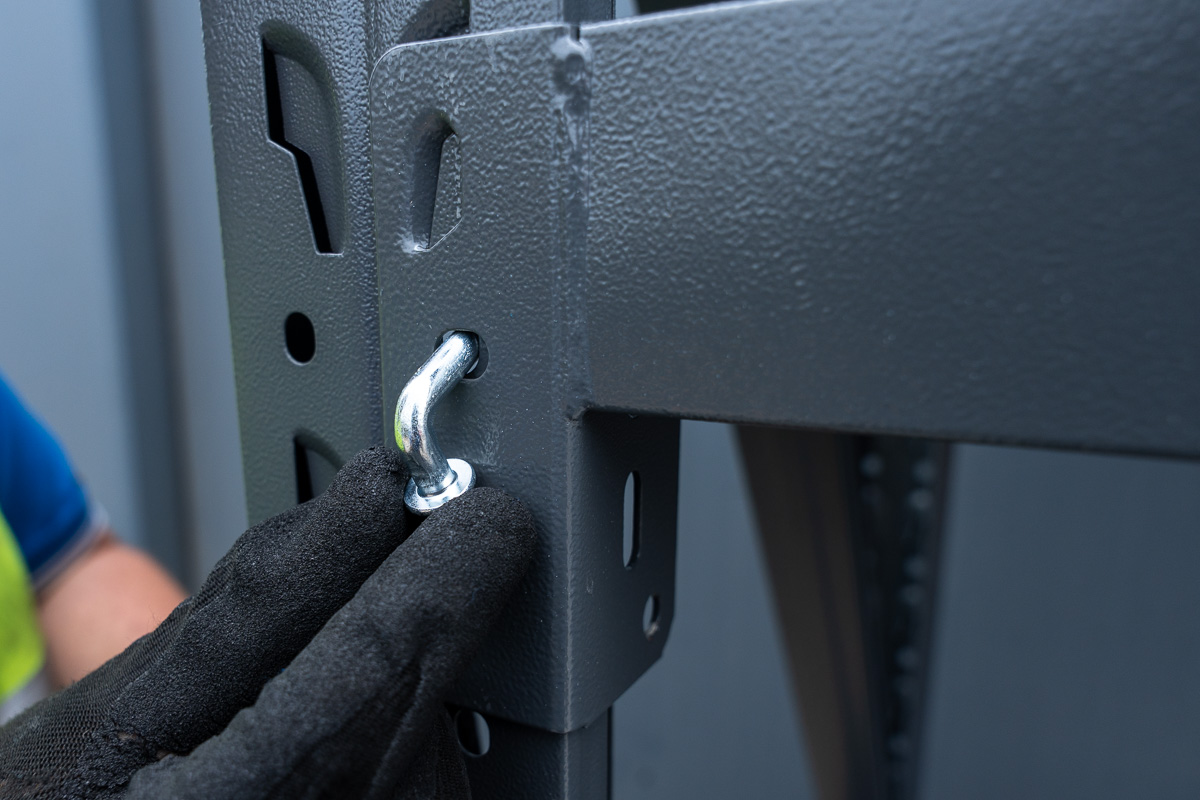
The First Click: Pick a slot near the middle and push a crossbeam down into the upright until it clicks into place.
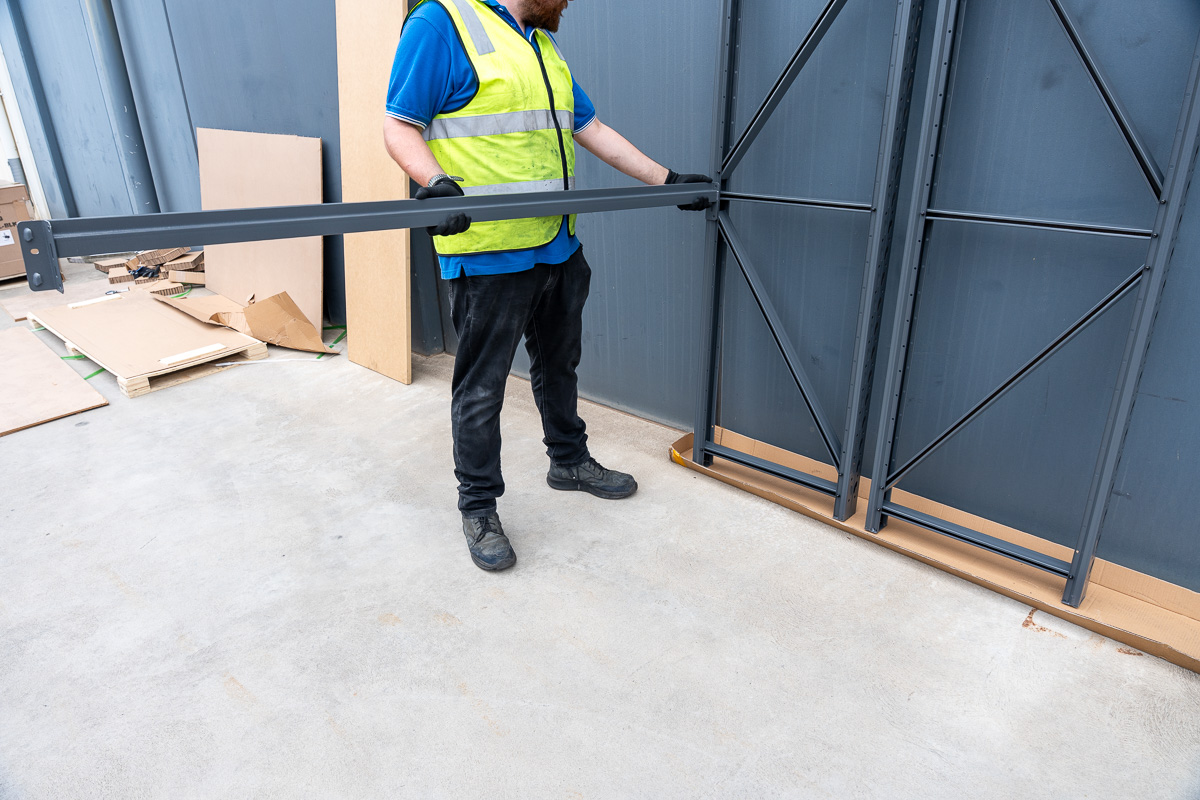
Join the Frames: Have your partner hold the first frame while you secure the other end of the crossbeam into the second upright frame.
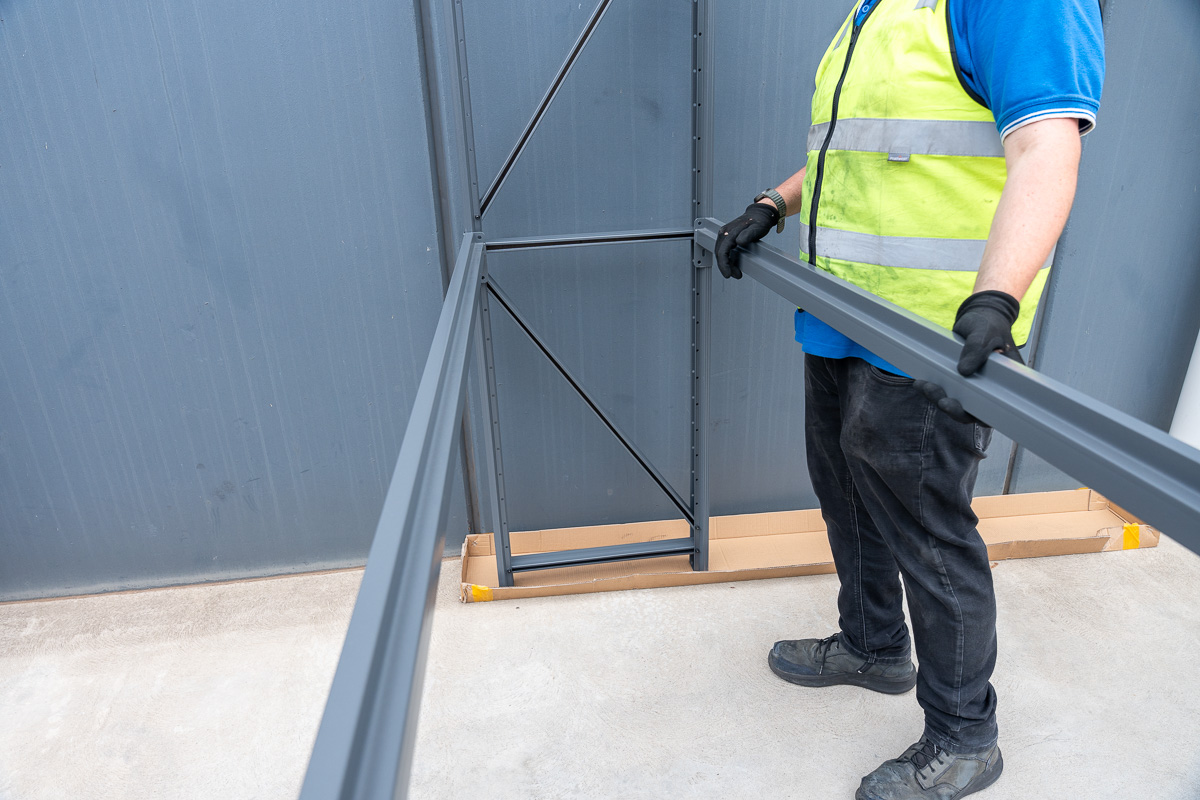
Balance it Out: Slot the matching crossbeam on the opposite side. Once that level is secure, you can add the rest of the beams at whatever heights you need for your tools and gear!
Lining up the first crossbeam onto the upright.
Firmly push down until it clicks into place.
Having an extra person can help with the balance.
Securing the other end of the crossbeam to the second upright frame.
Slotting the matching crossbeam on the opposite side.
All crossbeams installed.
Step 5: The Finishing Touches
You are almost at the finish line!
Move it into place: Put the frame exactly where you want it before you add the heavy shelves.
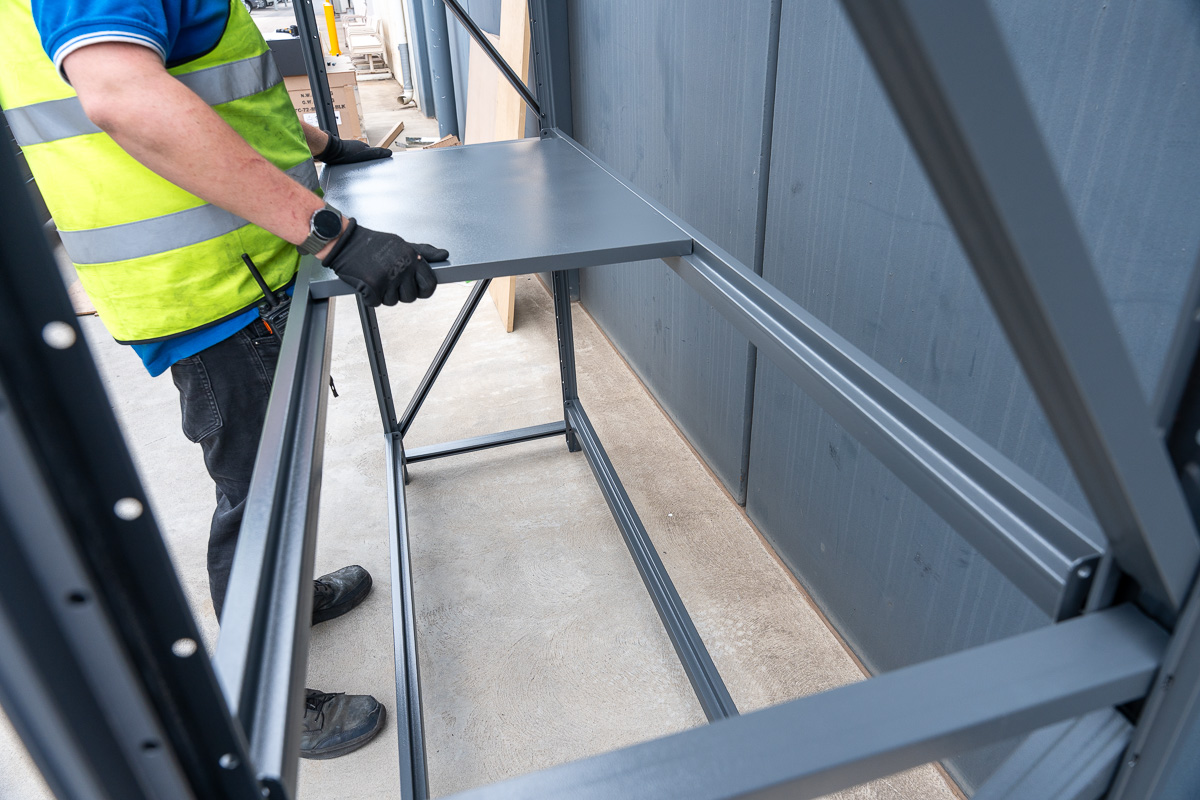
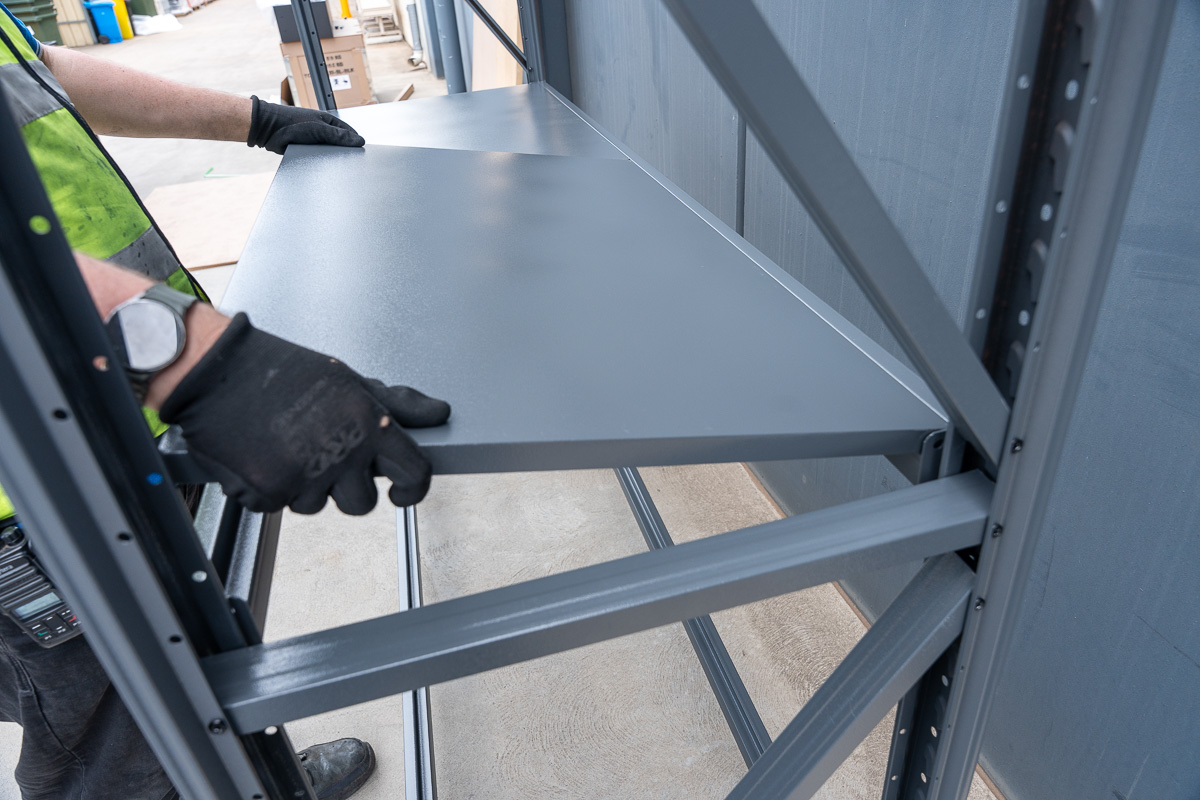
Drop the inserts in: These should sit flush on the crossbeams.
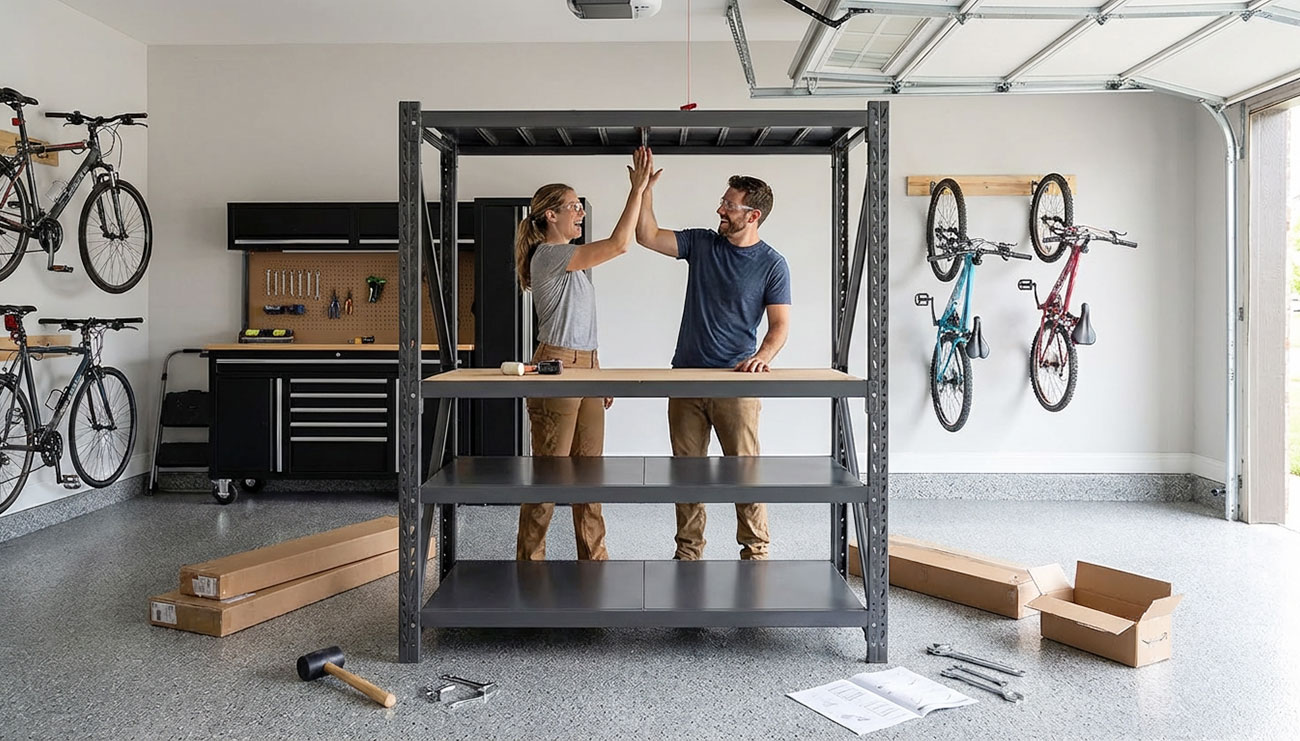
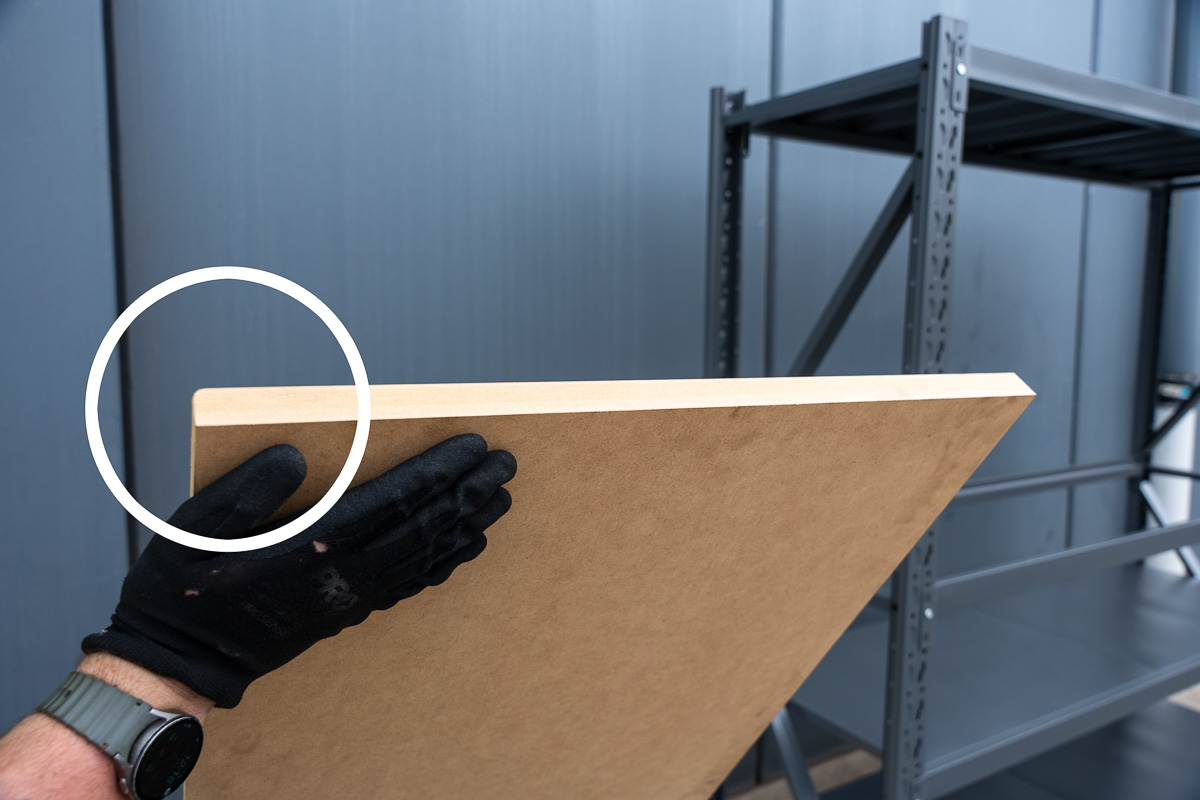
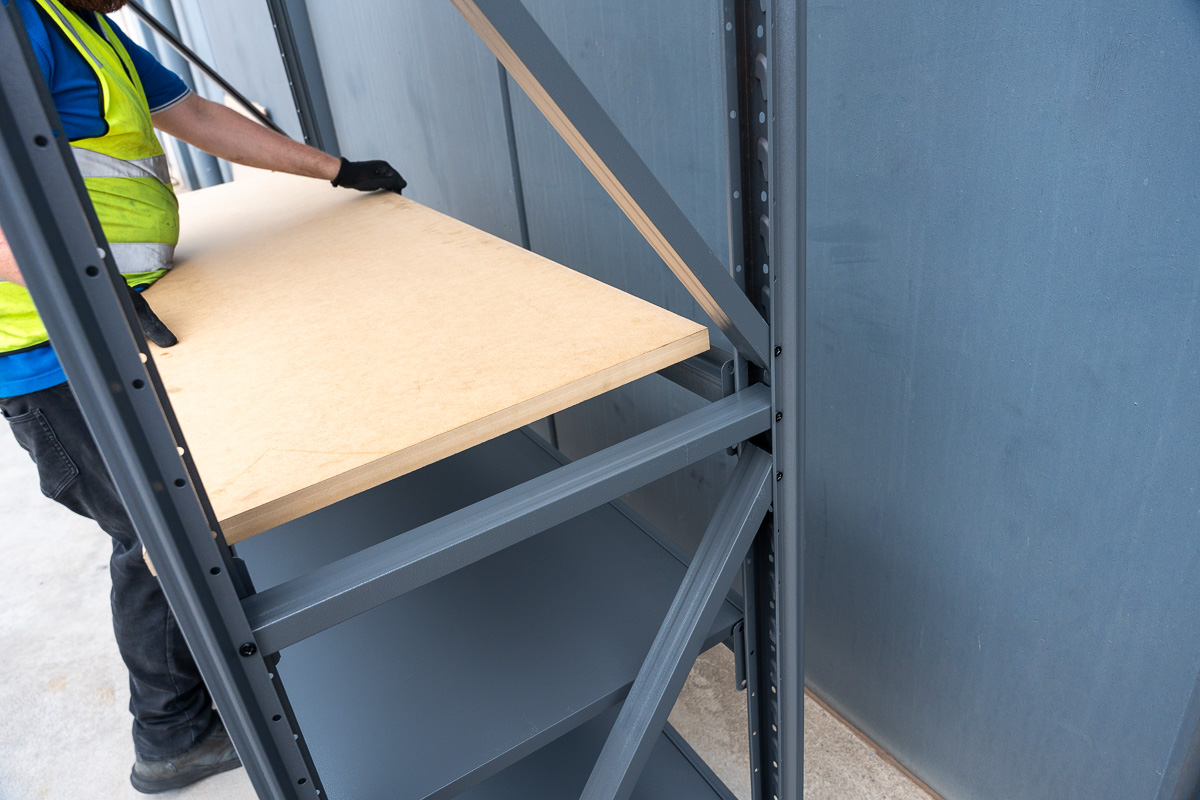
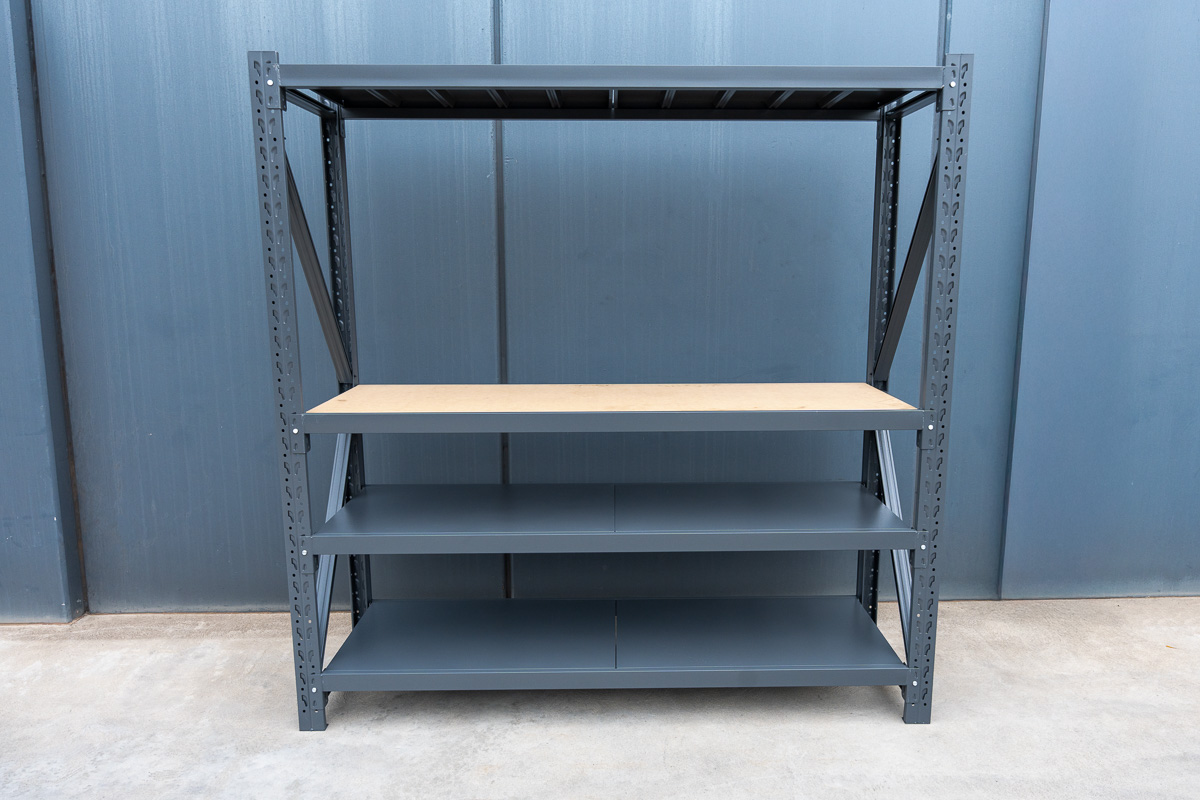
Bench Top Time: If you’re using the Bench Top accessory, it drops in just like a shelf. Make sure the curved edge is on top and facing toward you.
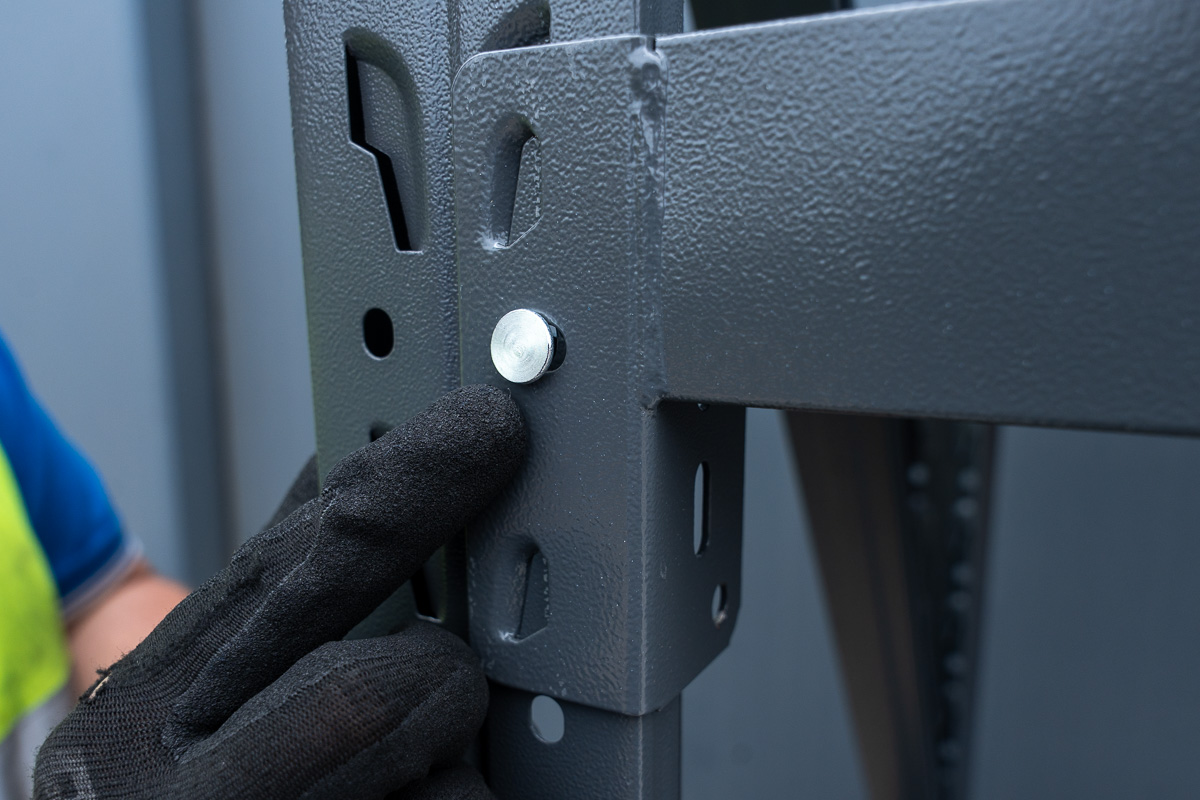
Lock it down: Grab those lock pins and slot them into the holes by hand. This ensures those beams stay exactly where they belong.
Placing a shelf unit onto the crossbeams.
Shelf units should sit flush against the frame.
Hand-insert all 16 lock pins.
Lock pin fully inserted.
Optional Bench Top - Ensure curved edge is facing up.
Optional Bench Top - Sits on top flush against the crossbeams.
Recommended Product
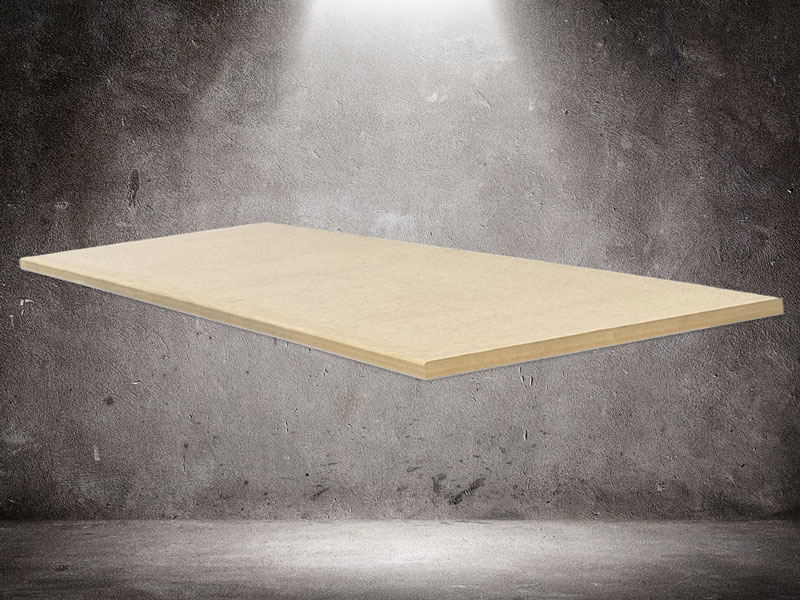
MDF BENCH TOP
Transform your MSU Shelving Unit to a workbench with an MDF Bench Top. Compatible with the MSU2020 and MSU2024 shelving units.
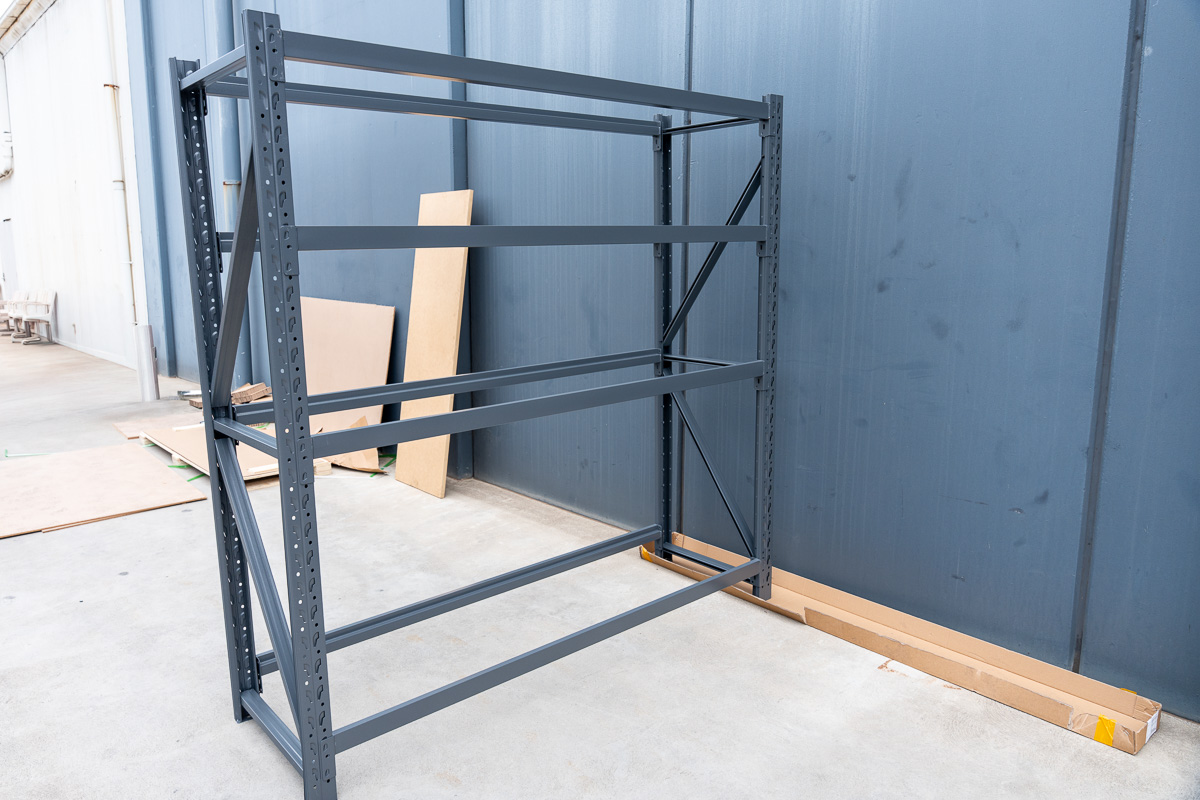
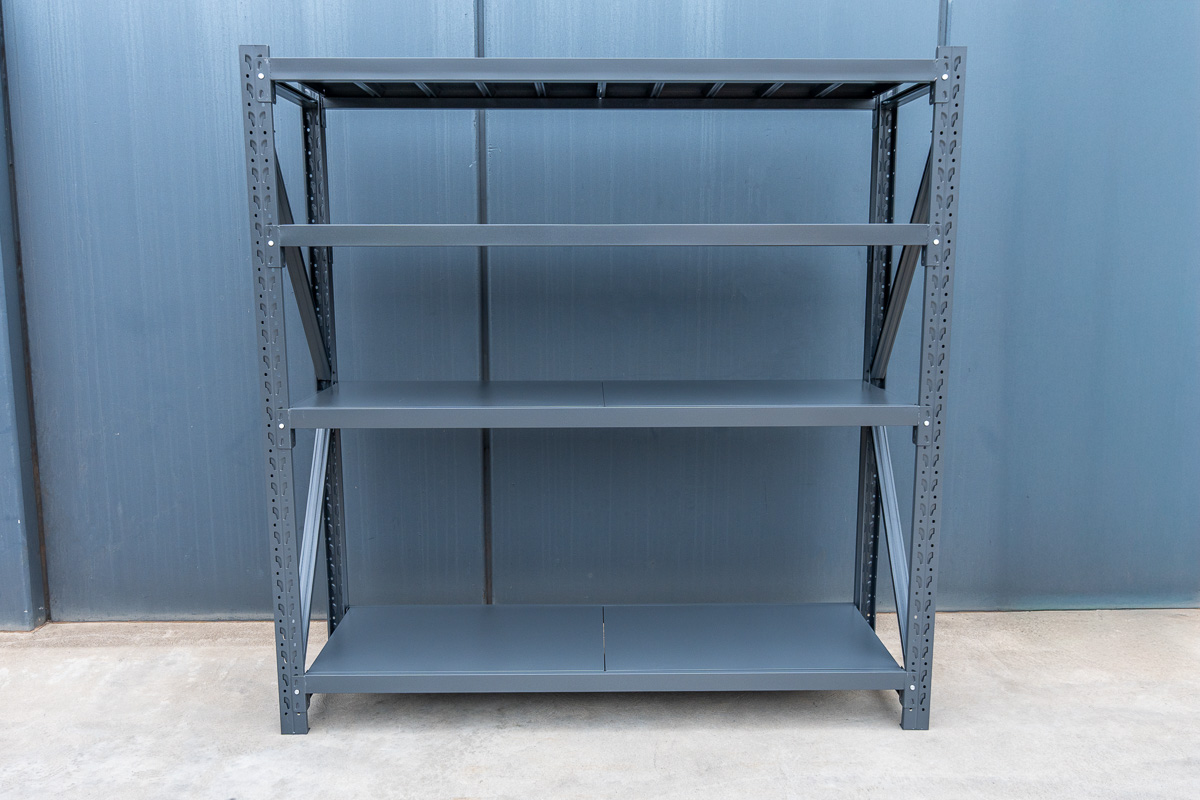
MSU fully assembled.
MSU with Bench Top fully assembled.
⚠ Safety Check: Don’t Let it Topple!
Before you start loading up your new workbench, we have one vital final step. To keep your workspace safe and meet mandatory safety standards, you must secure your unit to prevent it from tipping over.
We highly recommend one of these “pro moves”:
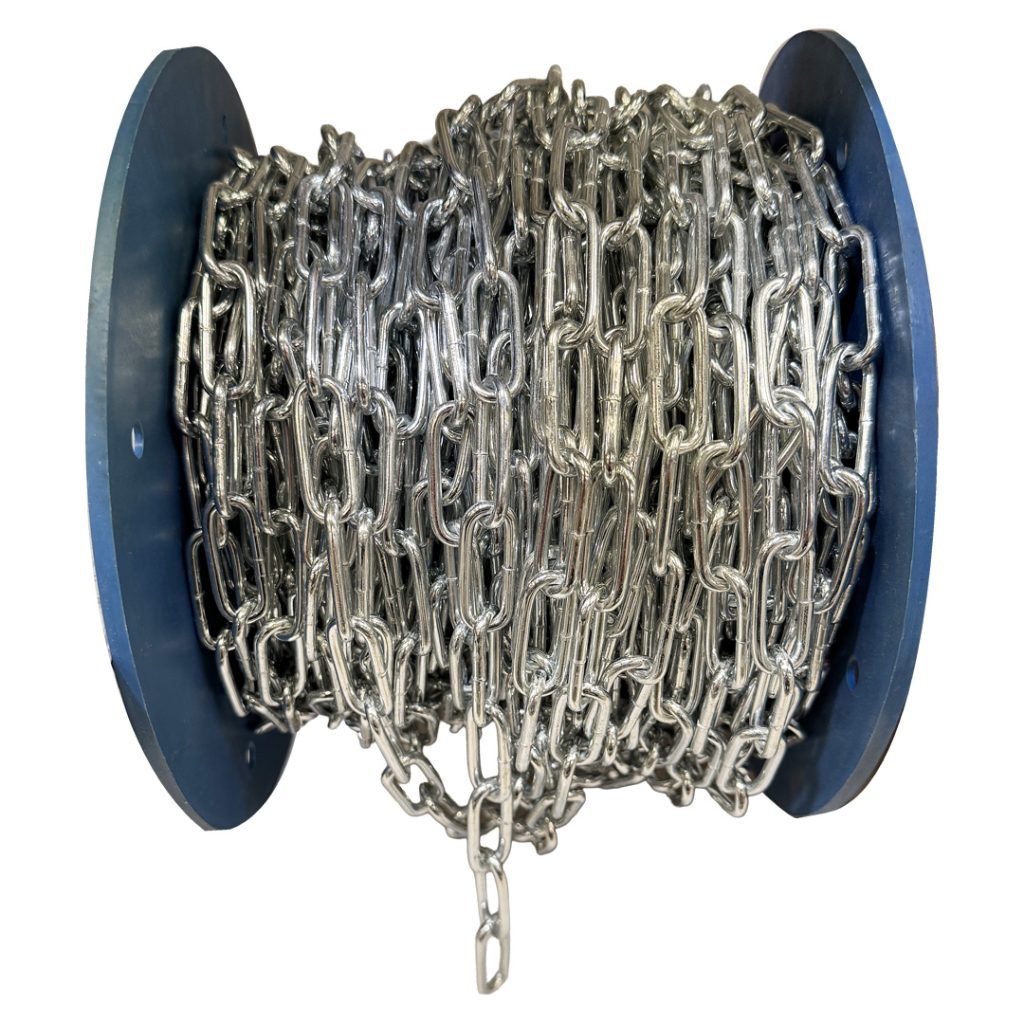
Anchor it to the wall: Use a safety chain or wall anchors to tether the uprights to a solid wall.
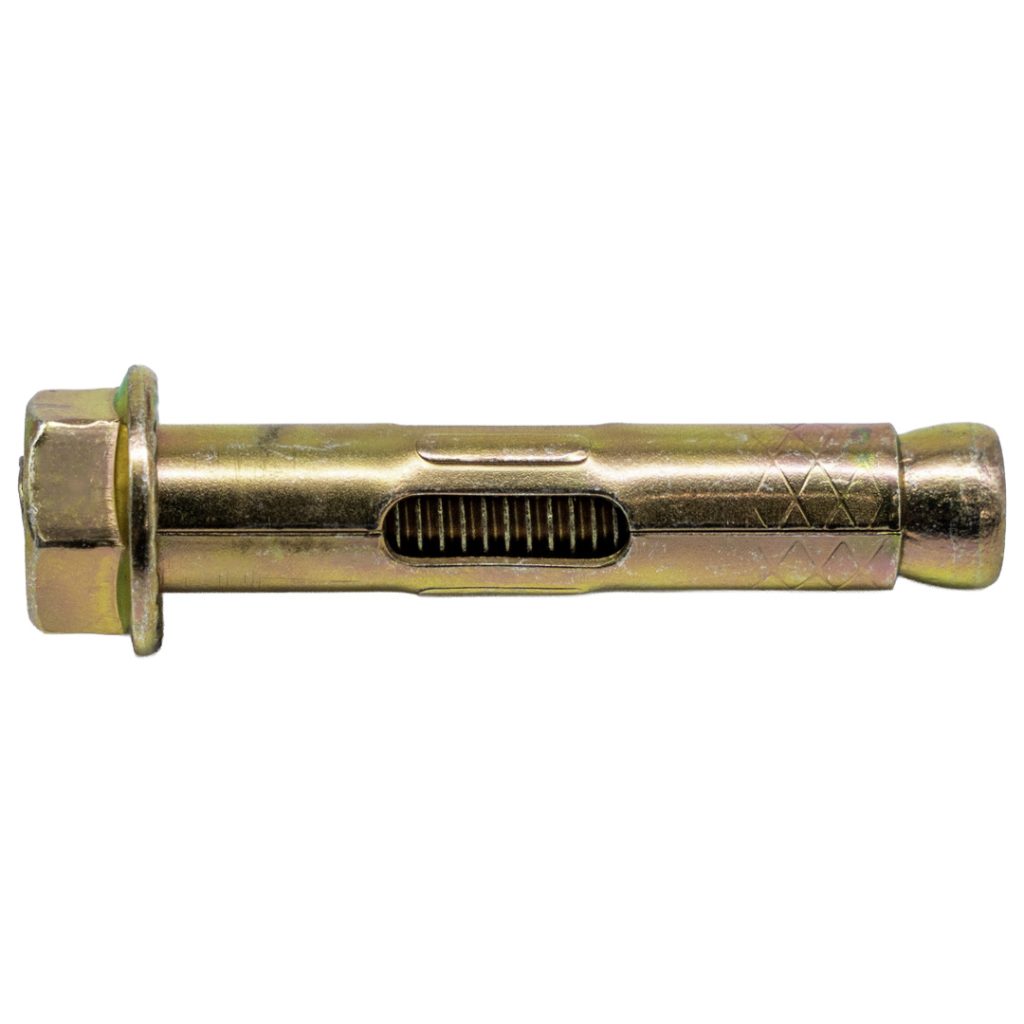
Bolt it to the floor: For maximum stability, you can bolt the unit directly into the ground using sleeve anchors (Dynabolts).
Need the gear? You can pick up safety chains, wall anchors, and sleeve anchors right here at Paramount Browns. It’s a quick extra step that keeps you and your gear safe!