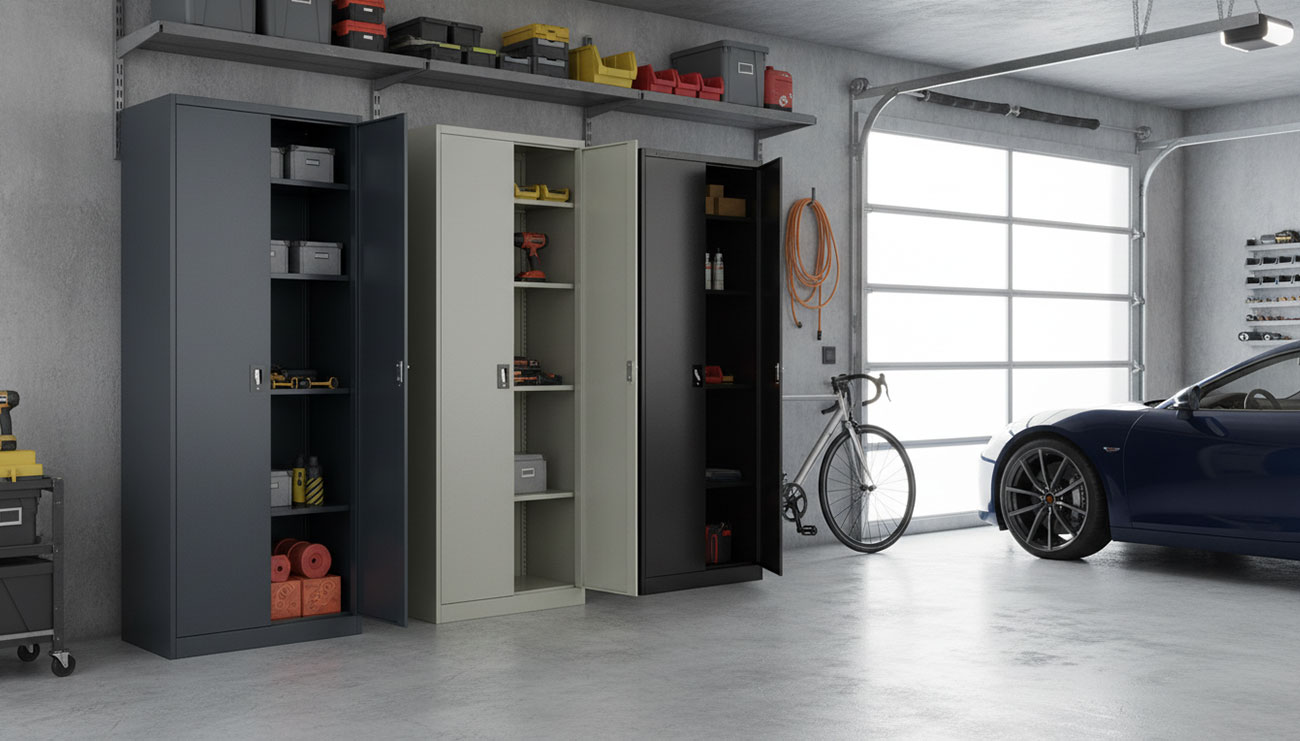
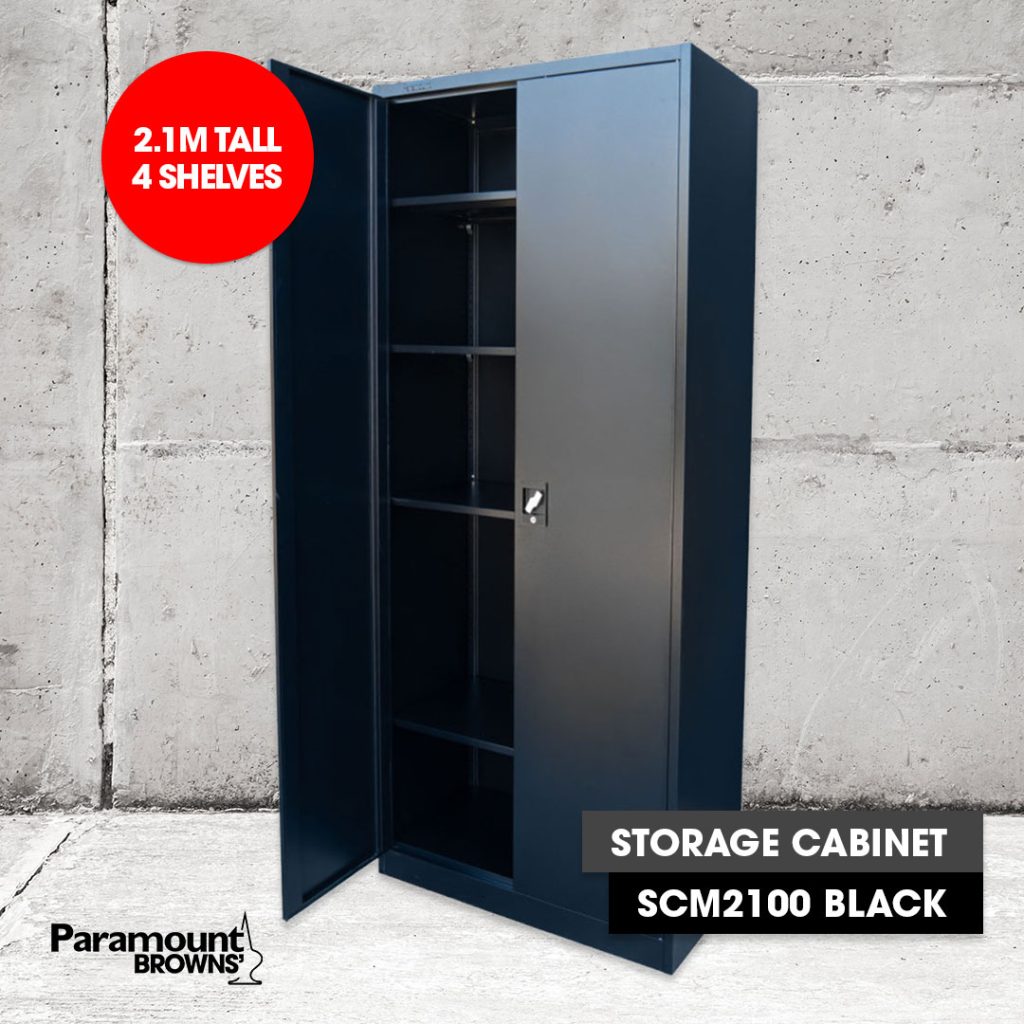
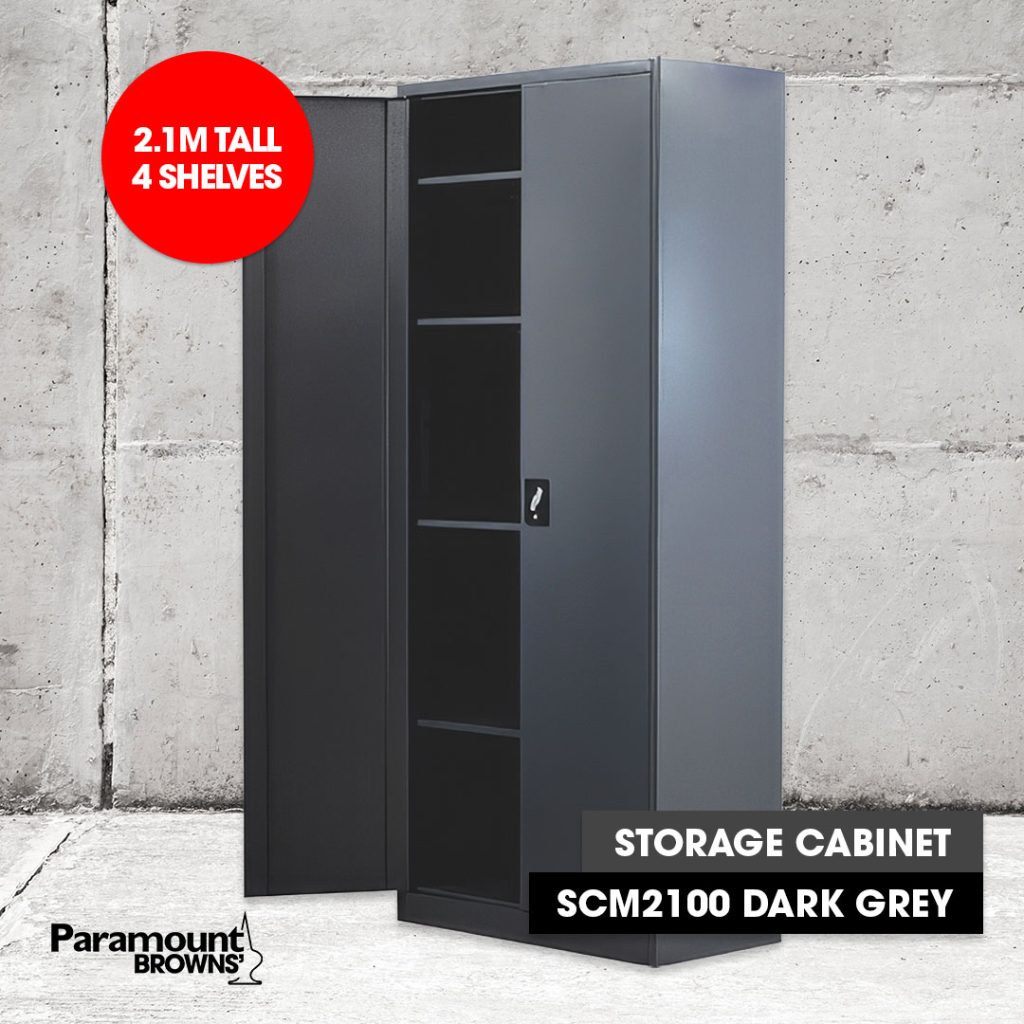
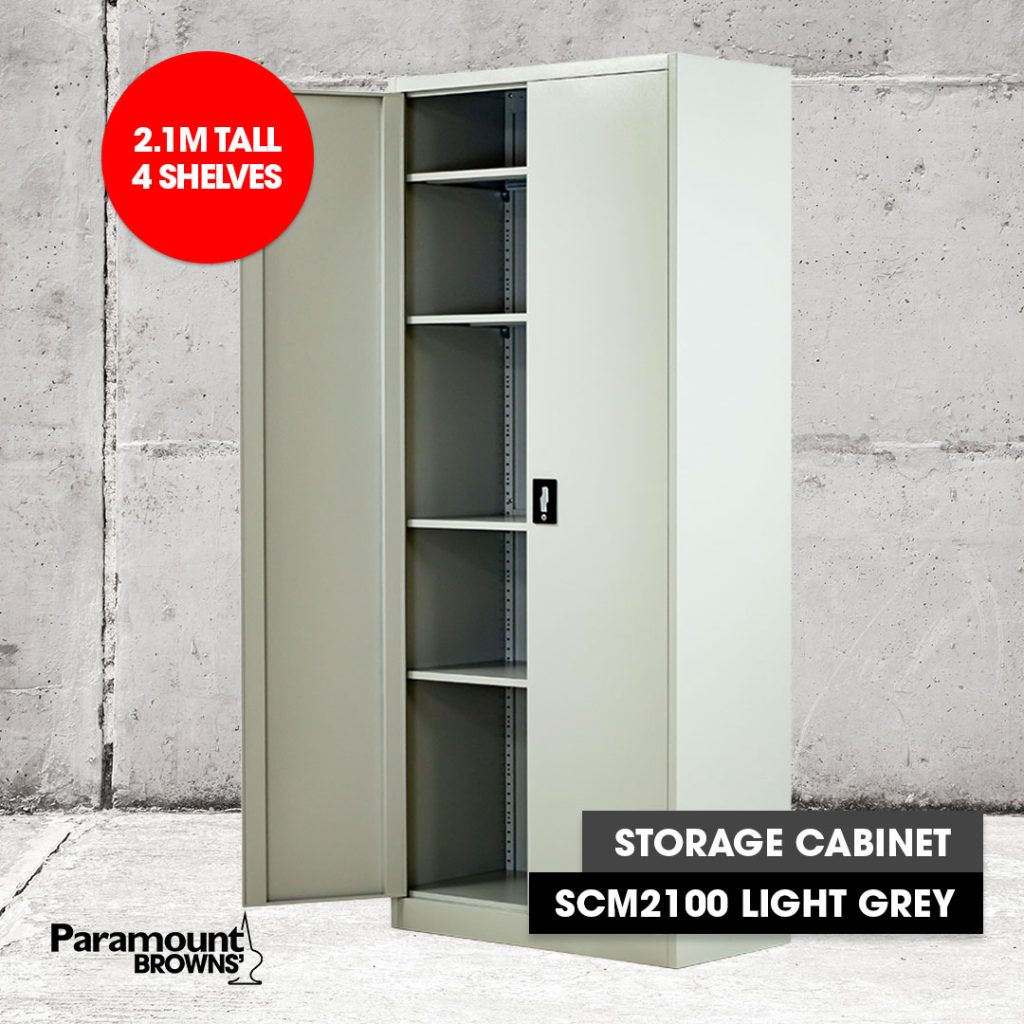
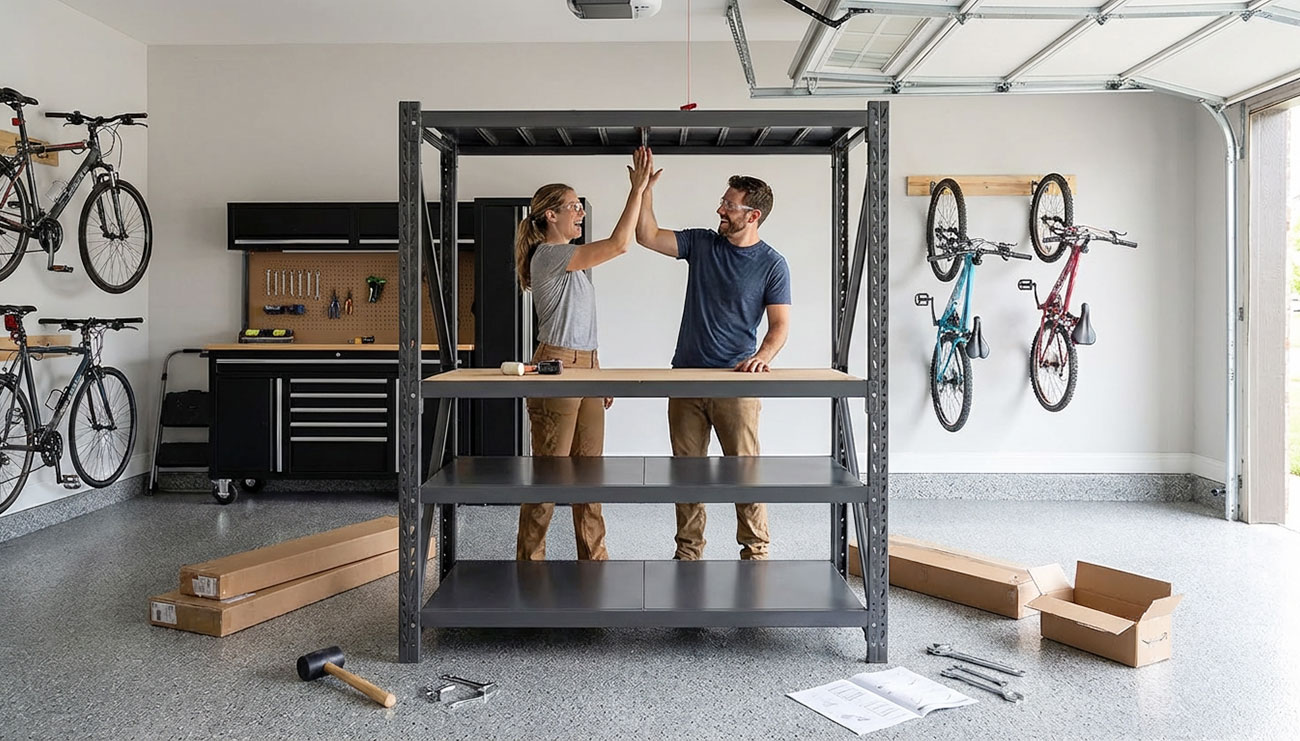
So, you’ve got yourself a new Paramount Browns’ SCM Series Cabinet. Whether it’s the sleek Black, the classic Dark Grey, or the Light Grey, you’re just a few steps away from the organised space of your dreams. For this guide we are assembling the SCM2100. However the instructions are similar for most of the SCM series except the two-shelf versions.
Grab a coffee, find a friend to help, and let’s get this thing built!
An assembly guide PDF download is also available should you wish to print the instructions and use it to guide you as you work.
Step 1: Gather Your Gear
First things first—let’s make sure the “ingredients” are all there. Open up your box and you should find:
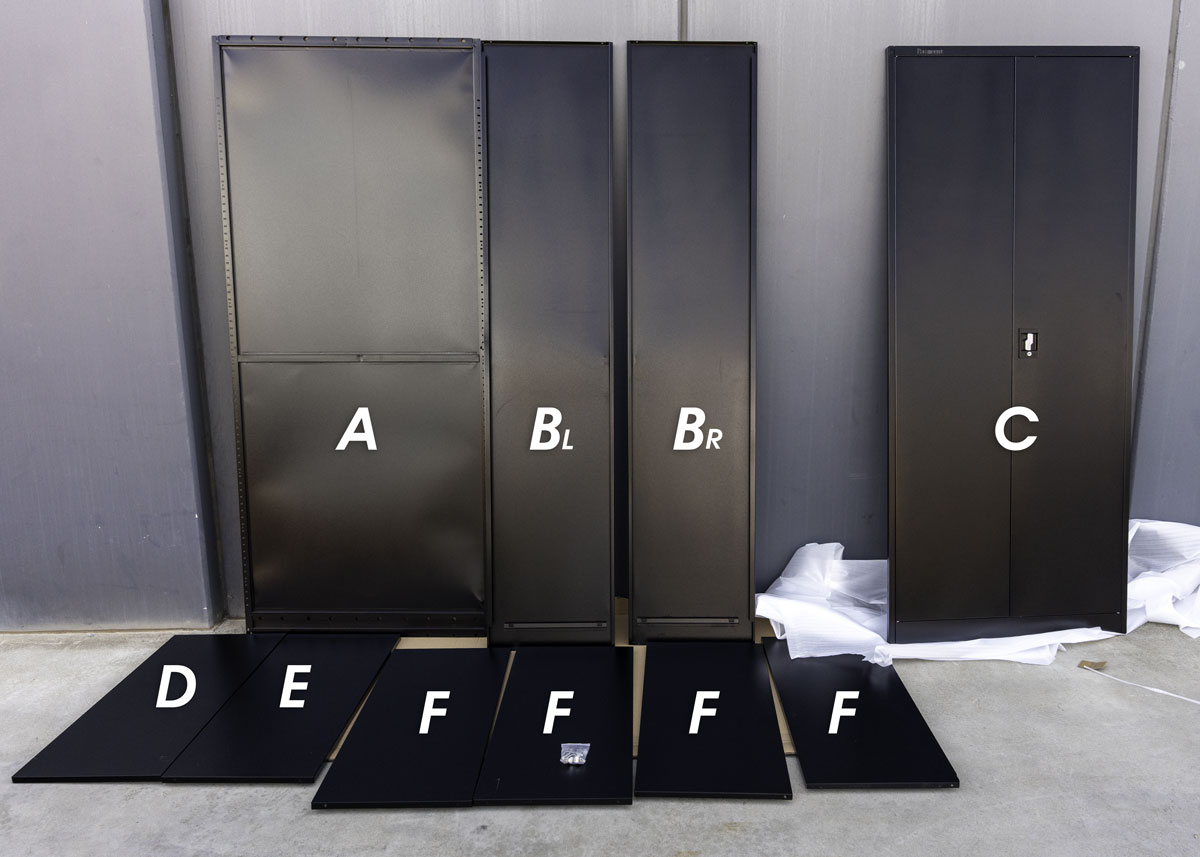
The Frame: Back, Top, Bottom, and two Side panels (A, D, E, B).
The Face: The Door panel (the star of the show!) (C).
The Storage: 4 Shelves (F).
The Hardware: A small bag with 8 screws and 16 shelf supports.
Don’t just dive in on a hard floor! Lay out the packing cardboard on the ground first. This creates a soft “surgery table” for your panels so they don’t get any accidental scratches while you’re working.
Pro-Tip: Lay all six main panels and the four shelves flat so you can see exactly what you’re working with before you start.
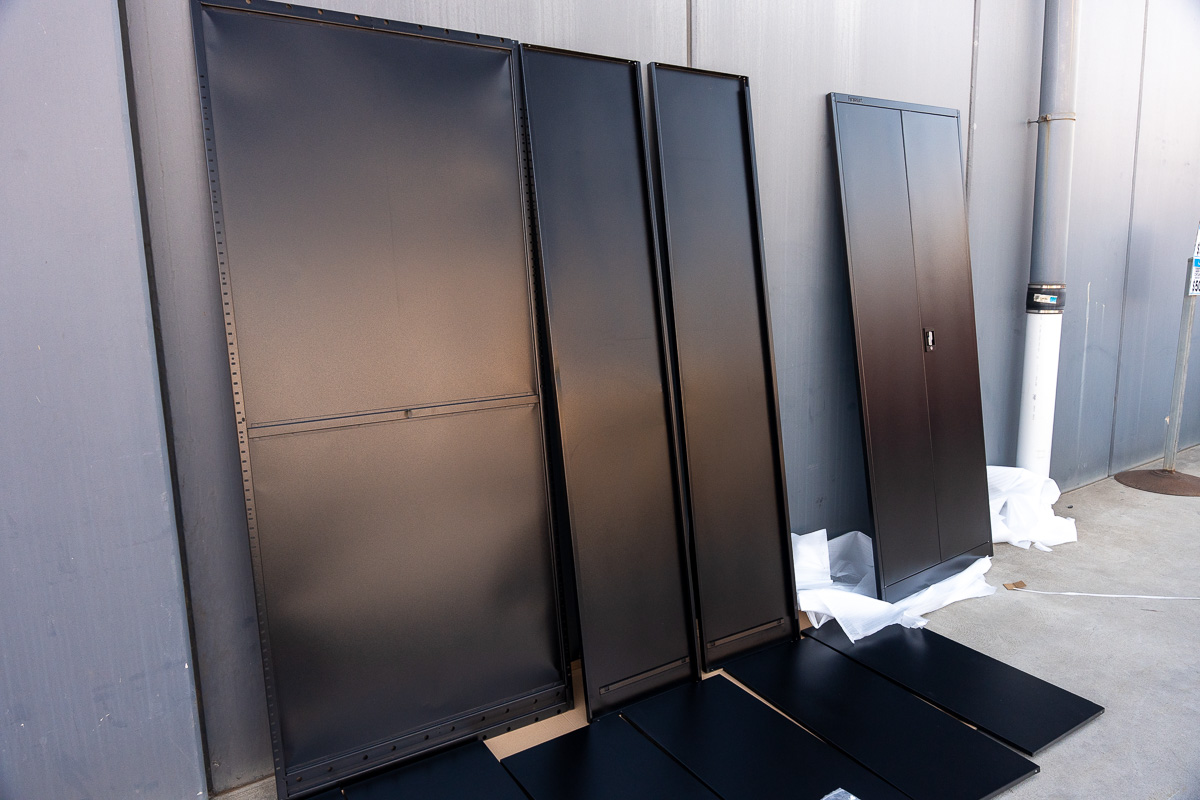
Fig. 2.1. Panels - Back, (Left and Right) Sides, and Door.
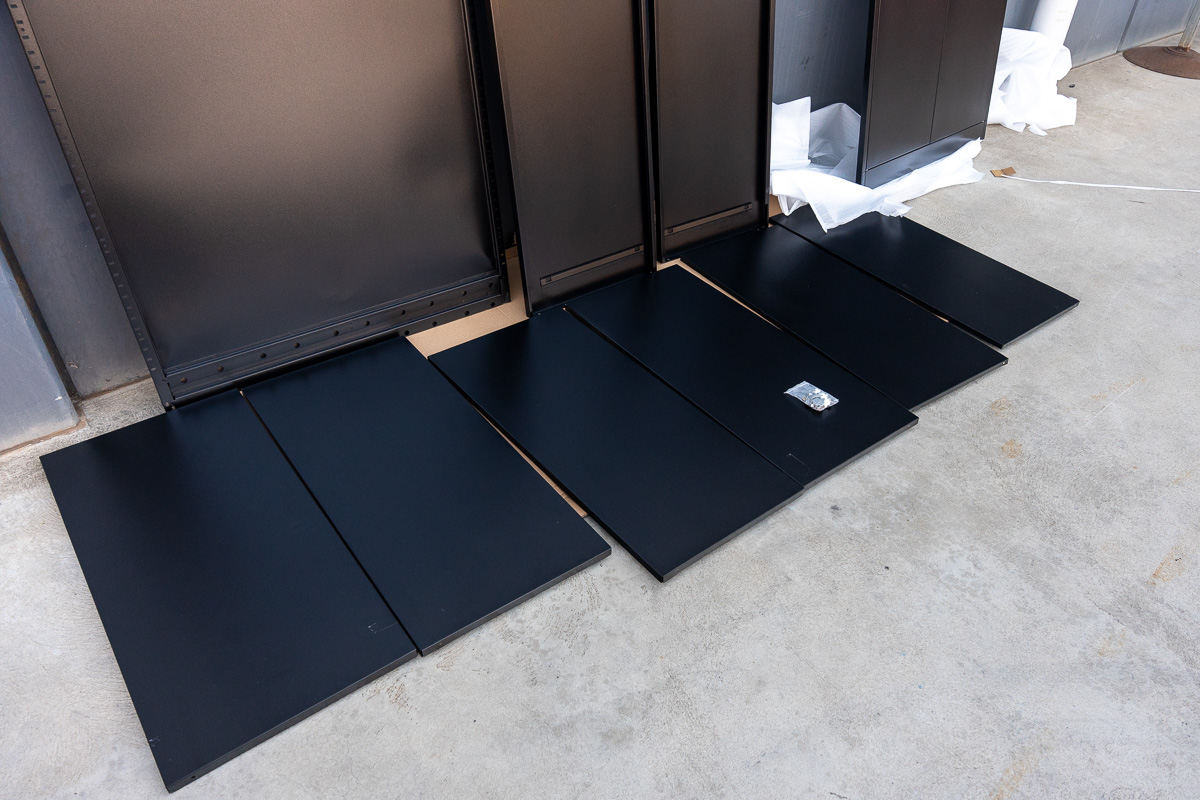
Fig. 2.2. Panels - Top, Bottom and Shelves.
Step 3: The Buddy System (Building the Frame)
This part is much easier with two people—one to hold the panels steady and one to do the slotting.
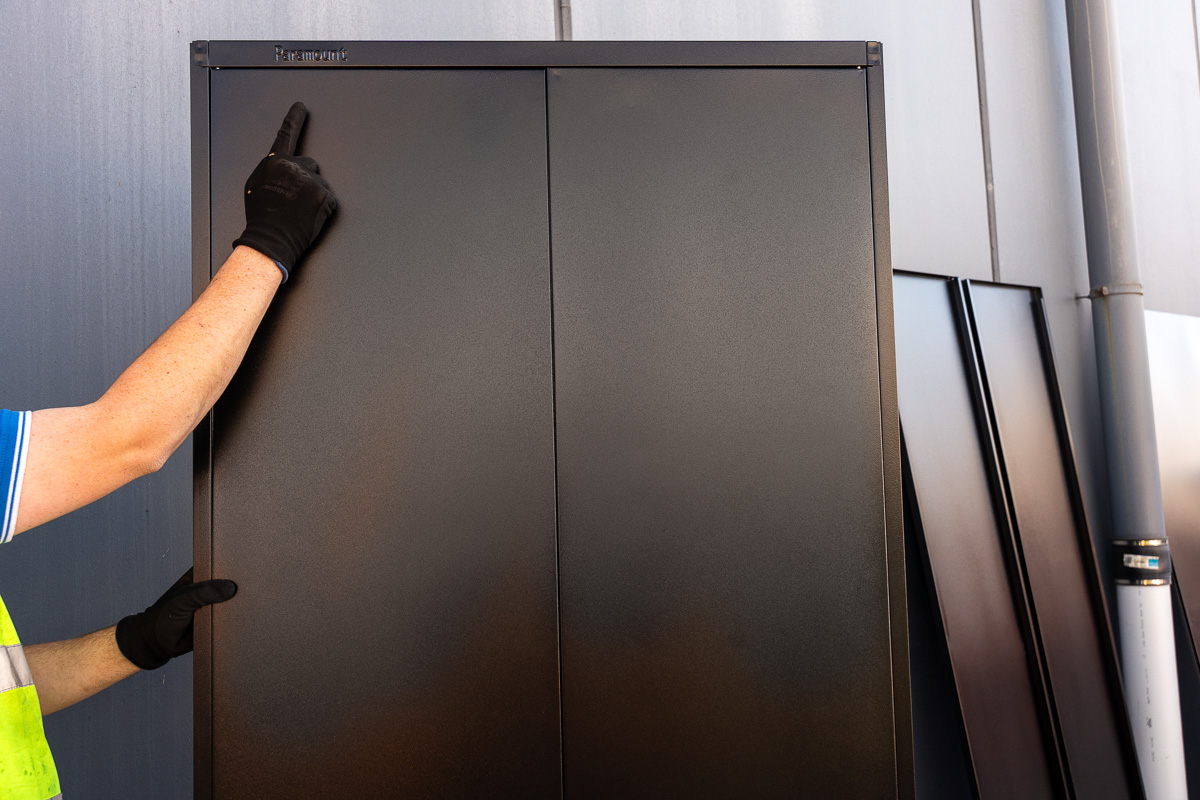
Start with the Door: Stand the door panel up (check that the logo is at the top!).
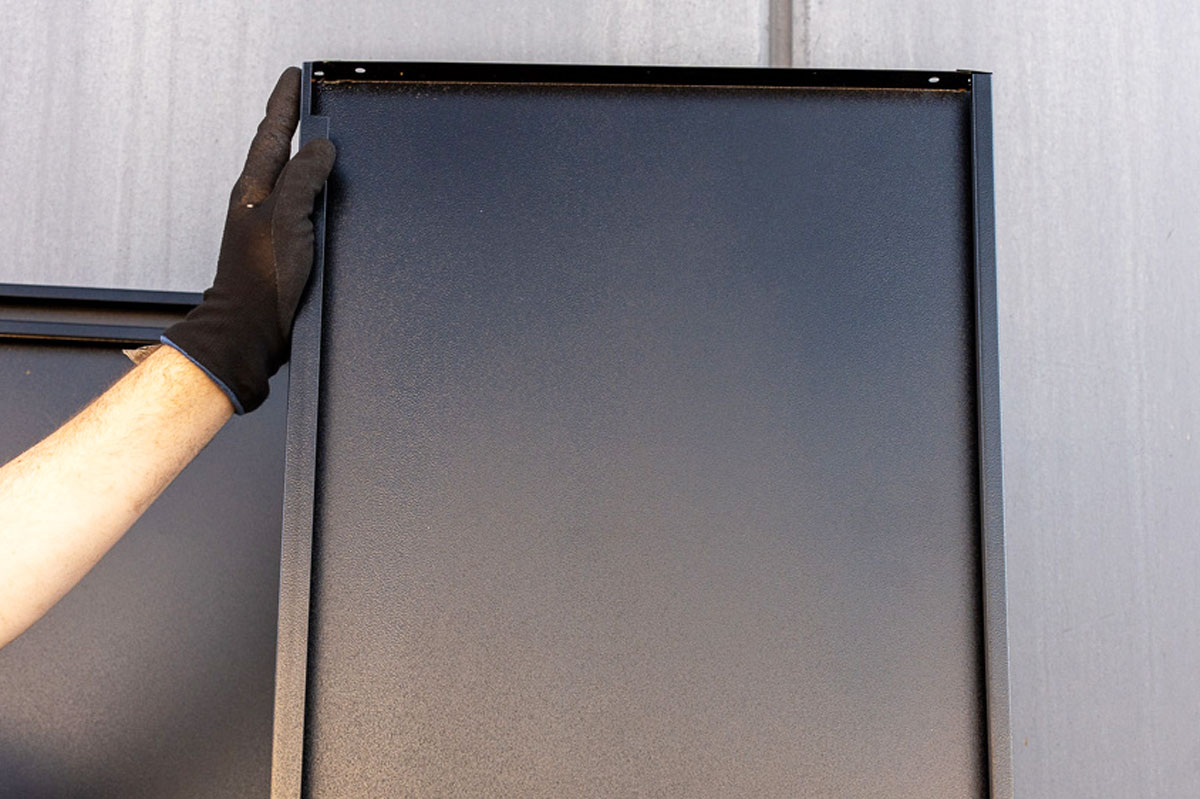
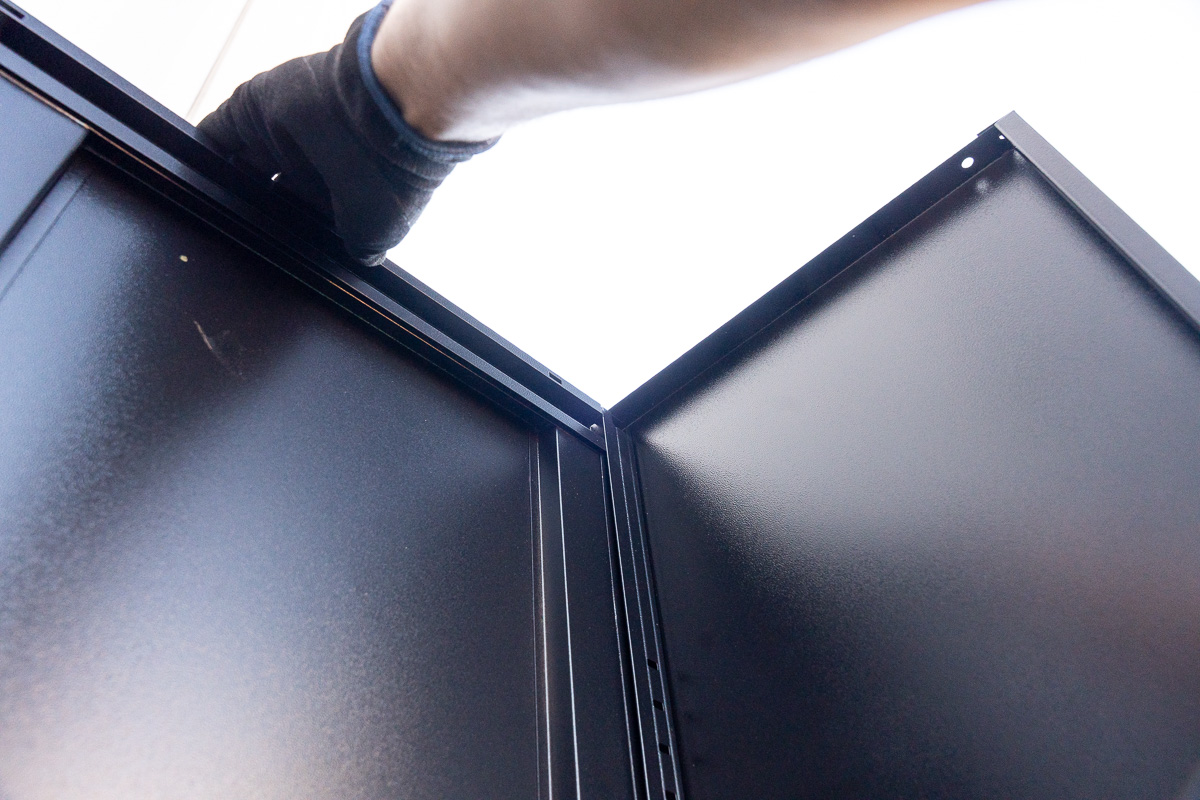
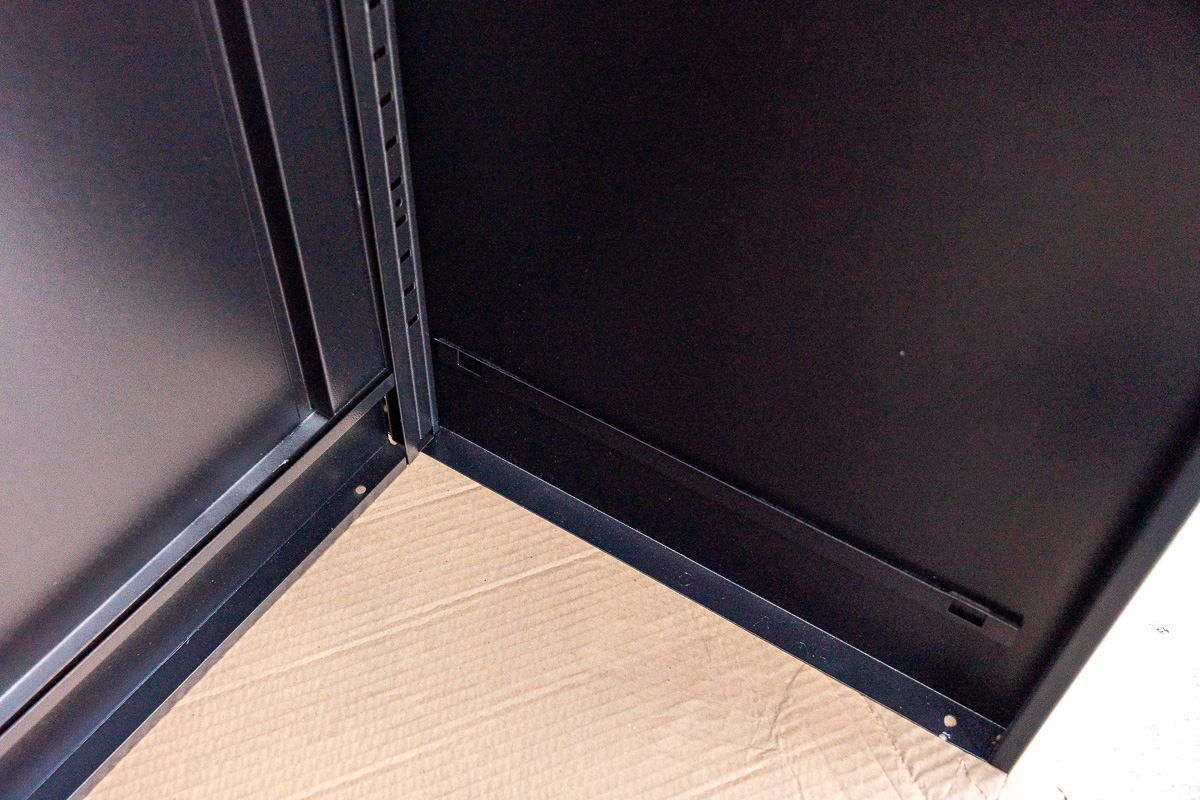
Slide it In: Slot the side panels into the door frame. Look for that slotted corner—that’s your guide!
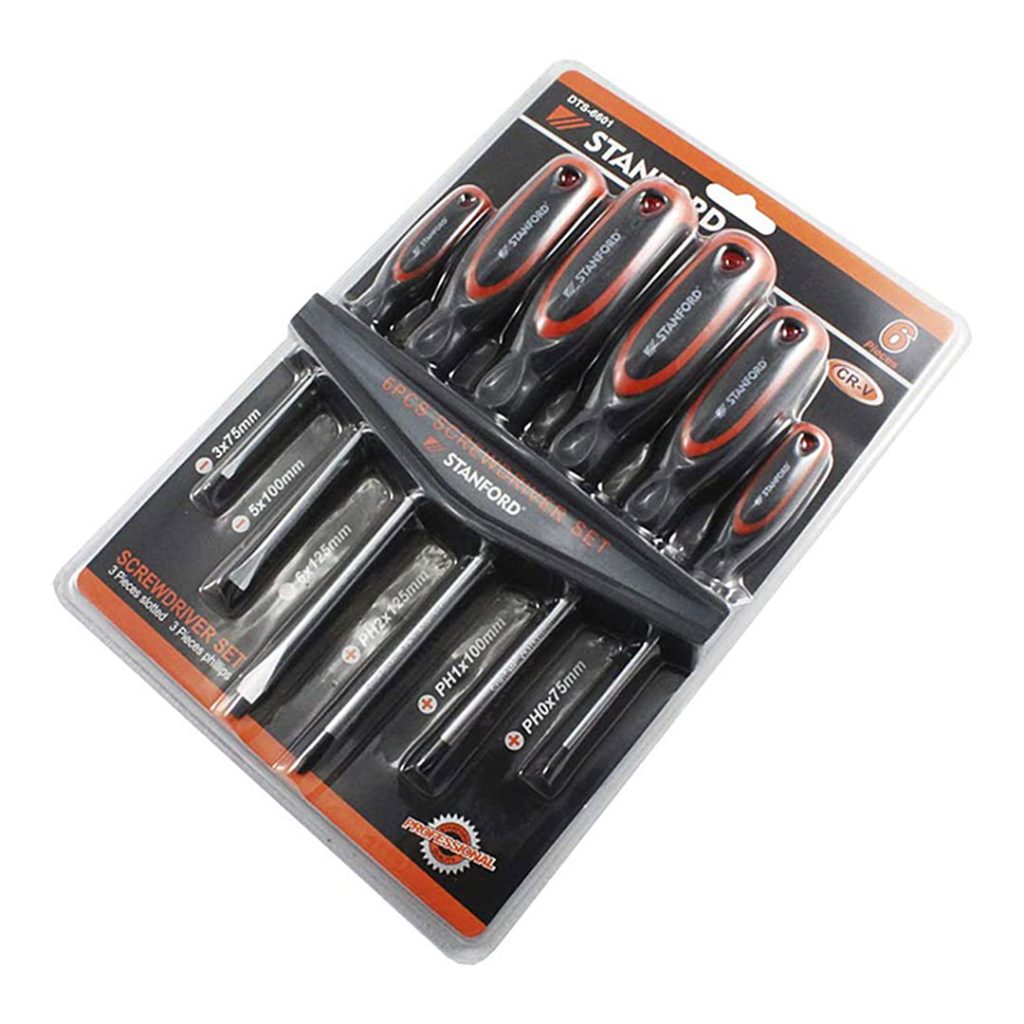
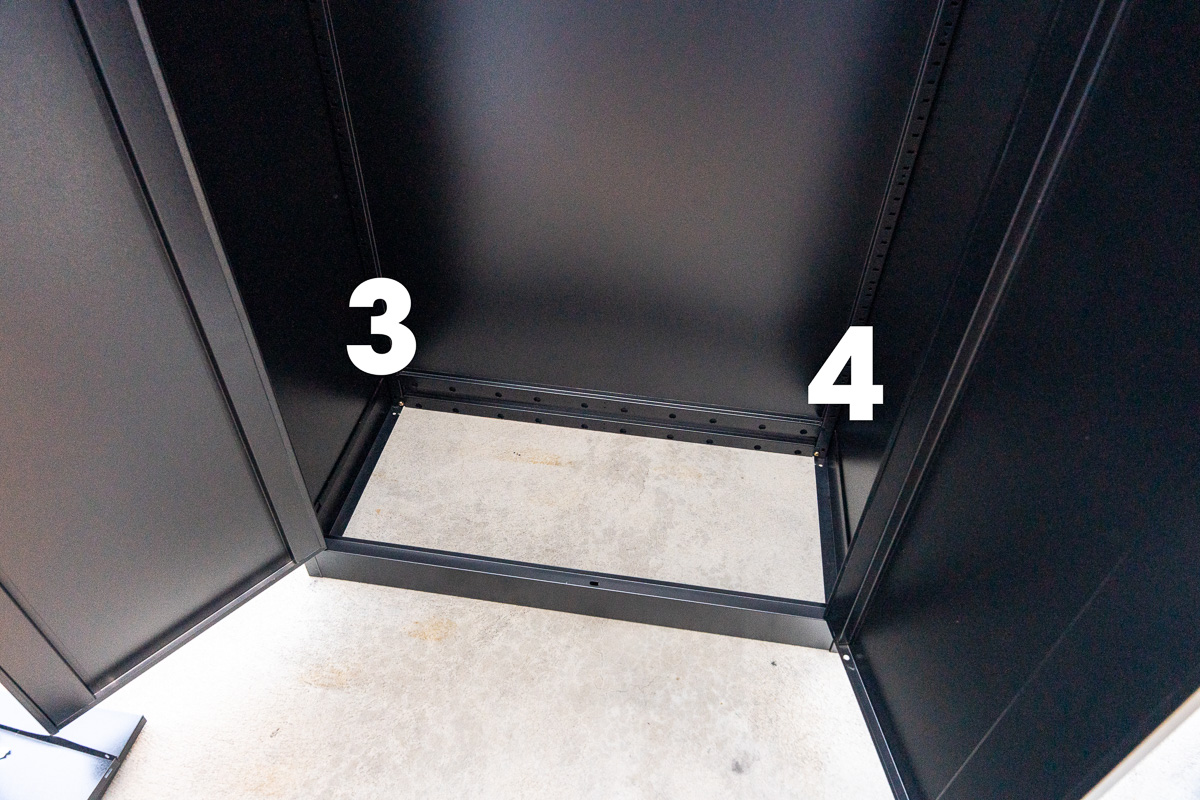
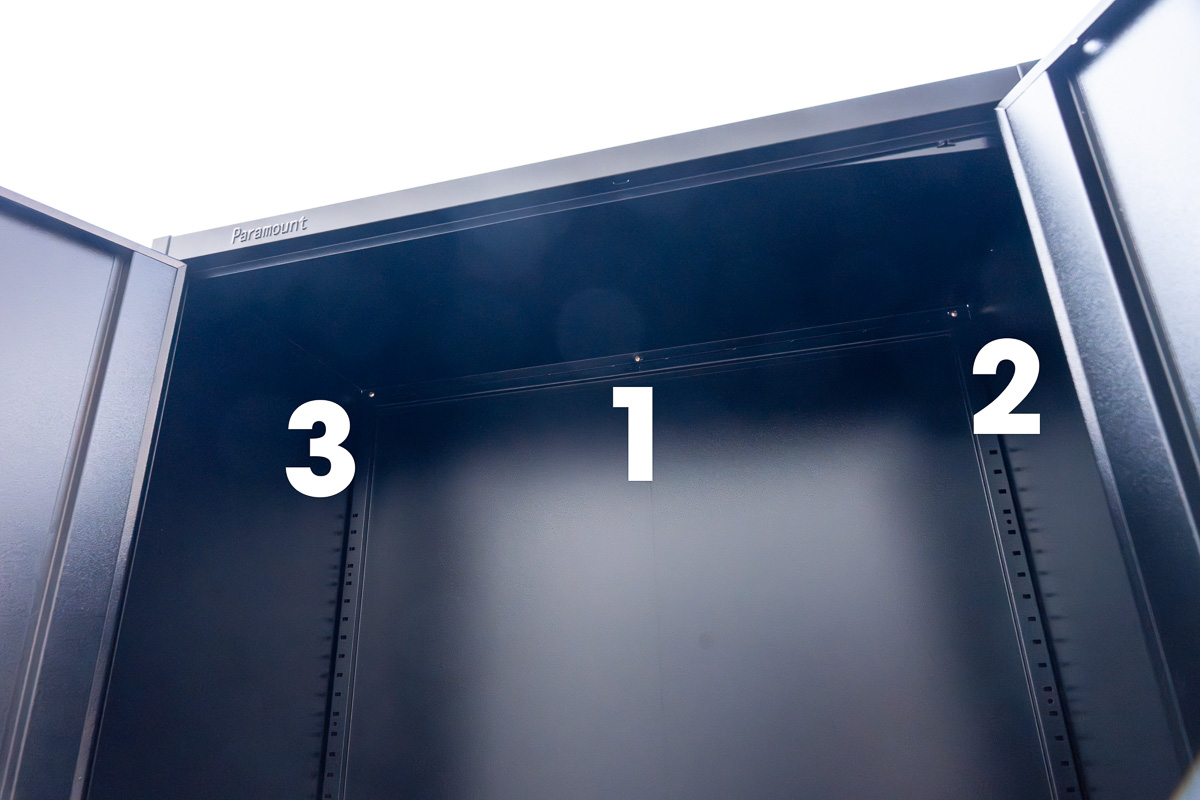
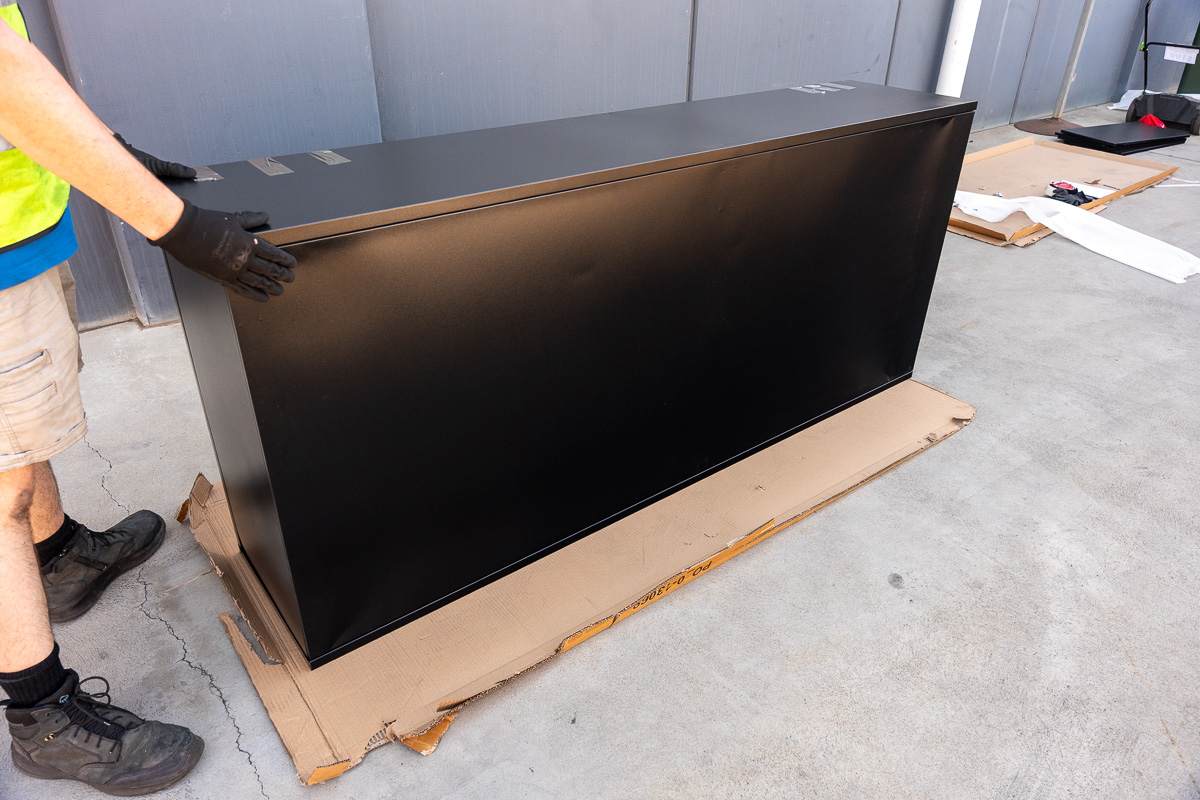
The Backing: Slide the back panel into the sides. Once it’s snug, grab your Phillips-head screwdriver and secure it with four screws from the inside.
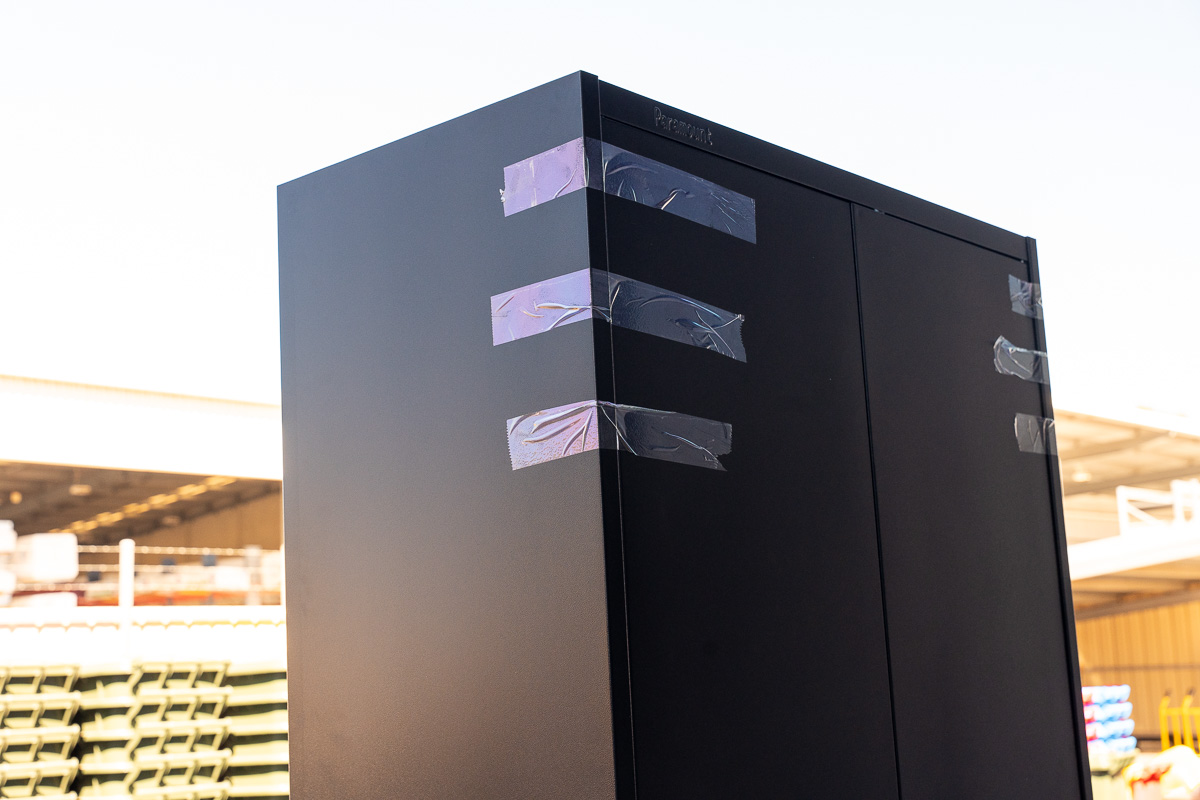
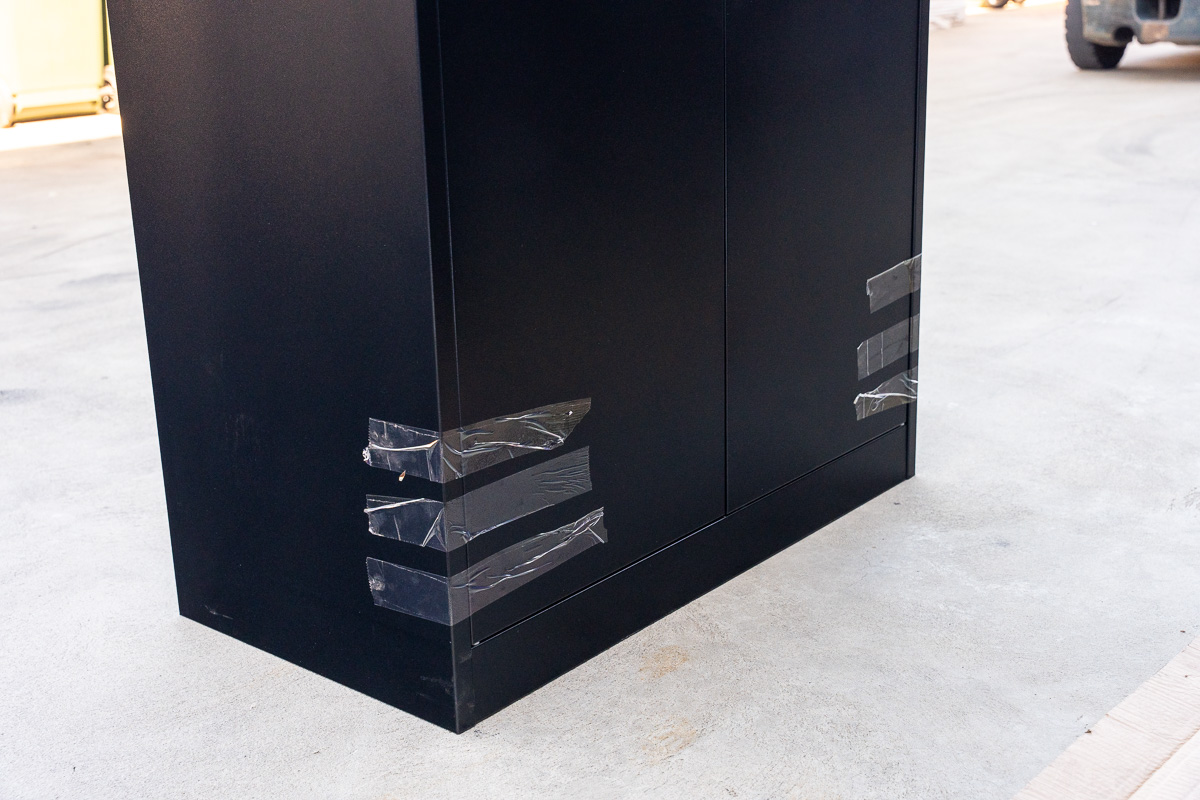
Building Solo? Use some heavy-duty tape to hold the sides to the door while you work. Just remember to peel it off later!
Pro-Tip: Keep Your Cool! It’s very common for panels to not line up perfectly on the first try, which can make getting the slots to align a bit tricky. If things feel slightly off, don’t get frustrated! Take a second to retrace your steps and ensure the previous panels are fully seated. Often, a bit of firm (but careful) pressure is all you need to nudge the slots into perfect alignment.
Fig. 3.1. Door panel with logo on top.
Fig. 3.2. Slotted corner of the left side panel.
Fig. 3.3. Top view of the side panel slotting into the door panel.
Fig. 3.4. Bottom view of side panel slotting into the door panel.
Fig. 3.5. Use heavy-duty tape to help hold the panels on top.
Fig. 3.6. Use heavy-duty tape to help hold the panels on the bottom.
Fig. 3.7. Use a Phillips-head screwdriver to secure the back panel.
Fig. 3.8. Back panel secured at points 1 and 2.
Fig. 3.9. Back panel secured at points 3 and 4.
Step 4: Top, Bottom, and the “H-Flaps”
Now we’re getting somewhere!
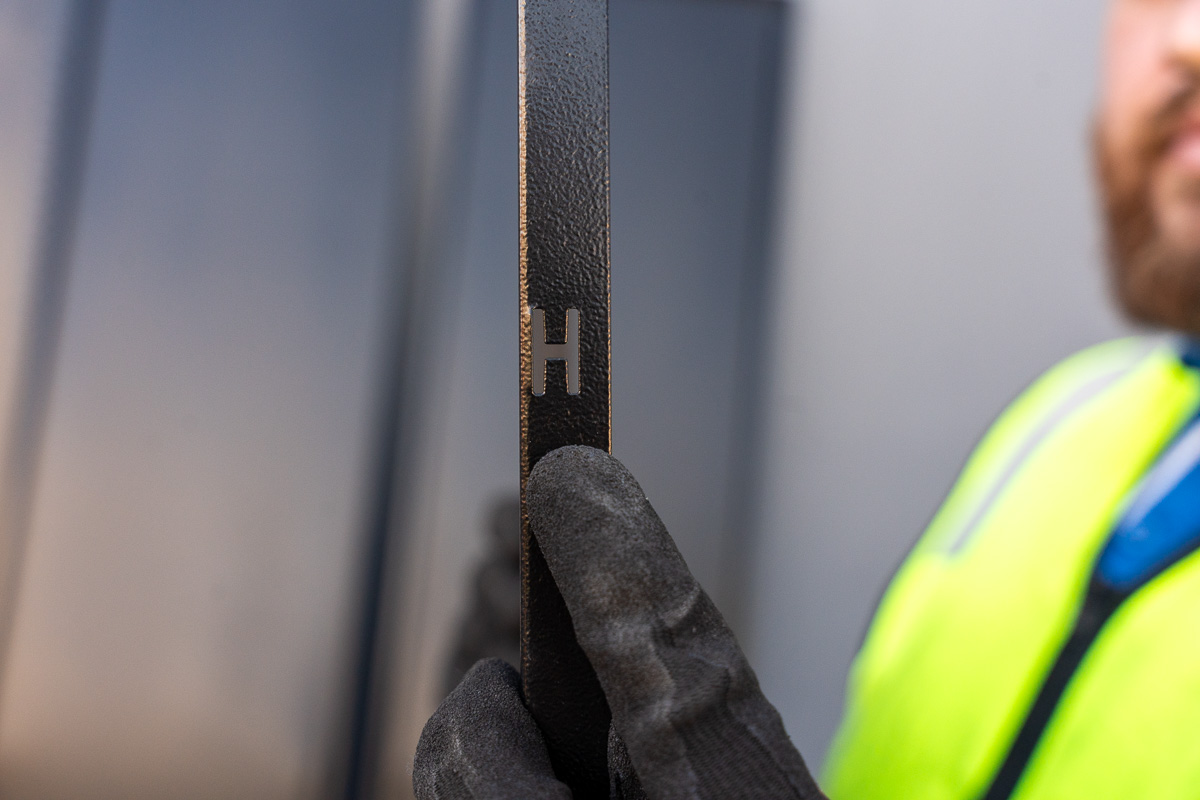
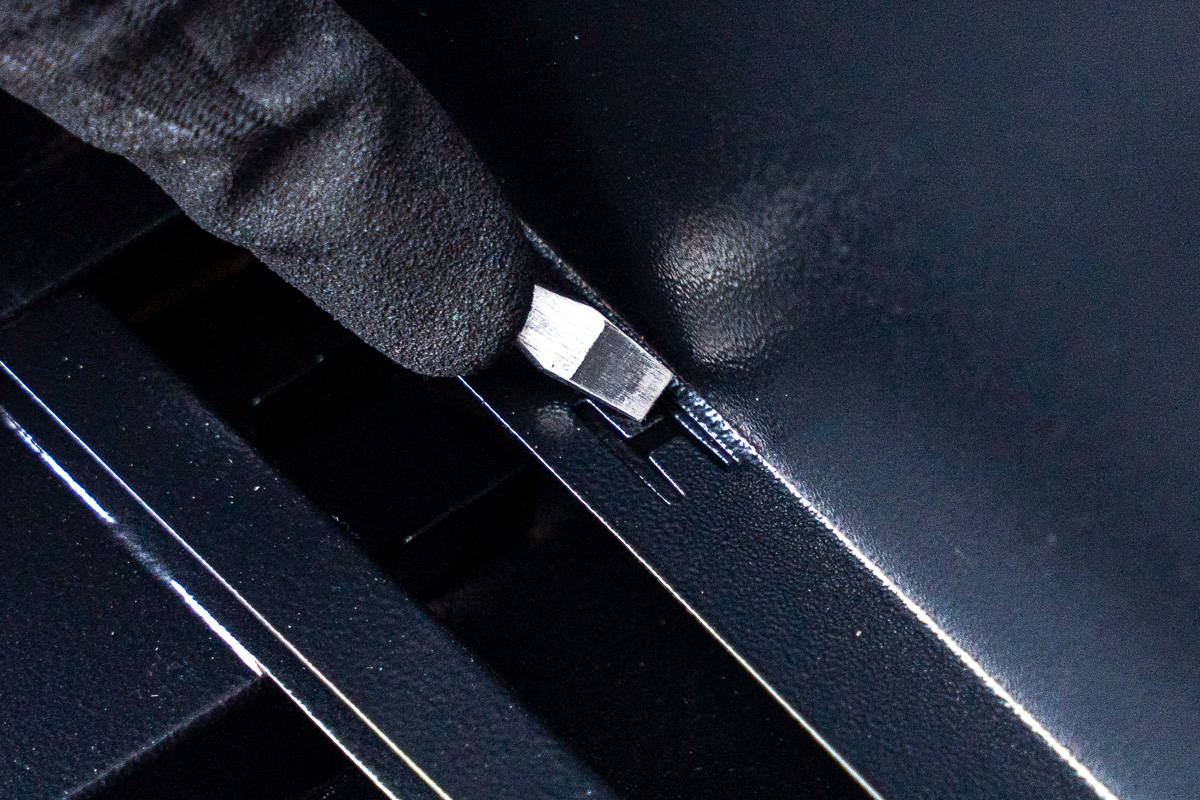
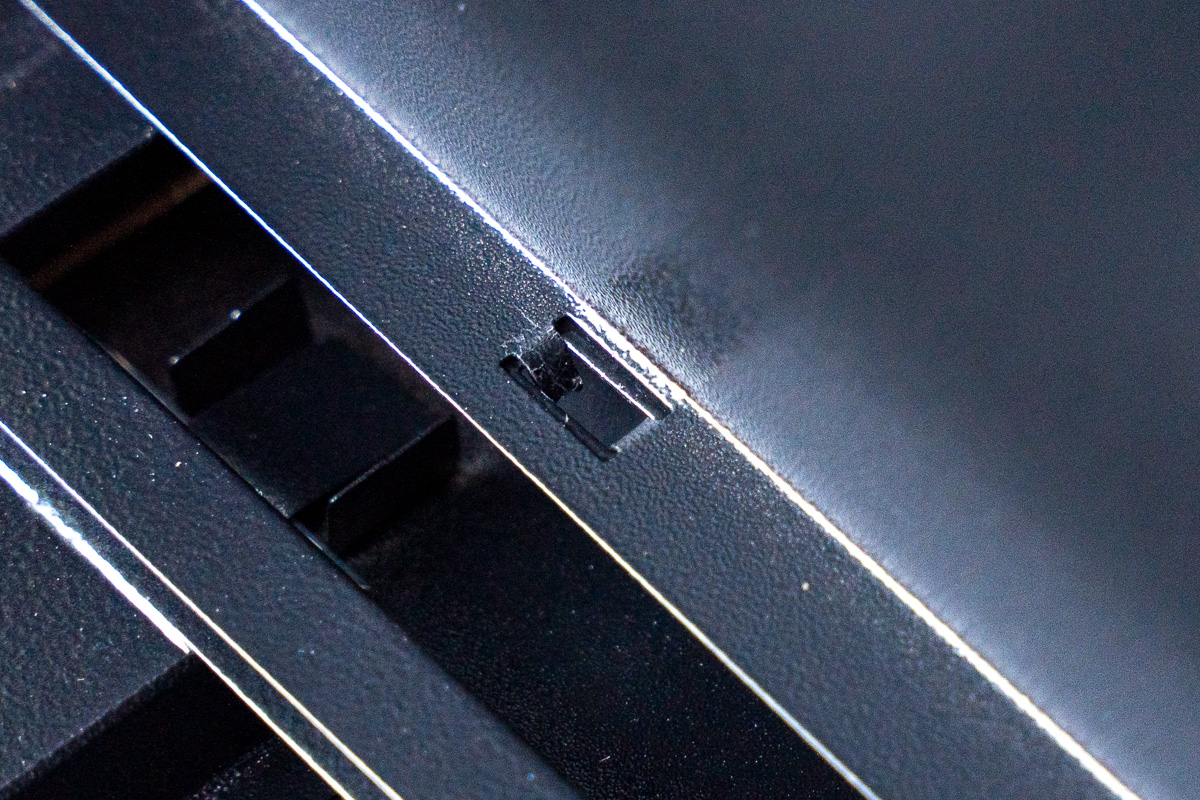
The Top: Slide the top panel in from the front. You’ll see some “H-flaps”—make sure these face forward. Secure the panel with screws, then use your flat-head screwdriver to bend those H-flaps into the slots. It’s like a metal “lock” that keeps everything rock-solid.
The Bottom: Slide the bottom panel in. To finish it off, you’ll want to close the doors and gently lay the cabinet on its side. This lets you easily reach the final screw point to secure the bottom to the back frame.
Fig. 4.1. "H-Flaps" on the top panel.
Fig. 4.2. The "H-Flaps" on the top panel should face you.
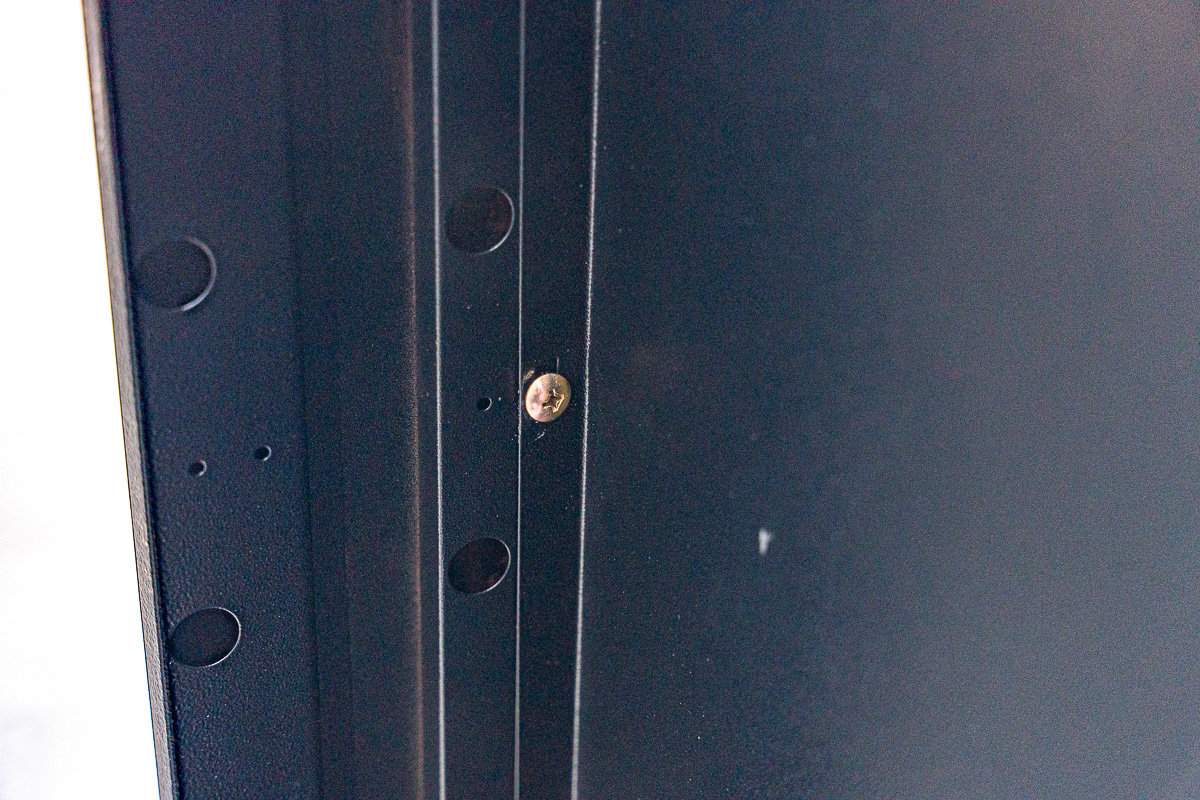
Fig. 4.3. Secure the top panel with a screw in the centre.
Fig. 4.4. Secure the top panel on three points.
Fig. 4.5. Use a flat-head screwdriver to bend the "H-Flaps" into the frame slots.
Fig. 4.6. The "H-Flaps" locked in and secure.
Fig. 4.7. Slotted corner of the bottom panel facing towards the front.
Fig. 4.8. Cabinet laid flat on its side.
Fig. 4.9. Secure the bottom panel with a single screw in the middle.
Step 5: Make it Yours
Now for the satisfying part—customising your storage!
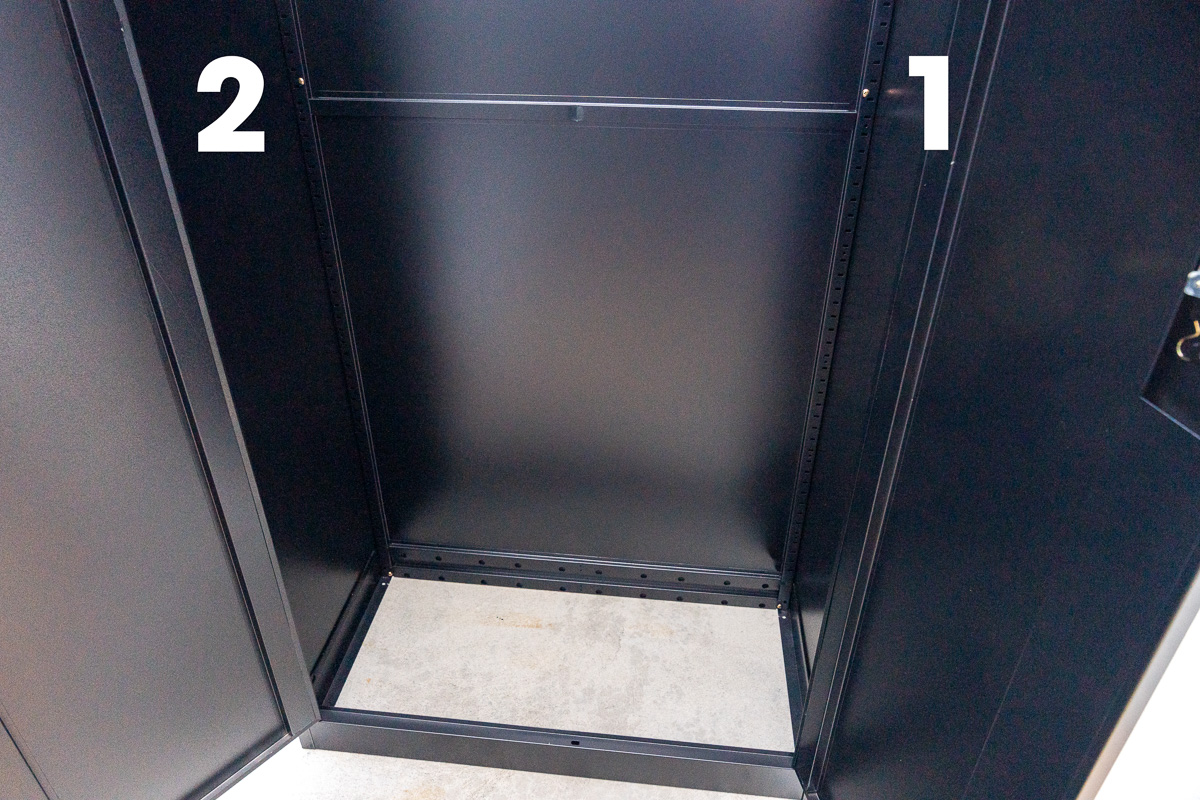
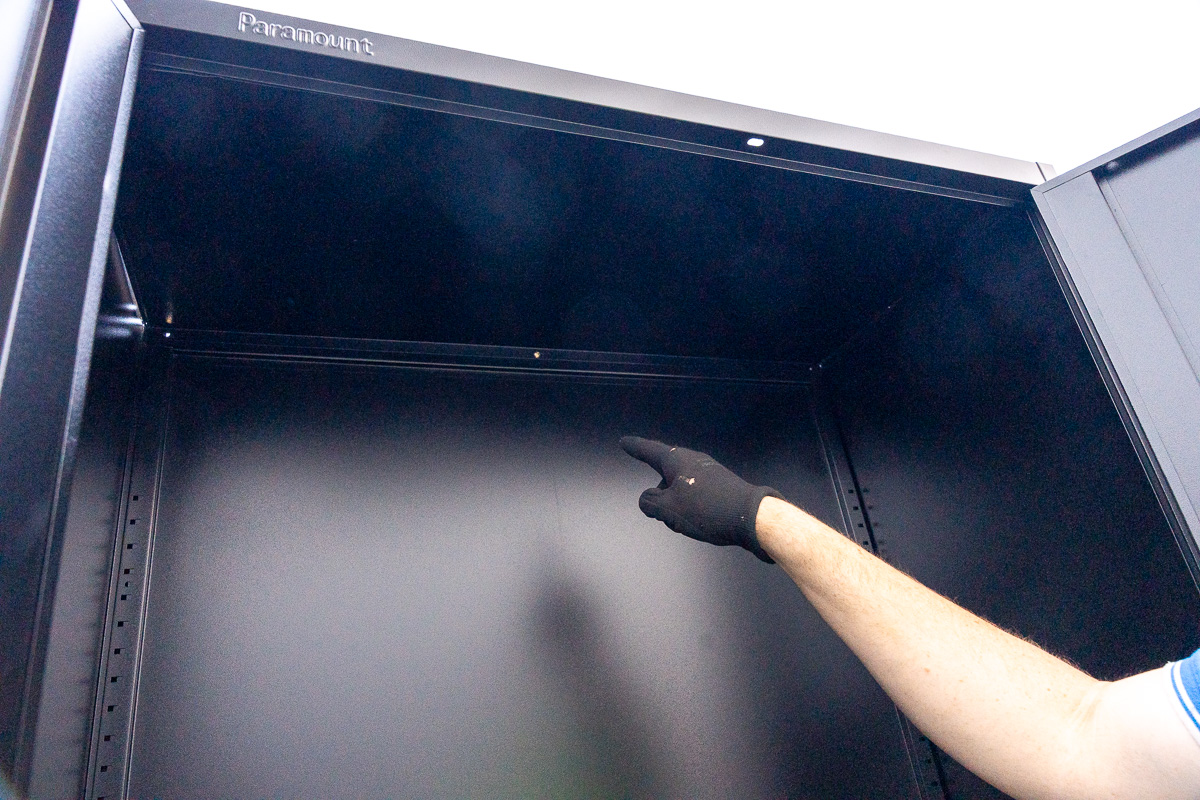
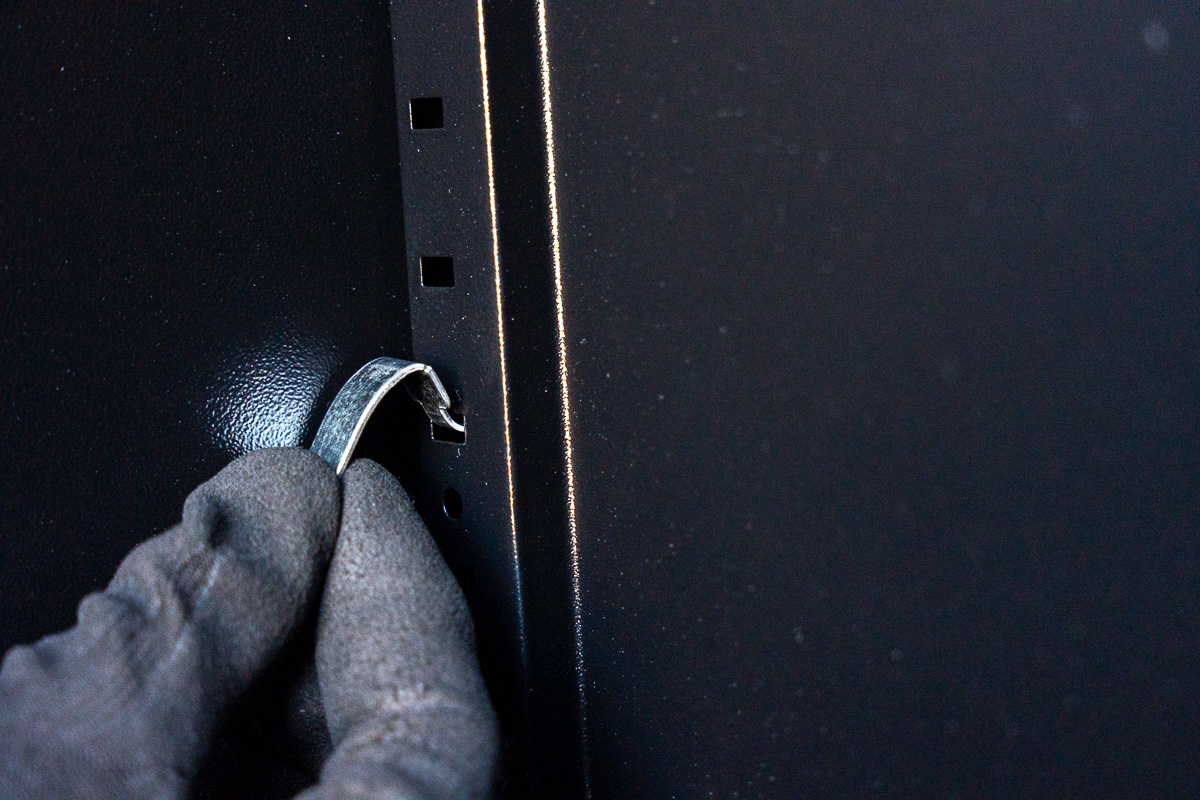
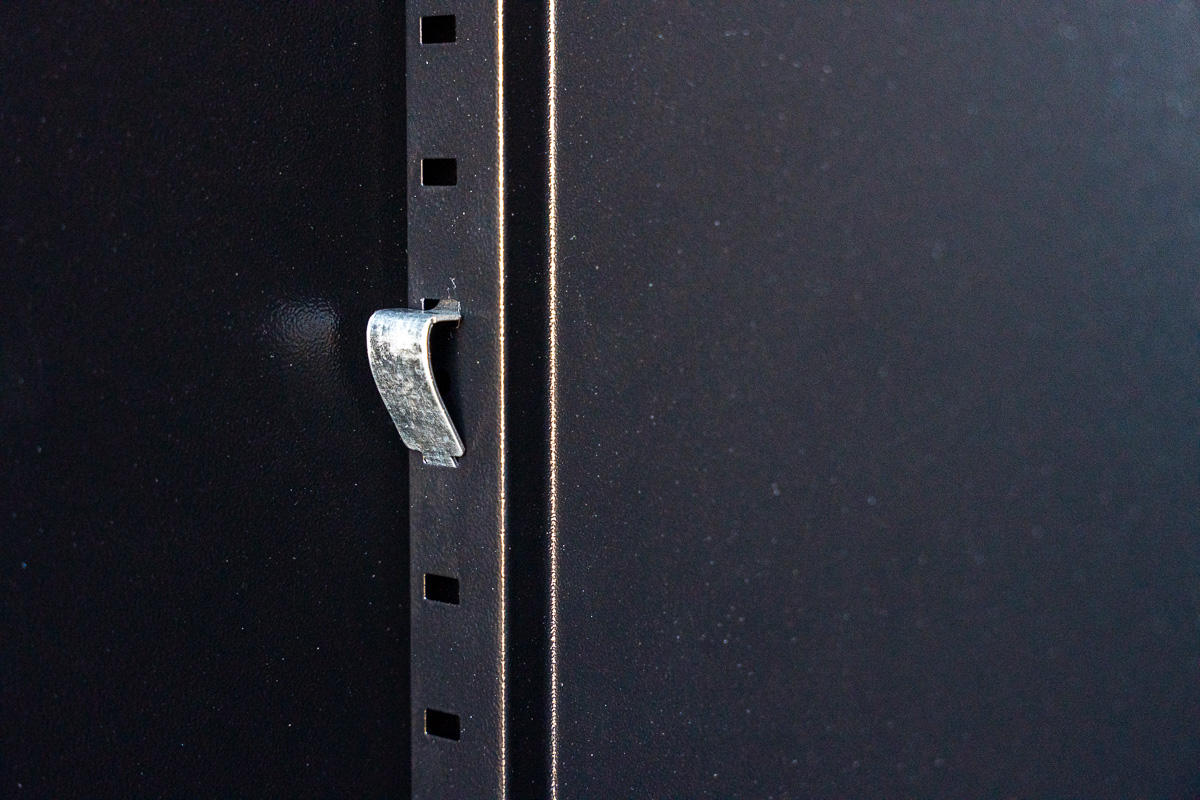
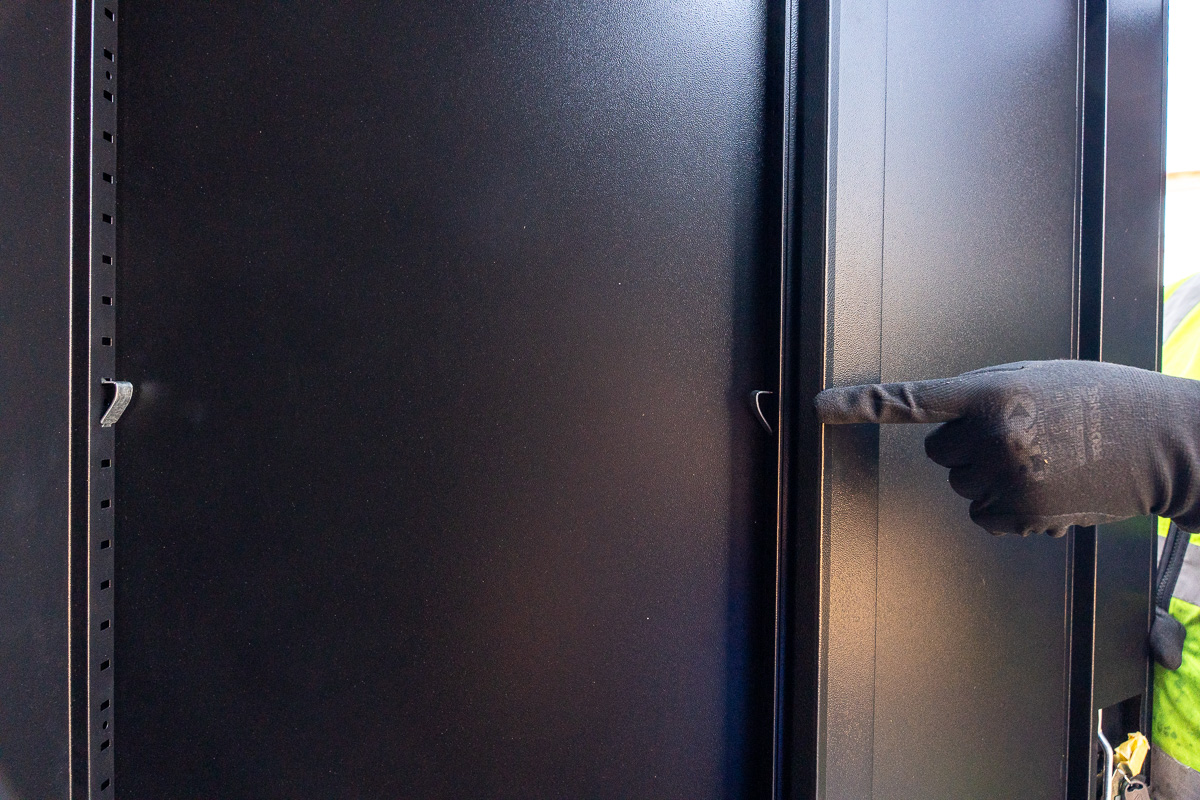
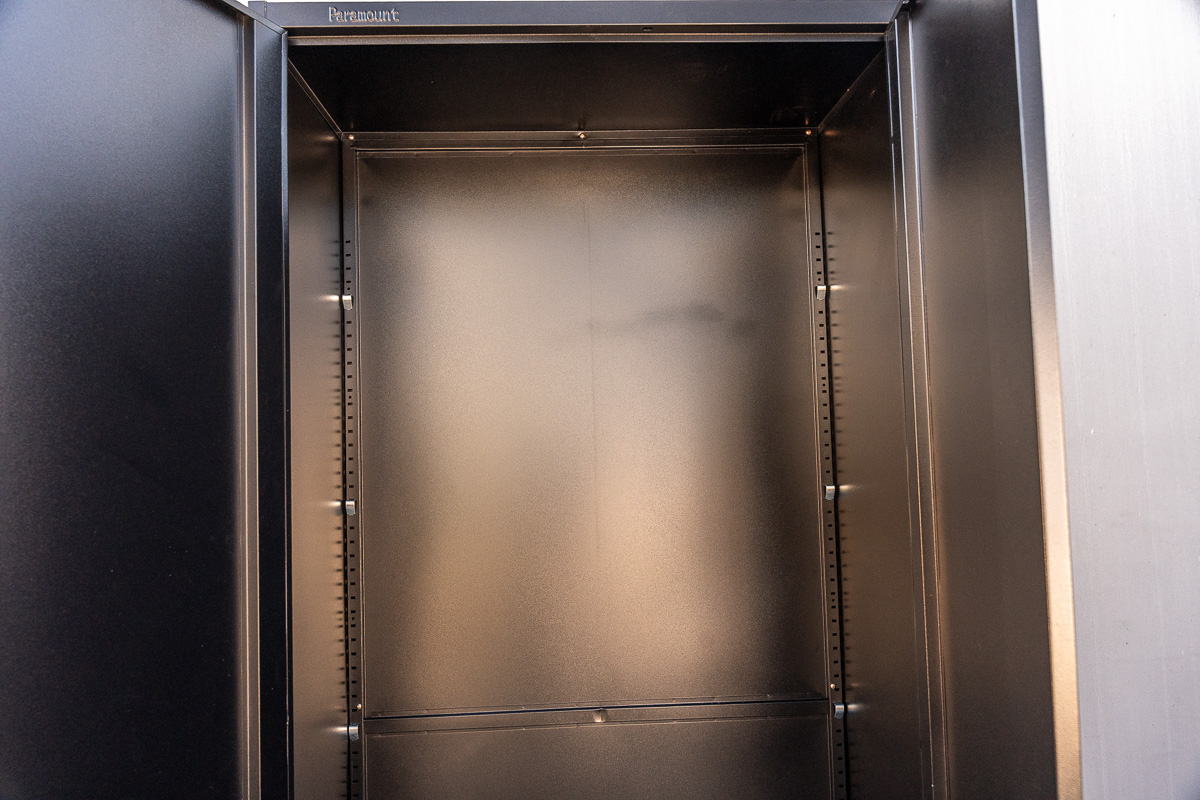
Support it: Decide how high or low you want your shelves. Hook the supports into the slots on the frame. Just make sure the front and back supports are at the same height, or you’ll have some very slidey office supplies!
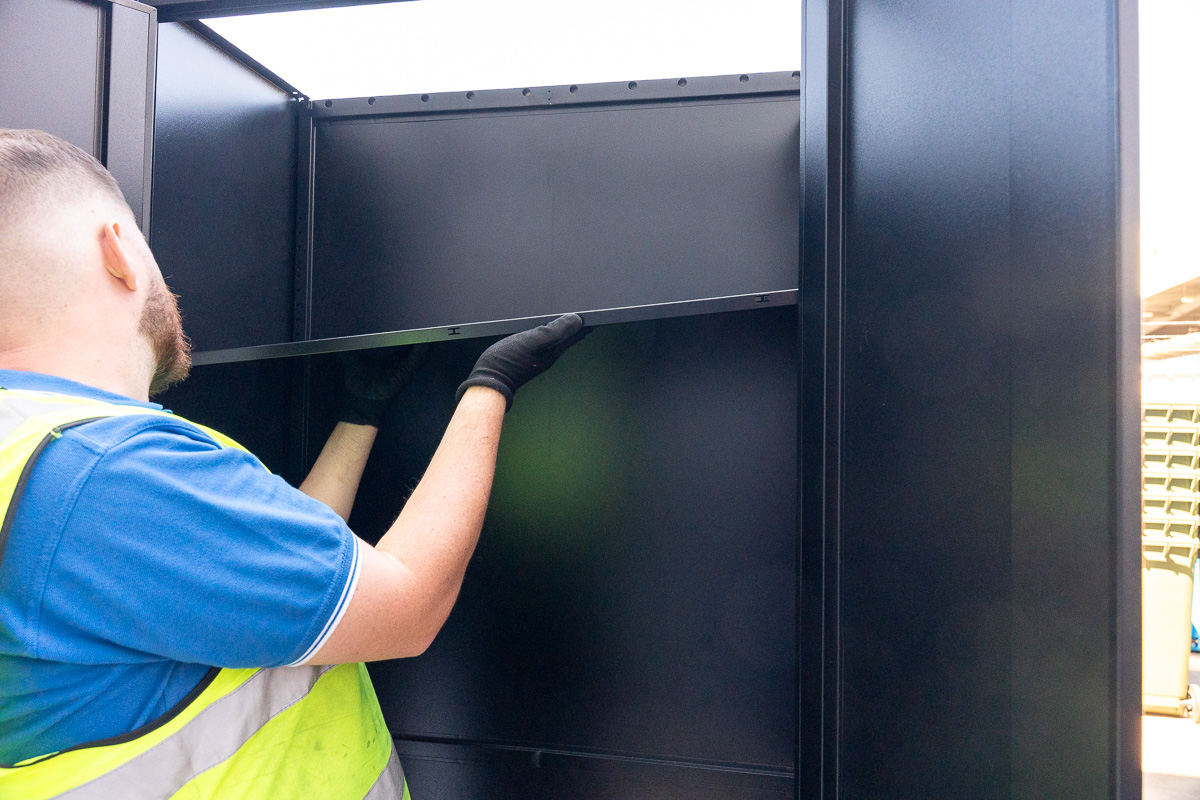
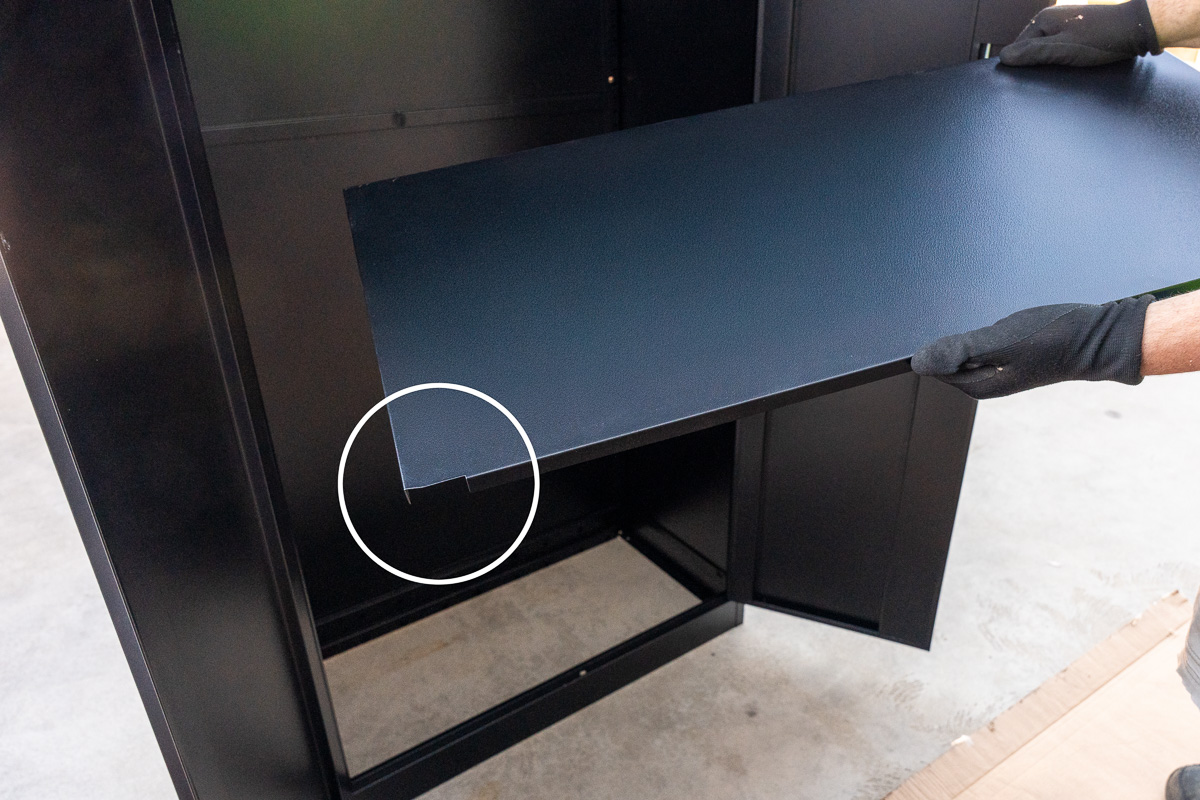
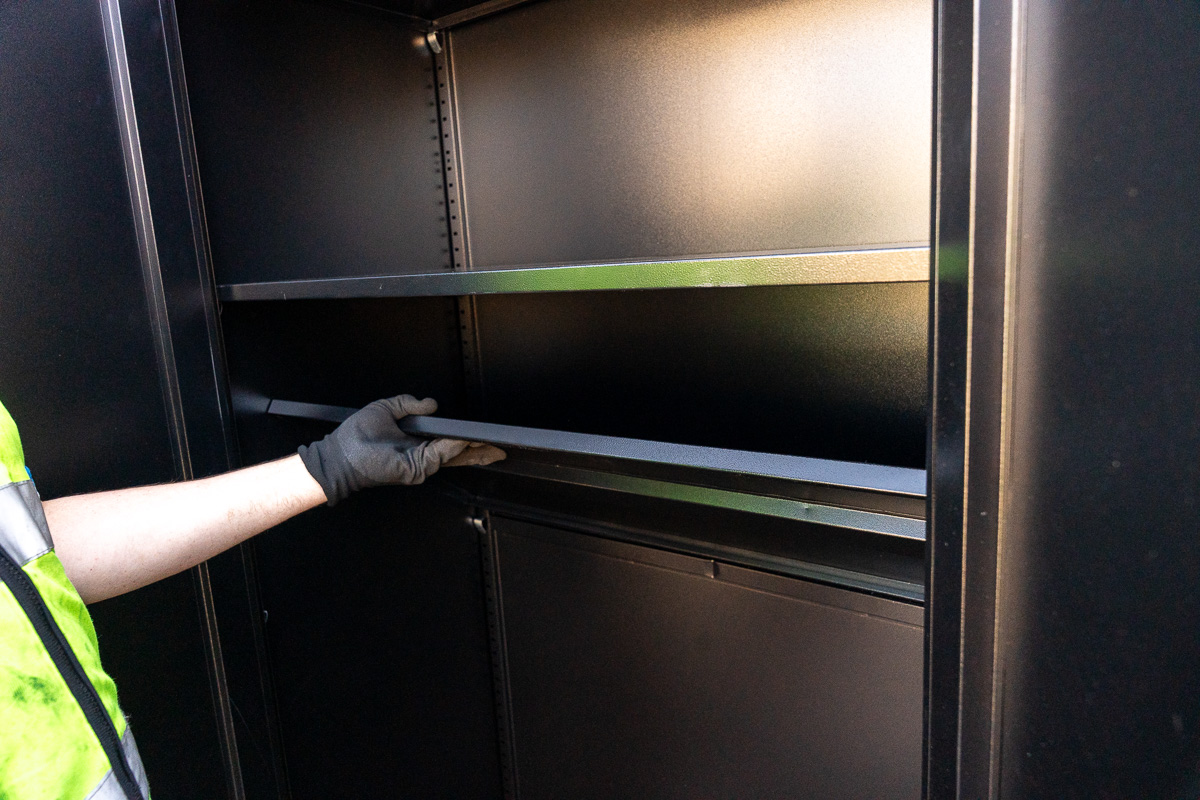
Drop the Shelves: Place your four shelves onto the supports. They should sit right into place.
Fig. 5.1. Attach the shelf supports by hooking it into a slot.
Fig. 5.2. A shelf support fastened securely.
Fig. 5.3. Remember to attach a matching shelf support towards the front.
Fig. 5.4. Shelf supports fastened towards the back.
Fig. 5.5. Drop the shelves on the shelf supports.
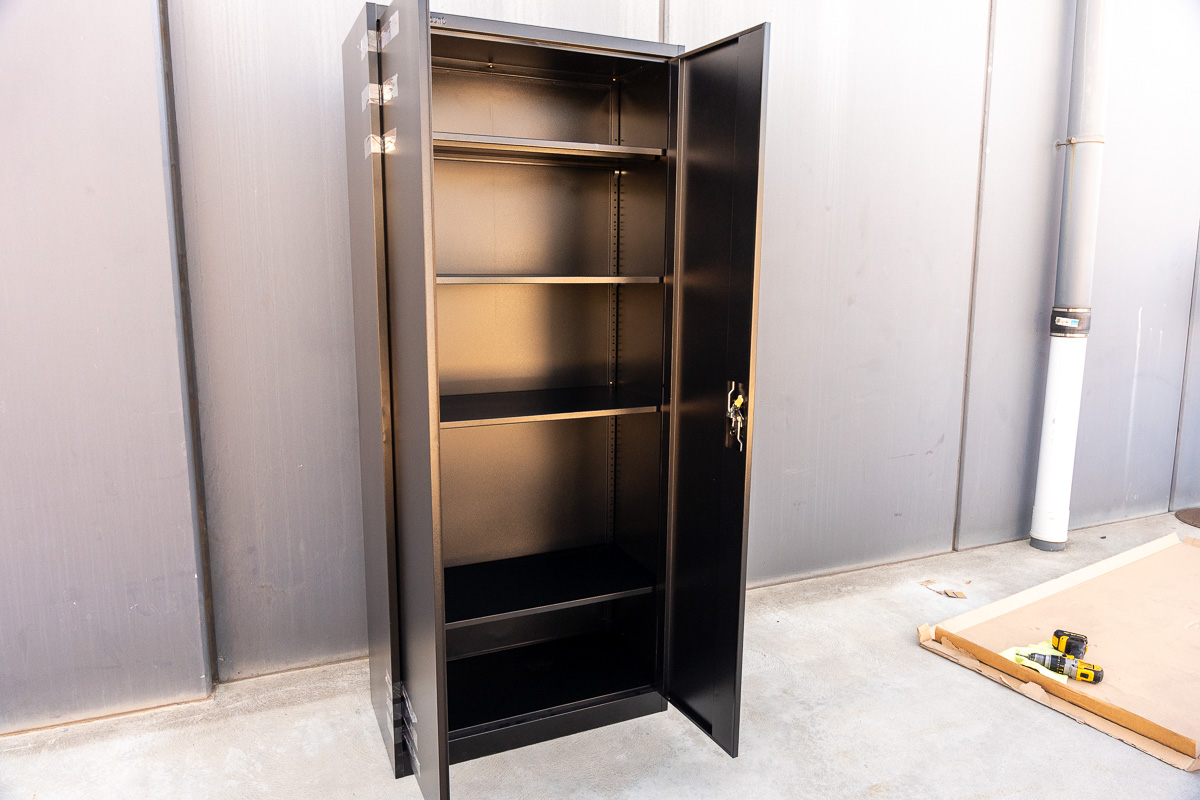
Fig. 5.6. Cabinet fully assembled.
The Finish Line!
Stand your cabinet up, give it a quick wipe-down, and you’re done!
Bonus Tip: Don’t panic if you can’t find the keys—we usually tape them right behind the door handles for safekeeping.
Now, go enjoy that beautifully organised space!
⚠️ Safety First: Secure Your Space!
Before you start filling those shelves with your files and gear, we’ve got one very important “Safety First” step. We recommend anchoring your cabinet to the wall to prevent any accidental tipping.
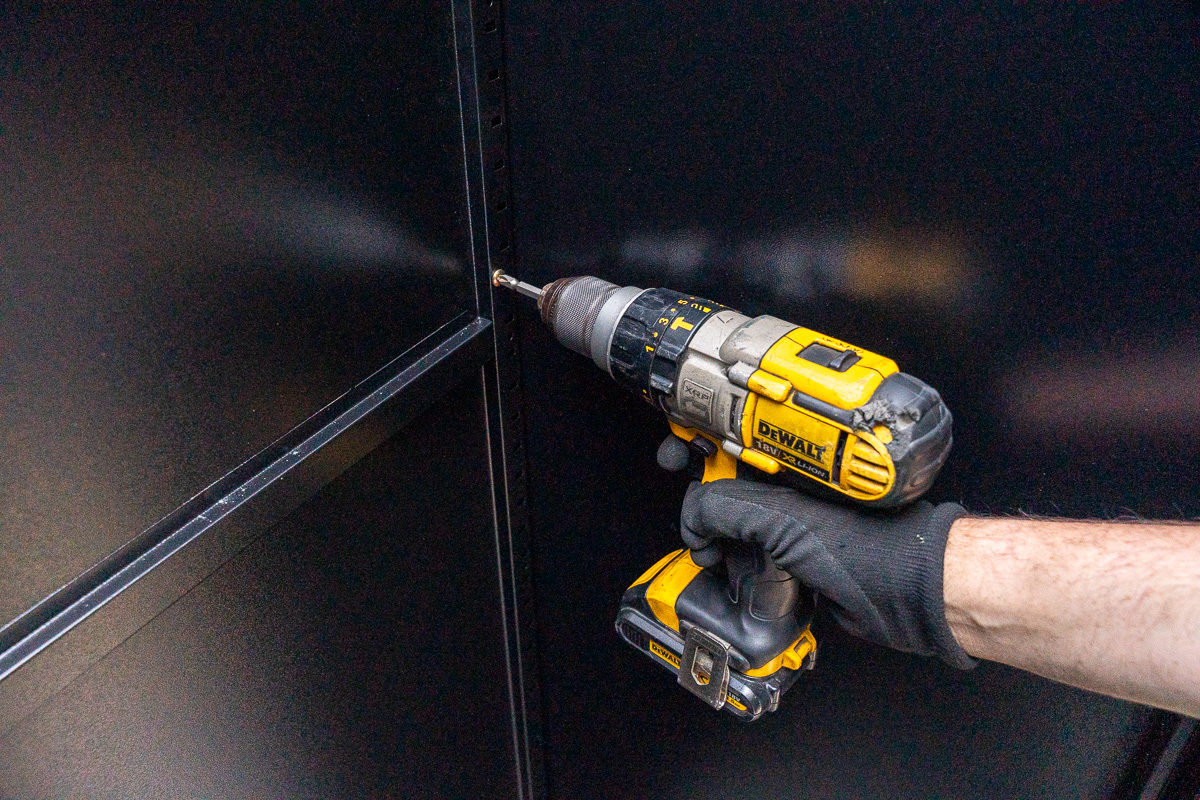
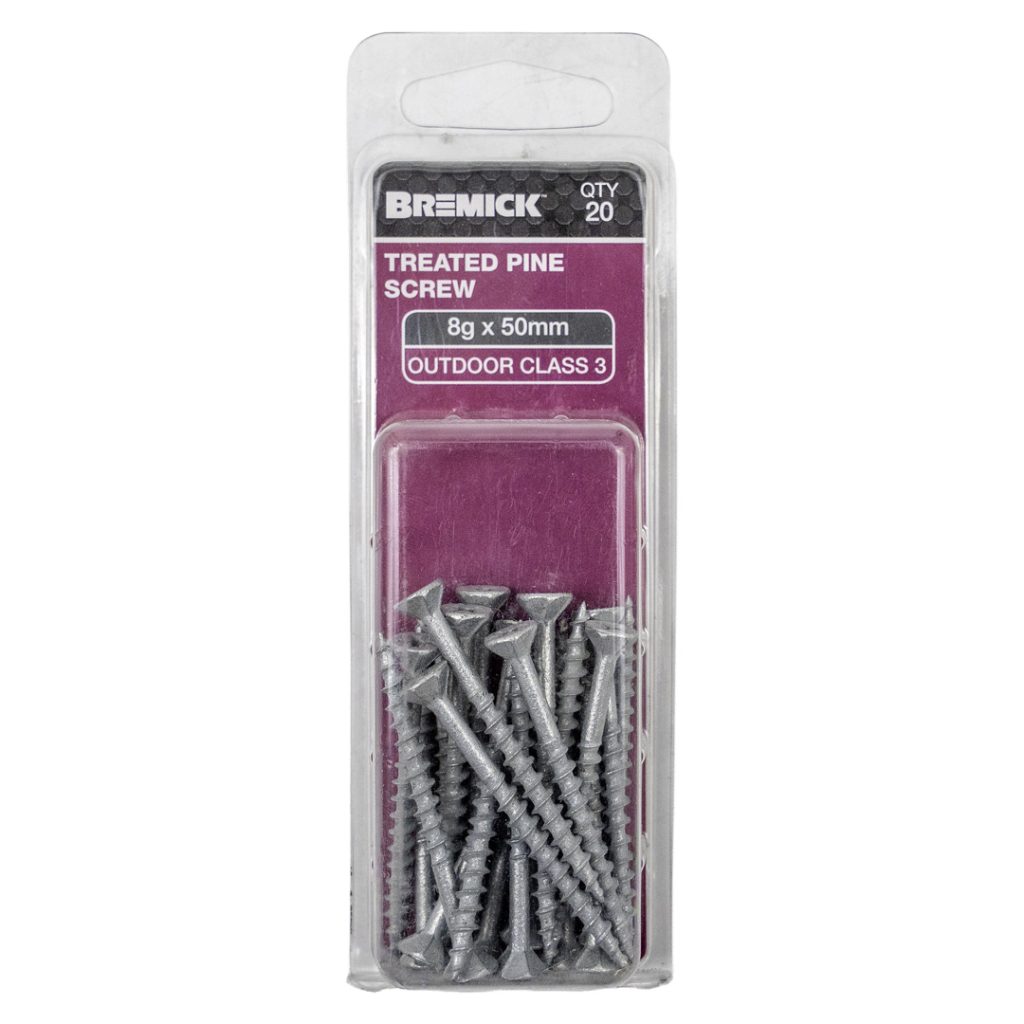
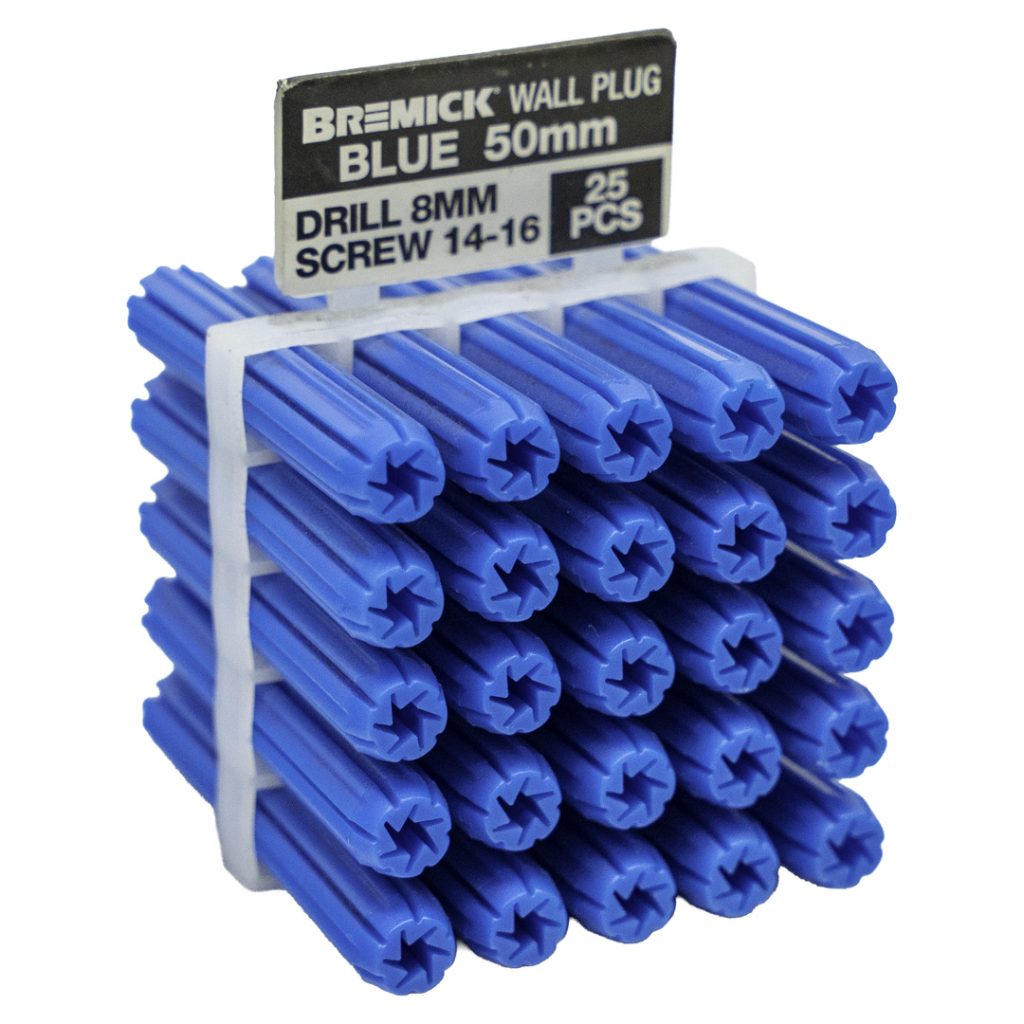
How to Anchor Like a Pro: To get your cabinet rock-solid, you’ll need to grab your drill! You will need to drill a couple of holes through the back panel to attach your wall anchors.
Top Tip: We recommend drilling your holes right at the top, near the edges of the back panel. This is the strongest point for anchoring and will keep everything standing tall.
Need the gear? You can pick up wall anchors at Paramount Browns when you grab your cabinet. It’s a quick task that ensures your new storage is as safe as it is organised!